A BRIEF GUIDE ON WATERPROOF COATING FOR BASEMENT WALLS
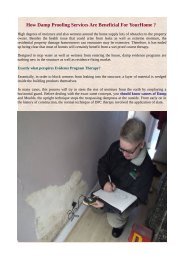
Waterproofing basement walls could be performed in a number of means, primarily handling the inside as well as beyond the wall surface. The best way of making your basement waterproof is possible through exterior wall coating companies in which the experts of Damp Proofing, Wall Coating, etc. provide great services.
Waterproofing basement walls could be performed in a number of means, primarily handling the inside as well as beyond the wall surface. The best way of making your basement waterproof is possible through exterior wall coating companies in which the experts of Damp Proofing, Wall Coating, etc. provide great services.

You also want an ePaper? Increase the reach of your titles
YUMPU automatically turns print PDFs into web optimized ePapers that Google loves.
A <strong>BRIEF</strong> <strong>GUIDE</strong> <strong>ON</strong> <strong>WATERPROOF</strong><br />
<strong>COATING</strong> <strong>FOR</strong> <strong>BASEMENT</strong> <strong>WALLS</strong><br />
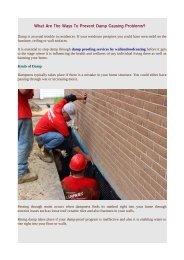
Waterproofing basement walls could be performed in a number of means, primarily<br />
handling the inside as well as beyond the wall surface. The best way of making your<br />
basement waterproof is possible through exterior wall coating companies in which<br />
the experts of Damp Proofing, Wall Coating, etc. provide great services, during<br />
building and construction when a waterproof membrane layer can be related to the<br />
beyond the foundation. Leakages as well as seepage via your basement walls can<br />
arise from inadequate original job, the residence settling, or hydrostatic stress from<br />
changes in the aquifer around your house. Nonetheless with some job you could<br />
waterproof your basement wall surfaces.<br />
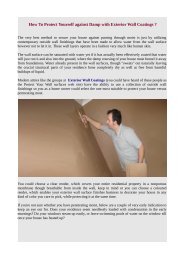
First inspect the walls for any kind of hairline cracks, openings, or various other<br />
porous areas in the wall surfaces. Smaller sized holes and cracks will be fine with<br />
just a waterproof mix, yet larger holes will certainly need to be filled with mortar<br />
and afterwards waterproofed. When filling in bigger openings a dovetail need to be<br />
chiseled out to enable the mortar to effectively hold from the inside. An ordinary<br />
mortar is one part cement to two components sand with enough water to make a<br />
tight mix.
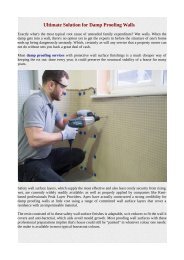
When applying mortar use an ordinary trowel and also make certain there are no air<br />
shaft or pockets. Making use of a stiff wire brush to obtain rid of loose bits is<br />
likewise a great idea before applying the mortar in order to help it stick. If the wall<br />
surface is dripping considerably you could have to put in a drainage pipeline to a<br />
sub pump to help drain pipes the water. This may just be temporary or permanent<br />
depending upon the nature of the water circulation. If you have a leaking floor joint<br />
you will certainly repair it in similar way as the larger holes in the wall surface.<br />
Chisel out a dovetail joint in order to help it stick and make sure to incline the spot<br />
inclining it from the floor to the wall surface to provide toughness and also water<br />
drainage. After repairing the wall surface we prepare to apply the waterproof<br />
mixture.<br />
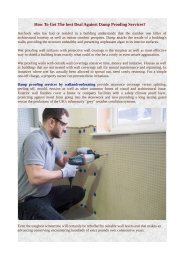
Before applying the waterproof blend the wall need to be fined sand to remove any<br />
paint. Then haze the wall surface, as the blend will not abide by a completely dry<br />
wall, but will not establish on a damp wall surface. Epoxy and also latex<br />
waterproofing mixes typically call for the addition of some water, so be sure to<br />
review the manufacturer's instructions thoroughly. You might also utilize your<br />
personal mix of plain concrete and water mixed to a slurry about the uniformity of<br />
lotion.
Start using the blend with a rigid brush at the end of the wall surface going up in a<br />
right to left direction. Ensure to get it into every space and also cranny. Plume the<br />
edges until the whole area is covered as well as let completely dry over night or until<br />
the blend does not abrade. Damp the wall surface extensively and enable it to<br />
establish overnight. After the wall has dried out over night wet it down completely<br />
again as well as use a second coat of the waterproofing combination in the same<br />
manner as the initial. Constantly make use of two coats, as one coat will not do the<br />
job and also could result in you needing to begin again again.<br />
Use this details as well as you will certainly find waterproofing cellar wall surfaces is<br />
not as difficult as it first showed up. Even better, you will lastly have that dry<br />
basement you have been wanting for fairly some time.