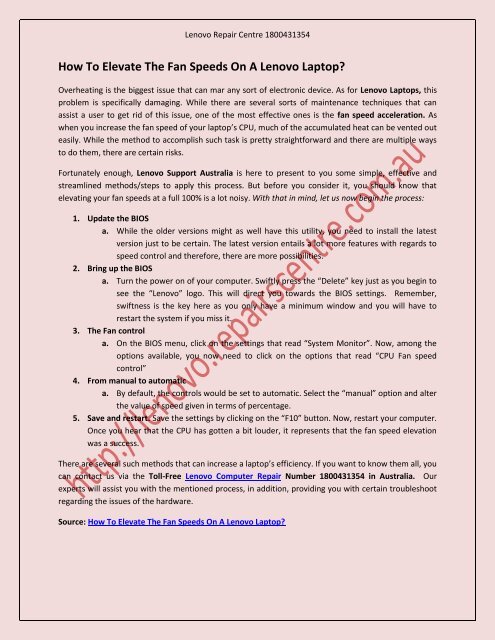
How To Elevate The Fan Speeds On A Lenovo Laptop
Learn To Elevate The Fan Speeds On A Lenovo Laptop. We are an independent and a third-party service provider for Lenovo users in Australia. Call us at 1800431354 to get any tech support or to repair your Lenovo Laptop. Site: http://lenovo.repairscentre.com.au
Learn To Elevate The Fan Speeds On A Lenovo Laptop. We are an independent and a third-party service provider for Lenovo users in Australia. Call us at 1800431354 to get any tech support or to repair your Lenovo Laptop.
Site: http://lenovo.repairscentre.com.au

Create successful ePaper yourself
Turn your PDF publications into a flip-book with our unique Google optimized e-Paper software.
<strong>Lenovo</strong> Repair Centre 1800431354<br />
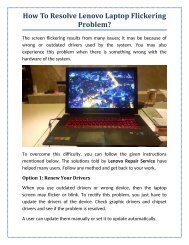
<strong>How</strong> <strong>To</strong> <strong>Elevate</strong> <strong>The</strong> <strong>Fan</strong> <strong>Speeds</strong> <strong>On</strong> A <strong>Lenovo</strong> <strong>Laptop</strong>?<br />
Overheating is the biggest issue that can mar any sort of electronic device. As for <strong>Lenovo</strong> <strong>Laptop</strong>s, this<br />
problem is specifically damaging. While there are several sorts of maintenance techniques that can<br />
assist a user to get rid of this issue, one of the most effective ones is the fan speed acceleration. As<br />
when you increase the fan speed of your laptop’s CPU, much of the accumulated heat can be vented out<br />
easily. While the method to accomplish such task is pretty straightforward and there are multiple ways<br />
to do them, there are certain risks.<br />
Fortunately enough, <strong>Lenovo</strong> Support Australia is here to present to you some simple, effective and<br />
streamlined methods/steps to apply this process. But before you consider it, you should know that<br />
elevating your fan speeds at a full 100% is a lot noisy. With that in mind, let us now begin the process:<br />
1. Update the BIOS<br />
a. While the older versions might as well have this utility, you need to install the latest<br />
version just to be certain. <strong>The</strong> latest version entails a lot more features with regards to<br />
speed control and therefore, there are more possibilities.<br />
2. Bring up the BIOS<br />
a. Turn the power on of your computer. Swiftly press the “Delete” key just as you begin to<br />
see the “<strong>Lenovo</strong>” logo. This will direct you towards the BIOS settings. Remember,<br />
swiftness is the key here as you only have a minimum window and you will have to<br />
restart the system if you miss it.<br />
3. <strong>The</strong> <strong>Fan</strong> control<br />
a. <strong>On</strong> the BIOS menu, click on the settings that read “System Monitor”. Now, among the<br />
options available, you now need to click on the options that read “CPU <strong>Fan</strong> speed<br />
control”<br />
4. From manual to automatic<br />
a. By default, the controls would be set to automatic. Select the “manual” option and alter<br />
the value of speed given in terms of percentage.<br />
5. Save and restart. Save the settings by clicking on the “F10” button. Now, restart your computer.<br />
<strong>On</strong>ce you hear that the CPU has gotten a bit louder, it represents that the fan speed elevation<br />
was a success.<br />
<strong>The</strong>re are several such methods that can increase a laptop’s efficiency. If you want to know them all, you<br />
can contact us via the <strong>To</strong>ll-Free <strong>Lenovo</strong> Computer Repair Number 1800431354 in Australia. Our<br />
experts will assist you with the mentioned process, in addition, providing you with certain troubleshoot<br />
regarding the issues of the hardware.<br />
Source: <strong>How</strong> <strong>To</strong> <strong>Elevate</strong> <strong>The</strong> <strong>Fan</strong> <strong>Speeds</strong> <strong>On</strong> A <strong>Lenovo</strong> <strong>Laptop</strong>?