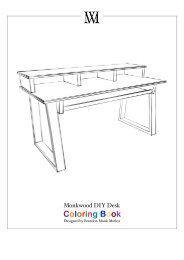
Monkwood DIY Desk Plans BETA version
Here's an 'as is' DIY desk with supplies and dimensions and some instructions. Fill in the blanks creatively and or consult a woodworker to create your own until full version is released. My client building schedule has been very intense and I have less help in the shop these days due to COVID. I aim to keep chipping away at these plans for release3 in the new year. For those who would like to get started I have made these BETA plans available. Thanks for your patience and interest in this project! Sincerely, Monk Please tag you pics with #monkwoodDIYdesk
Here's an 'as is' DIY desk with supplies and dimensions and some instructions. Fill in the blanks creatively and or consult a woodworker to create your own until full version is released.
My client building schedule has been very intense and I have less help in the shop these days due to COVID. I aim to keep chipping away at these plans for release3 in the new year.
For those who would like to get started I have made these BETA plans available.
Thanks for your patience and interest in this project!
Sincerely,
Monk
Please tag you pics with #monkwoodDIYdesk

You also want an ePaper? Increase the reach of your titles
YUMPU automatically turns print PDFs into web optimized ePapers that Google loves.
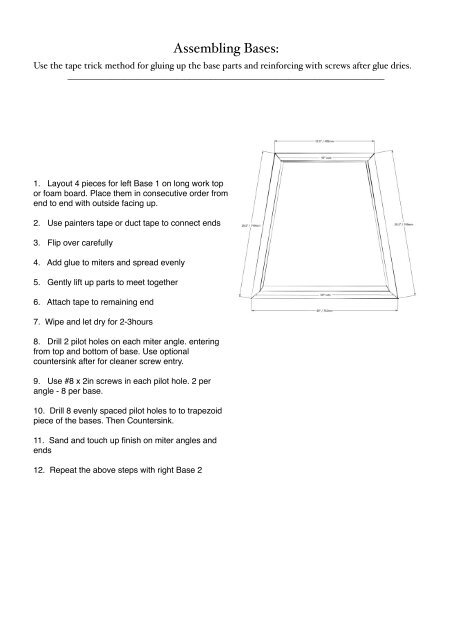
Assembling Bases:<br />
Use the tape trick method for gluing up the base parts and reinforcing with screws after glue dries.<br />
_________________________________________________________________________<br />
1. Layout 4 pieces for left Base 1 on long work top<br />
or foam board. Place them in consecutive order from<br />
end to end with outside facing up.<br />
2. Use painters tape or duct tape to connect ends<br />
3. Flip over carefully<br />
4. Add glue to miters and spread evenly<br />
5. Gently lift up parts to meet together<br />
6. Attach tape to remaining end<br />
7. Wipe and let dry for 2-3hours<br />
8. Drill 2 pilot holes on each miter angle. entering<br />
from top and bottom of base. Use optional<br />
countersink after for cleaner screw entry.<br />
9. Use #8 x 2in screws in each pilot hole. 2 per<br />
angle - 8 per base.<br />
10. Drill 8 evenly spaced pilot holes to to trapezoid<br />
piece of the bases. Then Countersink.<br />
11. Sand and touch up finish on miter angles and<br />
ends<br />
12. Repeat the above steps with right Base 2