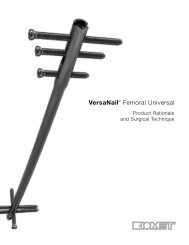
VERSANAIL Tibial Nailing System Surgical Technique - Biomet
VERSANAIL Tibial Nailing System Surgical Technique - Biomet
VERSANAIL Tibial Nailing System Surgical Technique - Biomet

You also want an ePaper? Increase the reach of your titles
YUMPU automatically turns print PDFs into web optimized ePapers that Google loves.
4<br />
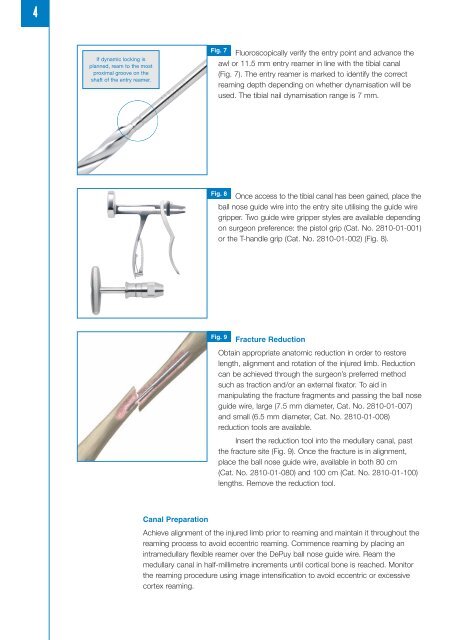
If dynamic locking is<br />
planned, ream to the most<br />
proximal groove on the<br />
shaft of the entry reamer.<br />
Canal Preparation<br />
Fig. 7 Fluoroscopically verify the entry point and advance the<br />
awl or 11.5 mm entry reamer in line with the tibial canal<br />
(Fig. 7). The entry reamer is marked to identify the correct<br />
reaming depth depending on whether dynamisation will be<br />
used. The tibial nail dynamisation range is 7 mm.<br />
Fig. 8 Once access to the tibial canal has been gained, place the<br />
ball nose guide wire into the entry site utilising the guide wire<br />
gripper. Two guide wire gripper styles are available depending<br />
on surgeon preference: the pistol grip (Cat. No. 2810-01-001)<br />
or the T-handle grip (Cat. No. 2810-01-002) (Fig. 8).<br />
Fig. 9<br />
Fracture Reduction<br />
Obtain appropriate anatomic reduction in order to restore<br />
length, alignment and rotation of the injured limb. Reduction<br />
can be achieved through the surgeon’s preferred method<br />
such as traction and/or an external fixator. To aid in<br />
manipulating the fracture fragments and passing the ball nose<br />
guide wire, large (7.5 mm diameter, Cat. No. 2810-01-007)<br />
and small (6.5 mm diameter, Cat. No. 2810-01-008)<br />
reduction tools are available.<br />
Insert the reduction tool into the medullary canal, past<br />
the fracture site (Fig. 9). Once the fracture is in alignment,<br />
place the ball nose guide wire, available in both 80 cm<br />
(Cat. No. 2810-01-080) and 100 cm (Cat. No. 2810-01-100)<br />
lengths. Remove the reduction tool.<br />
Achieve alignment of the injured limb prior to reaming and maintain it throughout the<br />
reaming process to avoid eccentric reaming. Commence reaming by placing an<br />
intramedullary flexible reamer over the DePuy ball nose guide wire. Ream the<br />
medullary canal in half-millimetre increments until cortical bone is reached. Monitor<br />
the reaming procedure using image intensification to avoid eccentric or excessive<br />
cortex reaming.