
You also want an ePaper? Increase the reach of your titles
YUMPU automatically turns print PDFs into web optimized ePapers that Google loves.
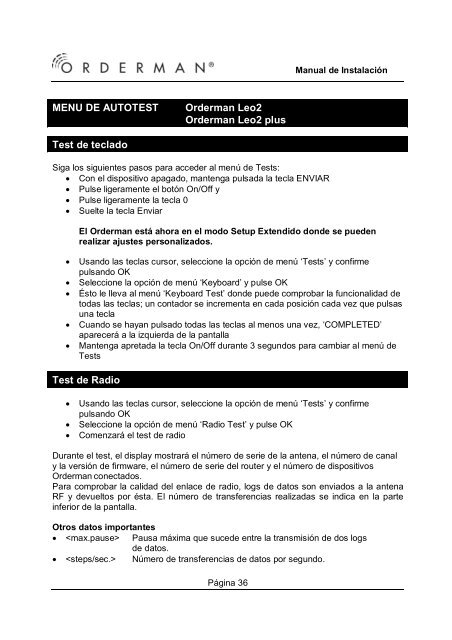
MENU DE AUTOTEST Or<strong>de</strong>rman Leo2<br />
Or<strong>de</strong>rman Leo2 plus<br />
Test <strong>de</strong> teclado<br />
Siga los siguientes pasos para acce<strong>de</strong>r al menú <strong>de</strong> Tests:<br />
• Con el dispositivo apagado, mantenga pulsada la tecla ENVIAR<br />
• Pulse ligeramente el botón On/Off y<br />
• Pulse ligeramente la tecla 0<br />
• Suelte la tecla Enviar<br />
Página 36<br />
<strong>Manual</strong> <strong>de</strong> Instalación<br />
El Or<strong>de</strong>rman está ahora en el modo Setup Extendido don<strong>de</strong> se pue<strong>de</strong>n<br />
realizar ajustes personalizados.<br />
• Usando las teclas cursor, seleccione la opción <strong>de</strong> menú ‘Tests’ y confirme<br />
pulsando OK<br />
• Seleccione la opción <strong>de</strong> menú ‘Keyboard’ y pulse OK<br />
• Ésto le lleva al menú ‘Keyboard Test’ don<strong>de</strong> pue<strong>de</strong> comprobar la funcionalidad <strong>de</strong><br />
todas las teclas; un contador se incrementa en cada posición cada vez que pulsas<br />
una tecla<br />
• Cuando se hayan pulsado todas las teclas al menos una vez, ‘COMPLETED’<br />
aparecerá a la izquierda <strong>de</strong> la pantalla<br />
• Mantenga apretada la tecla On/Off durante 3 segundos para cambiar al menú <strong>de</strong><br />
Tests<br />
Test <strong>de</strong> Radio<br />
• Usando las teclas cursor, seleccione la opción <strong>de</strong> menú ‘Tests’ y confirme<br />
pulsando OK<br />
• Seleccione la opción <strong>de</strong> menú ‘Radio Test’ y pulse OK<br />
• Comenzará el test <strong>de</strong> radio<br />
Durante el test, el display mostrará el número <strong>de</strong> serie <strong>de</strong> la antena, el número <strong>de</strong> canal<br />
y la versión <strong>de</strong> firmware, el número <strong>de</strong> serie <strong>de</strong>l router y el número <strong>de</strong> dispositivos<br />
Or<strong>de</strong>rman conectados.<br />
Para comprobar la calidad <strong>de</strong>l enlace <strong>de</strong> radio, logs <strong>de</strong> datos son enviados a la antena<br />
RF y <strong>de</strong>vueltos por ésta. El número <strong>de</strong> transferencias realizadas se indica en la parte<br />
inferior <strong>de</strong> la pantalla.<br />
Otros datos importantes<br />
• Pausa máxima que suce<strong>de</strong> entre la transmisión <strong>de</strong> dos logs<br />
<strong>de</strong> datos.<br />
• Número <strong>de</strong> transferencias <strong>de</strong> datos por segundo.