The Torto⢠Ceiling Fan - Fanimation
The Torto⢠Ceiling Fan - Fanimation
The Torto⢠Ceiling Fan - Fanimation

Create successful ePaper yourself
Turn your PDF publications into a flip-book with our unique Google optimized e-Paper software.
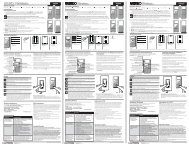
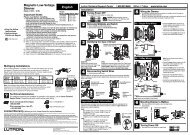
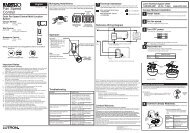
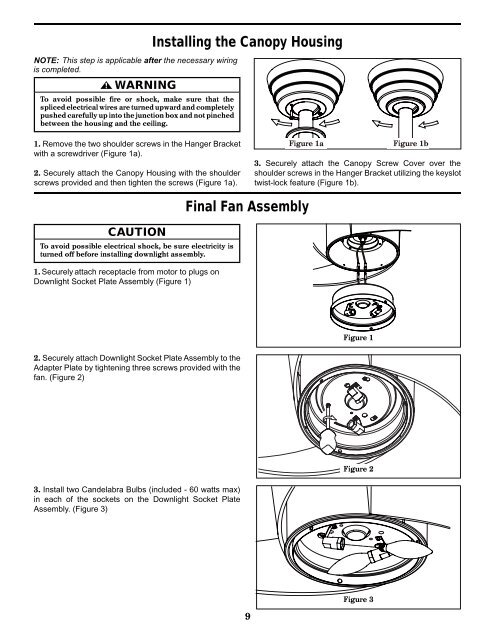
NOTE: This step is applicable after the necessary wiringis completed.▲WARNINGTo avoid possible fire or shock, make sure that thespliced electrical wires are turned upward and completelypushed carefully up into the junction box and not pinchedbetween the housing and the ceiling.Installing the Canopy Housing1. Remove the two shoulder screws in the Hanger Bracketwith a screwdriver (Figure 1a).2. Securely attach the Canopy Housing with the shoulderscrews provided and then tighten the screws (Figure 1a).Figure 1aFigure 1b3. Securely attach the Canopy Screw Cover over theshoulder screws in the Hanger Bracket utilizing the keyslottwist-lock feature (Figure 1b).CAUTIONTo avoid possible electrical shock, be sure electricity isturned off before installing downlight assembly.1. Securely attach receptacle from motor to plugs onDownlight Socket Plate Assembly (Figure 1)Final <strong>Fan</strong> AssemblyFigure 12. Securely attach Downlight Socket Plate Assembly to theAdapter Plate by tightening three screws provided with thefan. (Figure 2)Figure 23. Install two Candelabra Bulbs (included - 60 watts max)in each of the sockets on the Downlight Socket PlateAssembly. (Figure 3)Figure 39