MPR 211 B - Beyerdynamic
MPR 211 B - Beyerdynamic
MPR 211 B - Beyerdynamic

You also want an ePaper? Increase the reach of your titles
YUMPU automatically turns print PDFs into web optimized ePapers that Google loves.
12<br />
<strong>MPR</strong> <strong>211</strong> B – Condenser Microphone<br />
<strong>MPR</strong> <strong>211</strong> B – Condenser Microphone 13<br />
Thank you for selecting the <strong>MPR</strong> <strong>211</strong> B condenser microphone from<br />
beyerdynamic. Please take some time to read carefully through this<br />
product information before using the product.<br />
1. Safety Information<br />
• Protect the microphone from moisture and sudden impacts to<br />
prevent damage. You could either injure yourself or others.<br />
• Do not blow into the microphone, you could damage the transformer.<br />
It is preferable to carry out a speech trial.<br />
• When using wired microphones always ensure that the microphone<br />
cable is laid so that it does not present a trip hazard.<br />
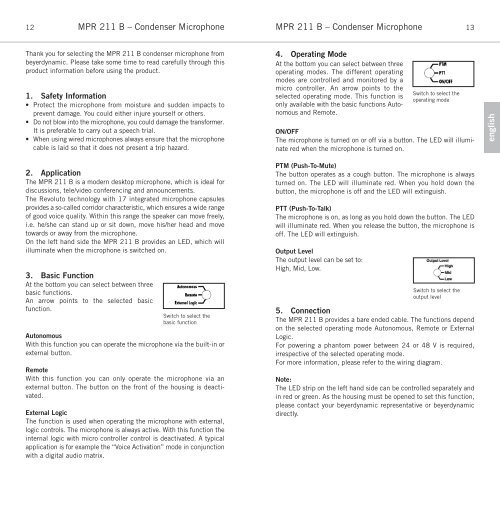
4. Operating Mode<br />
At the bottom you can select between three<br />
operating modes. The different operating<br />
modes are controlled and monitored by a<br />
micro controller. An arrow points to the<br />
selected operating mode. This function is<br />
only available with the basic functions Autonomous<br />
and Remote.<br />
Switch to select the<br />
operating mode<br />
ON/OFF<br />
The microphone is turned on or off via a button. The LED will illuminate<br />
red when the microphone is turned on.<br />
english<br />
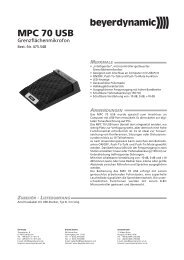
2. Application<br />
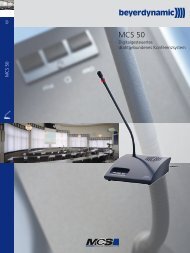
The <strong>MPR</strong> <strong>211</strong> B is a modern desktop microphone, which is ideal for<br />
discussions, tele/video conferencing and announcements.<br />
The Revoluto technology with 17 integrated microphone capsules<br />
provides a so-called corridor characteristic, which ensures a wide range<br />
of good voice quality. Within this range the speaker can move freely,<br />
i.e. he/she can stand up or sit down, move his/her head and move<br />
towards or away from the microphone.<br />
On the left hand side the <strong>MPR</strong> <strong>211</strong> B provides an LED, which will<br />
illuminate when the microphone is switched on.<br />
3. Basic Function<br />
At the bottom you can select between three<br />
basic functions.<br />
An arrow points to the selected basic<br />
function.<br />
Switch to select the<br />
basic function<br />
Autonomous<br />
With this function you can operate the microphone via the built-in or<br />
external button.<br />
Remote<br />
With this function you can only operate the microphone via an<br />
external button. The button on the front of the housing is deactivated.<br />
External Logic<br />
The function is used when operating the microphone with external,<br />
logic controls. The microphone is always active. With this function the<br />
internal logic with micro controller control is deactivated. A typical<br />
application is for example the “Voice Activation” mode in conjunction<br />
with a digital audio matrix.<br />
PTM (Push-To-Mute)<br />
The button operates as a cough button. The microphone is always<br />
turned on. The LED will illuminate red. When you hold down the<br />
button, the microphone is off and the LED will extinguish.<br />
PTT (Push-To-Talk)<br />
The microphone is on, as long as you hold down the button. The LED<br />
will illuminate red. When you release the button, the microphone is<br />
off. The LED will extinguish.<br />
Output Level<br />
The output level can be set to:<br />
High, Mid, Low.<br />
Switch to select the<br />
output level<br />
5. Connection<br />
The <strong>MPR</strong> <strong>211</strong> B provides a bare ended cable. The functions depend<br />
on the selected operating mode Autonomous, Remote or External<br />
Logic.<br />
For powering a phantom power between 24 or 48 V is required,<br />
irrespective of the selected operating mode.<br />
For more information, please refer to the wiring diagram.<br />
Note:<br />
The LED strip on the left hand side can be controlled separately and<br />
in red or green. As the housing must be opened to set this function,<br />
please contact your beyerdynamic representative or beyerdynamic<br />
directly.