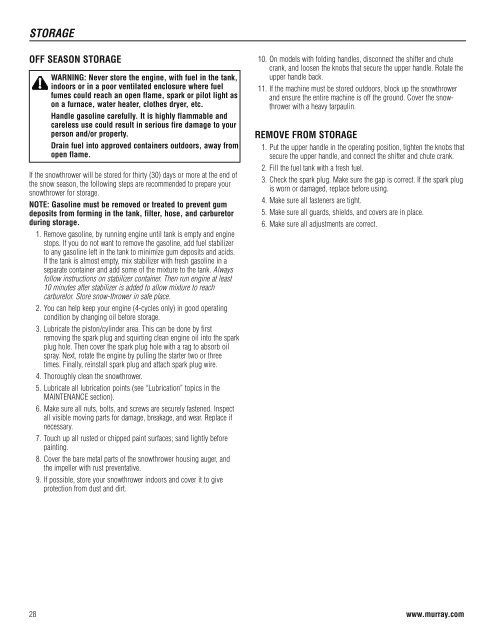
Walkbehind Snowthrower
Walkbehind Snowthrower
Walkbehind Snowthrower
- No tags were found...

Create successful ePaper yourself
Turn your PDF publications into a flip-book with our unique Google optimized e-Paper software.
STORAGE<br />
OFF SEASON STORAGE<br />
WARNING: Never store the engine, with fuel in the tank,<br />
indoors or in a poor ventilated enclosure where fuel<br />
fumes could reach an open flame, spark or pilot light as<br />
on a furnace, water heater, clothes dryer, etc.<br />
Handle gasoline carefully. It is highly flammable and<br />
careless use could result in serious fire damage to your<br />
person and/or property.<br />
Drain fuel into approved containers outdoors, away from<br />
open flame.<br />
If the snowthrower will be stored for thirty (30) days or more at the end of<br />
the snow season, the following steps are recommended to prepare your<br />
snowthrower for storage.<br />
NOTE: Gasoline must be removed or treated to prevent gum<br />
deposits from forming in the tank, filter, hose, and carburetor<br />
during storage.<br />
1. Remove gasoline, by running engine until tank is empty and engine<br />
stops. If you do not want to remove the gasoline, add fuel stabilizer<br />
to any gasoline left in the tank to minimize gum deposits and acids.<br />
If the tank is almost empty, mix stabilizer with fresh gasoline in a<br />
separate container and add some of the mixture to the tank. Always<br />
follow instructions on stabilizer container. Then run engine at least<br />
10 minutes after stabilizer is added to allow mixture to reach<br />
carburetor. Store snow-thrower in safe place.<br />
2. You can help keep your engine (4-cycles only) in good operating<br />
condition by changing oil before storage.<br />
3. Lubricate the piston/cylinder area. This can be done by first<br />
removing the spark plug and squirting clean engine oil into the spark<br />
plug hole. Then cover the spark plug hole with a rag to absorb oil<br />
spray. Next, rotate the engine by pulling the starter two or three<br />
times. Finally, reinstall spark plug and attach spark plug wire.<br />
4. Thoroughly clean the snowthrower.<br />
5. Lubricate all lubrication points (see “Lubrication” topics in the<br />
MAINTENANCE section).<br />
6. Make sure all nuts, bolts, and screws are securely fastened. Inspect<br />
all visible moving parts for damage, breakage, and wear. Replace if<br />
necessary.<br />
7. Touch up all rusted or chipped paint surfaces; sand lightly before<br />
painting.<br />
8. Cover the bare metal parts of the snowthrower housing auger, and<br />
the impeller with rust preventative.<br />
9. If possible, store your snowthrower indoors and cover it to give<br />
protection from dust and dirt.<br />
10. On models with folding handles, disconnect the shifter and chute<br />
crank, and loosen the knobs that secure the upper handle. Rotate the<br />
upper handle back.<br />
11. If the machine must be stored outdoors, block up the snowthrower<br />
and ensure the entire machine is off the ground. Cover the snowthrower<br />
with a heavy tarpaulin.<br />
REMOVE FROM STORAGE<br />
1. Put the upper handle in the operating position, tighten the knobs that<br />
secure the upper handle, and connect the shifter and chute crank.<br />
2. Fill the fuel tank with a fresh fuel.<br />
3. Check the spark plug. Make sure the gap is correct. If the spark plug<br />
is worn or damaged, replace before using.<br />
4. Make sure all fasteners are tight.<br />
5. Make sure all guards, shields, and covers are in place.<br />
6. Make sure all adjustments are correct.<br />
28 www.murray.com