badkarsblandare fmm garda - Bygghemma
badkarsblandare fmm garda - Bygghemma
badkarsblandare fmm garda - Bygghemma

You also want an ePaper? Increase the reach of your titles
YUMPU automatically turns print PDFs into web optimized ePapers that Google loves.
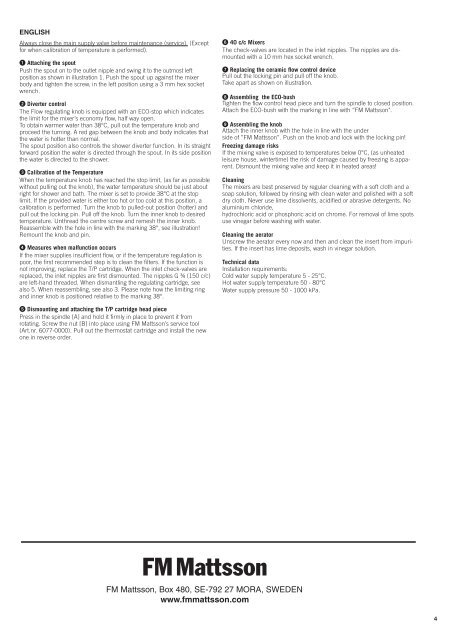
ENGLISH<br />
Always close the main supply valve before maintenance (service). (Except<br />
for when calibration of temperature is performed).<br />
1 Attaching the spout<br />
Push the spout on to the outlet nipple and swing it to the outmost left<br />
position as shown in illustration 1. Push the spout up against the mixer<br />
body and tighten the screw, in the left position using a 3 mm hex socket<br />
wrench.<br />
2 Diverter control<br />
The Flow regulating knob is equipped with an ECO-stop which indicates<br />
the limit for the mixer’s economy flow, half way open.<br />
To obtain warmer water than 38°C, pull out the temperature knob and<br />
proceed the turning. A red gap between the knob and body indicates that<br />
the water is hotter than normal.<br />
The spout position also controls the shower diverter function. In its straight<br />
forward position the water is directed through the spout. In its side position<br />
the water is directed to the shower.<br />
3 Calibration of the Temperature<br />
When the temperature knob has reached the stop limit, (as far as possible<br />
without pulling out the knob), the water temperature should be just about<br />
right for shower and bath. The mixer is set to provide 38°C at the stop<br />
limit. If the provided water is either too hot or too cold at this position, a<br />
calibration is performed. Turn the knob to pulled-out position (hotter) and<br />
pull out the locking pin. Pull off the knob. Turn the inner knob to desired<br />
temperature. Unthread the centre screw and remesh the inner knob.<br />
Reassemble with the hole in line with the marking 38°, see illustration!<br />
Remount the knob and pin.<br />
4 Measures when malfunction occurs<br />
If the mixer supplies insufficient flow, or if the temperature regulation is<br />
poor, the first recommended step is to clean the filters. If the function is<br />
not improving, replace the T/P cartridge. When the inlet check-valves are<br />
replaced, the inlet nipples are first dismounted. The nipples G ¾ (150 c/c)<br />
are left-hand threaded. When dismantling the regulating cartridge, see<br />
also 5. When reassembling, see also 3. Please note how the limiting ring<br />
and inner knob is positioned relative to the marking 38°.<br />
5 Dismounting and attaching the T/P cartridge head piece<br />
Press in the spindle [A] and hold it firmly in place to prevent it from<br />
rotating. Screw the nut [B] into place using FM Mattsson’s service tool<br />
(Art.nr. 6077-0000). Pull out the thermostat cartridge and install the new<br />
one in reverse order.<br />
FM Mattsson, Box 480, SE-792 27 MORA, SWEDEN<br />
www.<strong>fmm</strong>attsson.com<br />
6 40 c/c Mixers<br />
The check-valves are located in the inlet nipples. The nipples are dismounted<br />
with a 10 mm hex socket wrench.<br />
7 Replacing the ceramic flow control device<br />
Pull out the locking pin and pull off the knob.<br />
Take apart as shown on illustration.<br />
8 Assembling the ECO-bush<br />
Tighten the flow control head piece and turn the spindle to closed position.<br />
Attach the ECO-bush with the marking in line with “FM Mattsson".<br />
9 Assembling the knob<br />
Attach the inner knob with the hole in line with the under<br />
side of ”FM Mattsson”. Push on the knob and lock with the locking pin!<br />
Freezing damage risks<br />
If the mixing valve is exposed to temperatures below 0°C, (as unheated<br />
leisure house, wintertime) the risk of damage caused by freezing is apparent.<br />
Dismount the mixing valve and keep it in heated areas!<br />
Cleaning<br />
The mixers are best preserved by regular cleaning with a soft cloth and a<br />
soap solution, followed by rinsing with clean water and polished with a soft<br />
dry cloth. Never use lime dissolvents, acidified or abrasive detergents. No<br />
aluminium chloride,<br />
hydrochloric acid or phosphoric acid on chrome. For removal of lime spots<br />
use vinegar before washing with water.<br />
Cleaning the aerator<br />
Unscrew the aerator every now and then and clean the insert from impurities.<br />
If the insert has lime deposits, wash in vinegar solution.<br />
Technical data<br />
Installation requirements:<br />
Cold water supply temperature 5 - 25°C.<br />
Hot water supply temperature 50 - 80°C<br />
Water supply pressure 50 - 1000 kPa.<br />
4