mitre saw stand de7023, de7033 - Black & Decker
mitre saw stand de7023, de7033 - Black & Decker
mitre saw stand de7023, de7033 - Black & Decker

Create successful ePaper yourself
Turn your PDF publications into a flip-book with our unique Google optimized e-Paper software.
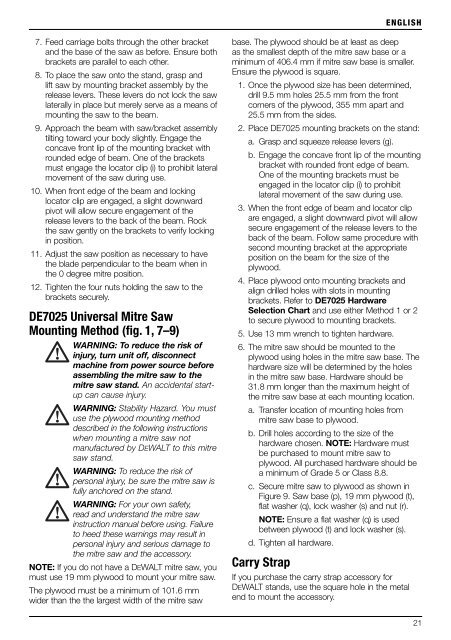
ENGLISH7. Feed carriage bolts through the other bracketand the base of the <strong>saw</strong> as before. Ensure bothbrackets are parallel to each other.8. To place the <strong>saw</strong> onto the <strong>stand</strong>, grasp andlift <strong>saw</strong> by mounting bracket assembly by therelease levers. These levers do not lock the <strong>saw</strong>laterally in place but merely serve as a means ofmounting the <strong>saw</strong> to the beam.9. Approach the beam with <strong>saw</strong>/bracket assemblytilting toward your body slightly. Engage theconcave front lip of the mounting bracket withrounded edge of beam. One of the bracketsmust engage the locator clip (i) to prohibit lateralmovement of the <strong>saw</strong> during use.10. When front edge of the beam and lockinglocator clip are engaged, a slight downwardpivot will allow secure engagement of therelease levers to the back of the beam. Rockthe <strong>saw</strong> gently on the brackets to verify lockingin position.11. Adjust the <strong>saw</strong> position as necessary to havethe blade perpendicular to the beam when inthe 0 degree <strong>mitre</strong> position.12. Tighten the four nuts holding the <strong>saw</strong> to thebrackets securely.DE7025 Universal Mitre SawMounting Method (fig. 1, 7–9)WARNING: To reduce the risk ofinjury, turn unit off, disconnectmachine from power source beforeassembling the <strong>mitre</strong> <strong>saw</strong> to the<strong>mitre</strong> <strong>saw</strong> <strong>stand</strong>. An accidental startupcan cause injury.WARNING: Stability Hazard. You mustuse the plywood mounting methoddescribed in the following instructionswhen mounting a <strong>mitre</strong> <strong>saw</strong> notmanufactured by DEWALT to this <strong>mitre</strong><strong>saw</strong> <strong>stand</strong>.WARNING: To reduce the risk ofpersonal injury, be sure the <strong>mitre</strong> <strong>saw</strong> isfully anchored on the <strong>stand</strong>.WARNING: For your own safety,read and under<strong>stand</strong> the <strong>mitre</strong> <strong>saw</strong>instruction manual before using. Failureto heed these warnings may result inpersonal injury and serious damage tothe <strong>mitre</strong> <strong>saw</strong> and the accessory.NOTE: If you do not have a DEWALT <strong>mitre</strong> <strong>saw</strong>, youmust use 19 mm plywood to mount your <strong>mitre</strong> <strong>saw</strong>.The plywood must be a minimum of 101.6 mmwider than the the largest width of the <strong>mitre</strong> <strong>saw</strong>base. The plywood should be at least as deepas the smallest depth of the <strong>mitre</strong> <strong>saw</strong> base or aminimum of 406.4 mm if <strong>mitre</strong> <strong>saw</strong> base is smaller.Ensure the plywood is square.1. Once the plywood size has been determined,drill 9.5 mm holes 25.5 mm from the frontcorners of the plywood, 355 mm apart and25.5 mm from the sides.2. Place DE7025 mounting brackets on the <strong>stand</strong>:a. Grasp and squeeze release levers (g).b. Engage the concave front lip of the mountingbracket with rounded front edge of beam.One of the mounting brackets must beengaged in the locator clip (i) to prohibitlateral movement of the <strong>saw</strong> during use.3. When the front edge of beam and locator clipare engaged, a slight downward pivot will allowsecure engagement of the release levers to theback of the beam. Follow same procedure withsecond mounting bracket at the appropriateposition on the beam for the size of theplywood.4. Place plywood onto mounting brackets andalign drilled holes with slots in mountingbrackets. Refer to DE7025 HardwareSelection Chart and use either Method 1 or 2to secure plywood to mounting brackets.5. Use 13 mm wrench to tighten hardware.6. The <strong>mitre</strong> <strong>saw</strong> should be mounted to theplywood using holes in the <strong>mitre</strong> <strong>saw</strong> base. Thehardware size will be determined by the holesin the <strong>mitre</strong> <strong>saw</strong> base. Hardware should be31.8 mm longer than the maximum height ofthe <strong>mitre</strong> <strong>saw</strong> base at each mounting location.a. Transfer location of mounting holes from<strong>mitre</strong> <strong>saw</strong> base to plywood.b. Drill holes according to the size of thehardware chosen. NOTE: Hardware mustbe purchased to mount <strong>mitre</strong> <strong>saw</strong> toplywood. All purchased hardware should bea minimum of Grade 5 or Class 8.8.c. Secure <strong>mitre</strong> <strong>saw</strong> to plywood as shown inFigure 9. Saw base (p), 19 mm plywood (t),flat washer (q), lock washer (s) and nut (r).NOTE: Ensure a flat washer (q) is usedbetween plywood (t) and lock washer (s).d. Tighten all hardware.Carry StrapIf you purchase the carry strap accessory forDEWALT <strong>stand</strong>s, use the square hole in the metalend to mount the accessory.21