PerfectView LCD250
PerfectView LCD250
PerfectView LCD250
You also want an ePaper? Increase the reach of your titles
YUMPU automatically turns print PDFs into web optimized ePapers that Google loves.
_<strong>LCD250</strong>.book Seite 44 Donnerstag, 23. Oktober 2008 12:05 12<br />
Mounting the camera and monitor<br />
<strong>PerfectView</strong> <strong>LCD250</strong><br />
I Note<br />
Please observe the notes from the chapter “General information on the electrical<br />
connections” on page 37<br />
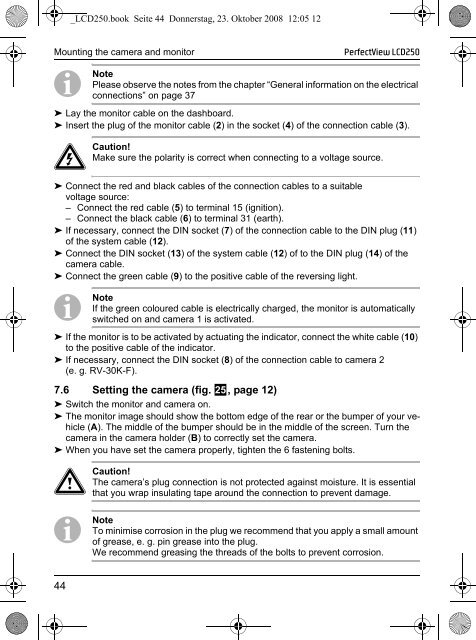
➤ Lay the monitor cable on the dashboard.<br />
➤ Insert the plug of the monitor cable (2) in the socket (4) of the connection cable (3).<br />
e Caution!<br />
Make sure the polarity is correct when connecting to a voltage source.<br />
➤ Connect the red and black cables of the connection cables to a suitable<br />
voltage source:<br />
– Connect the red cable (5) to terminal 15 (ignition).<br />
– Connect the black cable (6) to terminal 31 (earth).<br />
➤ If necessary, connect the DIN socket (7) of the connection cable to the DIN plug (11)<br />
of the system cable (12).<br />
➤ Connect the DIN socket (13) of the system cable (12) of to the DIN plug (14) of the<br />
camera cable.<br />
➤ Connect the green cable (9) to the positive cable of the reversing light.<br />
I Note<br />
If the green coloured cable is electrically charged, the monitor is automatically<br />
switched on and camera 1 is activated.<br />
➤ If the monitor is to be activated by actuating the indicator, connect the white cable (10)<br />
to the positive cable of the indicator.<br />
➤ If necessary, connect the DIN socket (8) of the connection cable to camera 2<br />
(e.g.RV-30K-F).<br />
7.6 Setting the camera (fig. o, page 12)<br />
➤ Switch the monitor and camera on.<br />
➤ The monitor image should show the bottom edge of the rear or the bumper of your vehicle<br />
(A). The middle of the bumper should be in the middle of the screen. Turn the<br />
camera in the camera holder (B) to correctly set the camera.<br />
➤ When you have set the camera properly, tighten the 6 fastening bolts.<br />
a Caution!<br />
The camera’s plug connection is not protected against moisture. It is essential<br />
that you wrap insulating tape around the connection to prevent damage.<br />
I Note<br />
To minimise corrosion in the plug we recommend that you apply a small amount<br />
of grease, e. g. pin grease into the plug.<br />
We recommend greasing the threads of the bolts to prevent corrosion.<br />
44


