PerfectView CAM26W - Waeco
PerfectView CAM26W - Waeco
PerfectView CAM26W - Waeco
Create successful ePaper yourself
Turn your PDF publications into a flip-book with our unique Google optimized e-Paper software.
_RV-26.book Seite 33 Montag, 7. Mai 2007 2:28 14<br />
<strong>PerfectView</strong> <strong>CAM26W</strong><br />
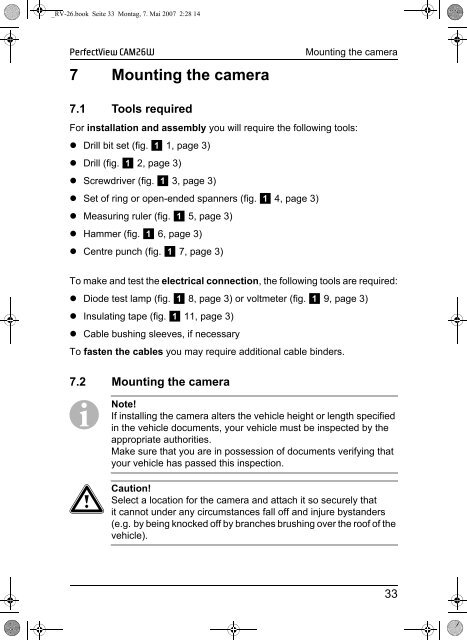
7 Mounting the camera<br />
Mounting the camera<br />
7.1 Tools required<br />
For installation and assembly you will require the following tools:<br />
• Drill bit set (fig. 1 1, page 3)<br />
• Drill (fig. 1 2, page 3)<br />
• Screwdriver (fig. 1 3, page 3)<br />
• Set of ring or open-ended spanners (fig. 1 4, page 3)<br />
• Measuring ruler (fig. 1 5, page 3)<br />
• Hammer (fig. 1 6, page 3)<br />
• Centre punch (fig. 1 7, page 3)<br />
To make and test the electrical connection, the following tools are required:<br />
• Diode test lamp (fig. 1 8, page 3) or voltmeter (fig. 1 9, page 3)<br />
• Insulating tape (fig. 1 11, page 3)<br />
• Cable bushing sleeves, if necessary<br />
To fasten the cables you may require additional cable binders.<br />
7.2 Mounting the camera<br />
I Note!<br />
If installing the camera alters the vehicle height or length specified<br />
in the vehicle documents, your vehicle must be inspected by the<br />
appropriate authorities.<br />
Make sure that you are in possession of documents verifying that<br />
your vehicle has passed this inspection.<br />
a Caution!<br />
Select a location for the camera and attach it so securely that<br />
it cannot under any circumstances fall off and injure bystanders<br />
(e.g. by being knocked off by branches brushing over the roof of the<br />
vehicle).<br />
33


