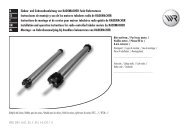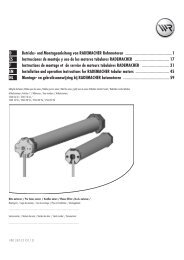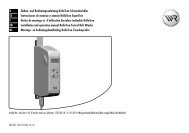
Bedienungsanleitung RolloTube I-line-ILIS-ILIM - Rademacher
Bedienungsanleitung RolloTube I-line-ILIS-ILIM - Rademacher
Bedienungsanleitung RolloTube I-line-ILIS-ILIM - Rademacher

Erfolgreiche ePaper selbst erstellen
Machen Sie aus Ihren PDF Publikationen ein blätterbares Flipbook mit unserer einzigartigen Google optimierten e-Paper Software.
1.<br />
2.<br />
3.<br />
4.<br />
5.<br />
6.<br />
42<br />
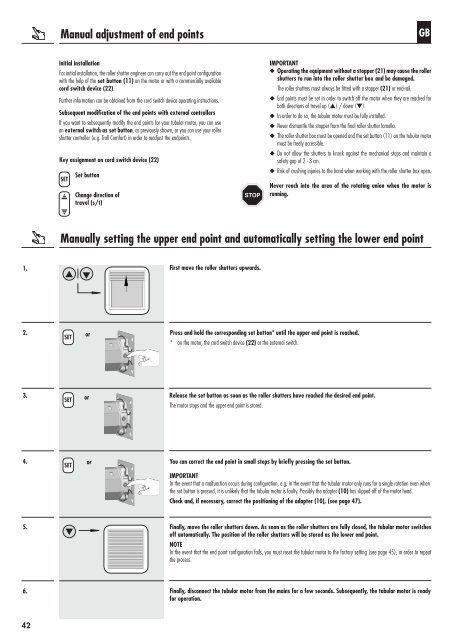
Manual adjustment of end points<br />
Initial installation<br />
For initial installation, the roller shutter engineer can carry out the end point configuration<br />
with the help of the set button (11) on the motor or with a commercially available<br />
cord switch device (22).<br />
Further information can be obtained from the cord switch device operating instructions.<br />
Subsequent modification of the end points with external controllers<br />
If you want to subsequently modify the end points for your tubular motor, you can use<br />
an external switch as set button, as previously shown, or you can use your roller<br />
shutter controller (e.g. Troll Comfort) in order to readjust the endpoints.<br />
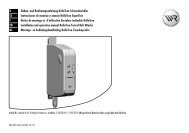
Key assignment on cord switch device (22)<br />
SET<br />
s t<br />
SET<br />
SET<br />
SET<br />
t<br />
Set button<br />
Change direction of<br />
travel (s/t)<br />
STOP<br />
GB<br />
IMPORTANT<br />
◆ Operating the equipment without a stopper (21) may cause the roller<br />
shutters to run into the roller shutter box and be damaged.<br />
The roller shutters must always be fitted with a stopper (21) or end-rail.<br />
◆ End points must be set in order to switch off the motor when they are reached for<br />
both directions of travel up (s) / down (t).<br />
◆ In order to do so, the tubular motor must be fully installed.<br />
◆ Never dismantle the stopper from the final roller shutter lamella.<br />
◆ The roller shutter box must be opened and the set button (11) on the tubular motor<br />
must be freely accessible.<br />
◆ Do not allow the shutters to knock against the mechanical stops and maintain a<br />
safety gap of 2 - 3 cm.<br />
◆ Risk of crushing injuries to the hand when working with the roller shutter box open.<br />
Never reach into the area of the rotating union when the motor is<br />
running.<br />
Manually setting the upper end point and automatically setting the lower end point<br />
or<br />
or<br />
or<br />
First move the roller shutters upwards.<br />
Press and hold the corresponding set button* until the upper end point is reached.<br />
* on the motor, the cord switch device (22) or the external switch.<br />
Release the set button as soon as the roller shutters have reached the desired end point.<br />
The motor stops and the upper end point is stored.<br />
You can correct the end point in small steps by briefly pressing the set button.<br />
IMPORTANT<br />
In the event that a malfunction occurs during configuration, e.g. in the event that the tubular motor only runs for a single rotation even when<br />
the set button is pressed, it is unlikely that the tubular motor is faulty. Possibly the adapter (10) has slipped off of the motor head.<br />
Check and, if necessary, correct the positioning of the adapter (10), (see page 47).<br />
Finally, move the roller shutters down. As soon as the roller shutters are fully closed, the tubular motor switches<br />
off automatically. The position of the roller shutters will be stored as the lower end point.<br />
NOTE<br />
In the event that the end point configuration fails, you must reset the tubular motor to the factory setting (see page 45), in order to repeat<br />
the process.<br />
Finally, disconnect the tubular motor from the mains for a few seconds. Subsequently, the tubular motor is ready<br />
for operation.