Bedienungsanleitung (PDF, 275 kb) - VOLPI AG
Bedienungsanleitung (PDF, 275 kb) - VOLPI AG
Bedienungsanleitung (PDF, 275 kb) - VOLPI AG

Erfolgreiche ePaper selbst erstellen
Machen Sie aus Ihren PDF Publikationen ein blätterbares Flipbook mit unserer einzigartigen Google optimierten e-Paper Software.
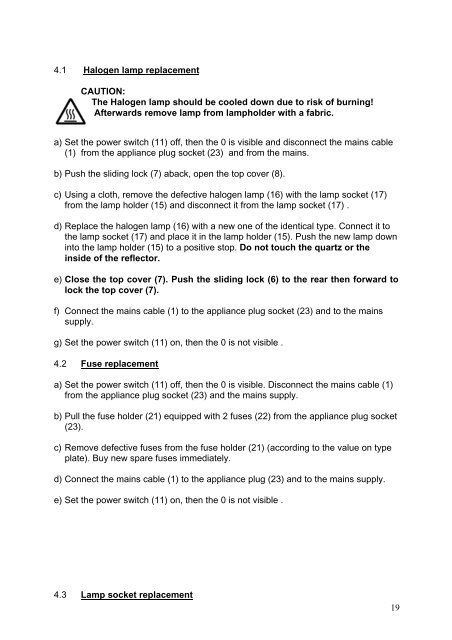
4.1 Halogen lamp replacement<br />
CAUTION:<br />
The Halogen lamp should be cooled down due to risk of burning!<br />
Afterwards remove lamp from lampholder with a fabric.<br />
a) Set the power switch (11) off, then the 0 is visible and disconnect the mains cable<br />
(1) from the appliance plug socket (23) and from the mains.<br />
b) Push the sliding lock (7) aback, open the top cover (8).<br />
c) Using a cloth, remove the defective halogen lamp (16) with the lamp socket (17)<br />
from the lamp holder (15) and disconnect it from the lamp socket (17) .<br />
d) Replace the halogen lamp (16) with a new one of the identical type. Connect it to<br />
the lamp socket (17) and place it in the lamp holder (15). Push the new lamp down<br />
into the lamp holder (15) to a positive stop. Do not touch the quartz or the<br />
inside of the reflector.<br />
e) Close the top cover (7). Push the sliding lock (6) to the rear then forward to<br />
lock the top cover (7).<br />
f) Connect the mains cable (1) to the appliance plug socket (23) and to the mains<br />
supply.<br />
g) Set the power switch (11) on, then the 0 is not visible .<br />
4.2 Fuse replacement<br />
a) Set the power switch (11) off, then the 0 is visible. Disconnect the mains cable (1)<br />
from the appliance plug socket (23) and the mains supply.<br />
b) Pull the fuse holder (21) equipped with 2 fuses (22) from the appliance plug socket<br />
(23).<br />
c) Remove defective fuses from the fuse holder (21) (according to the value on type<br />
plate). Buy new spare fuses immediately.<br />
d) Connect the mains cable (1) to the appliance plug (23) and to the mains supply.<br />
e) Set the power switch (11) on, then the 0 is not visible .<br />
4.3 Lamp socket replacement<br />
19