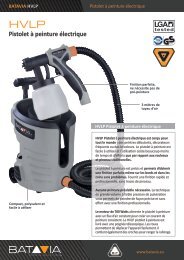
Akku-Rasentrimmer 2in1 - batavia.eu
Akku-Rasentrimmer 2in1 - batavia.eu
Akku-Rasentrimmer 2in1 - batavia.eu

Sie wollen auch ein ePaper? Erhöhen Sie die Reichweite Ihrer Titel.
YUMPU macht aus Druck-PDFs automatisch weboptimierte ePaper, die Google liebt.
GB<br />
12 |<br />
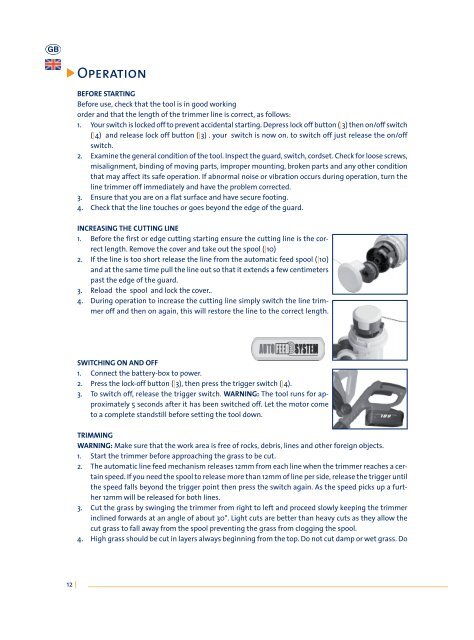
Operation<br />
BEFORE STARTING<br />
Before use, check that the tool is in good working<br />
order and that the length of the trimmer line is correct, as follows:<br />
1. Your switch is locked off to prevent accidental starting. Depress lock off button (|3) then on/off switch<br />
(|4) and release lock off button (|3) . your switch is now on. to switch off just release the on/off<br />
switch.<br />
2. Examine the general condition of the tool. Inspect the guard, switch, cordset. Check for loose screws,<br />
misalignment, binding of moving parts, improper mounting, broken parts and any other condition<br />
that may affect its safe operation. If abnormal noise or vibration occurs during operation, turn the<br />
line trimmer off immediately and have the problem corrected.<br />
3. Ensure that you are on a flat surface and have secure footing.<br />
4. Check that the line touches or goes beyond the edge of the guard.<br />
INCREASING THE CUTTING LINE<br />
1. Before the first or edge cutting starting ensure the cutting line is the correct<br />
length. Remove the cover and take out the spool (|10)<br />
2. If the line is too short release the line from the automatic feed spool (|10)<br />
and at the same time pull the line out so that it extends a few centimeters<br />
past the edge of the guard.<br />
3. Reload the spool and lock the cover..<br />
4. During operation to increase the cutting line simply switch the line trimmer<br />
off and then on again, this will restore the line to the correct length.<br />
SWITCHING ON AND OFF<br />
1. Connect the battery-box to power.<br />
2. Press the lock-off button (|3), then press the trigger switch (|4).<br />
3. To switch off, release the trigger switch. WARNING: The tool runs for approximately<br />
5 seconds after it has been switched off. Let the motor come<br />
to a complete standstill before setting the tool down.<br />
TRIMMING<br />
WARNING: Make sure that the work area is free of rocks, debris, lines and other foreign objects.<br />
1. Start the trimmer before approaching the grass to be cut.<br />
2. The automatic line feed mechanism releases 12mm from each line when the trimmer reaches a certain<br />
speed. If you need the spool to release more than 12mm of line per side, release the trigger until<br />
the speed falls beyond the trigger point then press the switch again. As the speed picks up a further<br />
12mm will be released for both lines.<br />
3. Cut the grass by swinging the trimmer from right to left and proceed slowly keeping the trimmer<br />
inclined forwards at an angle of about 30°. Light cuts are better than heavy cuts as they allow the<br />
cut grass to fall away from the spool preventing the grass from clogging the spool.<br />
4. High grass should be cut in layers always beginning from the top. Do not cut damp or wet grass. Do