Crystallography and Lectin Structure Database - CNRS
Crystallography and Lectin Structure Database - CNRS
Crystallography and Lectin Structure Database - CNRS

You also want an ePaper? Increase the reach of your titles
YUMPU automatically turns print PDFs into web optimized ePapers that Google loves.
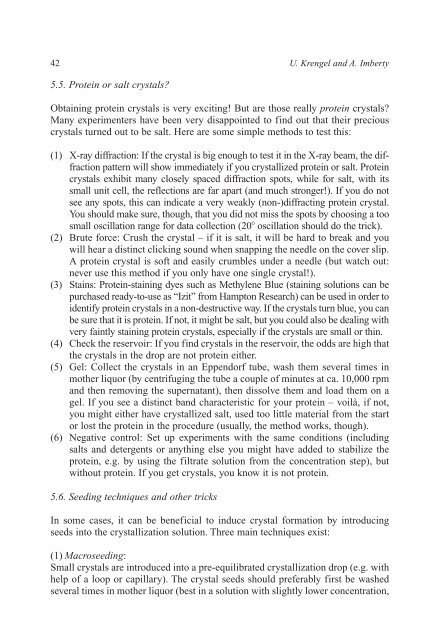
42 U. Krengel <strong>and</strong> A. Imberty<br />
5.5. Protein or salt crystals?<br />
Obtaining protein crystals is very exciting! But are those really protein crystals?<br />
Many experimenters have been very disappointed to find out that their precious<br />
crystals turned out to be salt. Here are some simple methods to test this:<br />
(1) X-ray diffraction: If the crystal is big enough to test it in the X-ray beam, the diffraction<br />
pattern will show immediately if you crystallized protein or salt. Protein<br />
crystals exhibit many closely spaced diffraction spots, while for salt, with its<br />
small unit cell, the reflections are far apart (<strong>and</strong> much stronger!). If you do not<br />
see any spots, this can indicate a very weakly (non-)diffracting protein crystal.<br />
You should make sure, though, that you did not miss the spots by choosing a too<br />
small oscillation range for data collection (20 oscillation should do the trick).<br />
(2) Brute force: Crush the crystal – if it is salt, it will be hard to break <strong>and</strong> you<br />
will hear a distinct clicking sound when snapping the needle on the cover slip.<br />
A protein crystal is soft <strong>and</strong> easily crumbles under a needle (but watch out:<br />
never use this method if you only have one single crystal!).<br />
(3) Stains: Protein-staining dyes such as Methylene Blue (staining solutions can be<br />
purchased ready-to-use as “Izit” from Hampton Research) can be used in order to<br />
identify protein crystals in a non-destructive way. If the crystals turn blue, you can<br />
be sure that it is protein. If not, it might be salt, but you could also be dealing with<br />
very faintly staining protein crystals, especially if the crystals are small or thin.<br />
(4) Check the reservoir: If you find crystals in the reservoir, the odds are high that<br />
the crystals in the drop are not protein either.<br />
(5) Gel: Collect the crystals in an Eppendorf tube, wash them several times in<br />
mother liquor (by centrifuging the tube a couple of minutes at ca. 10,000 rpm<br />
<strong>and</strong> then removing the supernatant), then dissolve them <strong>and</strong> load them on a<br />
gel. If you see a distinct b<strong>and</strong> characteristic for your protein – voilà, if not,<br />
you might either have crystallized salt, used too little material from the start<br />
or lost the protein in the procedure (usually, the method works, though).<br />
(6) Negative control: Set up experiments with the same conditions (including<br />
salts <strong>and</strong> detergents or anything else you might have added to stabilize the<br />
protein, e.g. by using the filtrate solution from the concentration step), but<br />
without protein. If you get crystals, you know it is not protein.<br />
5.6. Seeding techniques <strong>and</strong> other tricks<br />
In some cases, it can be beneficial to induce crystal formation by introducing<br />
seeds into the crystallization solution. Three main techniques exist:<br />
(1) Macroseeding:<br />
Small crystals are introduced into a pre-equilibrated crystallization drop (e.g. with<br />
help of a loop or capillary). The crystal seeds should preferably first be washed<br />
several times in mother liquor (best in a solution with slightly lower concentration,