The Legend of Zelda: Twilight Princess Game Guide
The Legend of Zelda: Twilight Princess Game Guide
The Legend of Zelda: Twilight Princess Game Guide

Create successful ePaper yourself
Turn your PDF publications into a flip-book with our unique Google optimized e-Paper software.
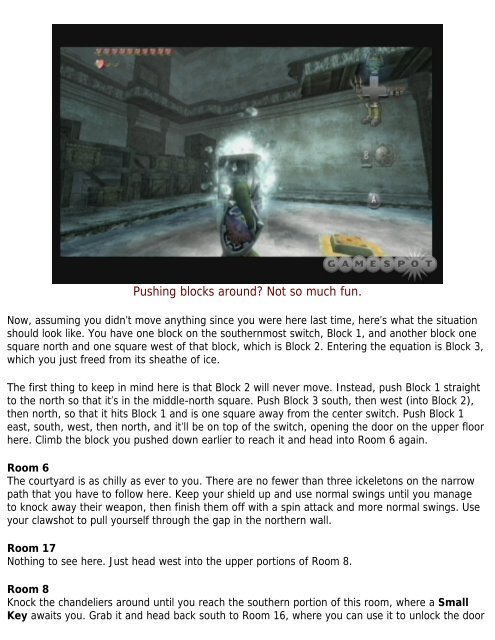
Pushing blocks around? Not so much fun.<br />
Now, assuming you didn’t move anything since you were here last time, here’s what the situation<br />
should look like. You have one block on the southernmost switch, Block 1, and another block one<br />
square north and one square west <strong>of</strong> that block, which is Block 2. Entering the equation is Block 3,<br />
which you just freed from its sheathe <strong>of</strong> ice.<br />
<strong>The</strong> first thing to keep in mind here is that Block 2 will never move. Instead, push Block 1 straight<br />
to the north so that it’s in the middle-north square. Push Block 3 south, then west (into Block 2),<br />
then north, so that it hits Block 1 and is one square away from the center switch. Push Block 1<br />
east, south, west, then north, and it’ll be on top <strong>of</strong> the switch, opening the door on the upper floor<br />
here. Climb the block you pushed down earlier to reach it and head into Room 6 again.<br />
Room 6<br />
<strong>The</strong> courtyard is as chilly as ever to you. <strong>The</strong>re are no fewer than three ickeletons on the narrow<br />
path that you have to follow here. Keep your shield up and use normal swings until you manage<br />
to knock away their weapon, then finish them <strong>of</strong>f with a spin attack and more normal swings. Use<br />
your clawshot to pull yourself through the gap in the northern wall.<br />
Room 17<br />
Nothing to see here. Just head west into the upper portions <strong>of</strong> Room 8.<br />
Room 8<br />
Knock the chandeliers around until you reach the southern portion <strong>of</strong> this room, where a Small<br />
Key awaits you. Grab it and head back south to Room 16, where you can use it to unlock the door