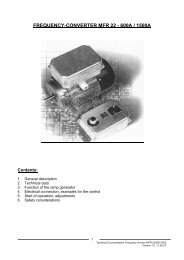
frequency-converter mfr 3 mp / mfr 3mp3 tfr 3 mp / tfr 3mp3 tfr 3 m - s3
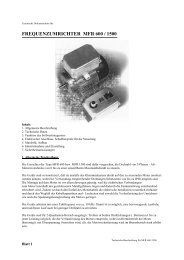
frequency-converter mfr 3 mp / mfr 3mp3 tfr 3 mp / tfr 3mp3 tfr 3 m - s3
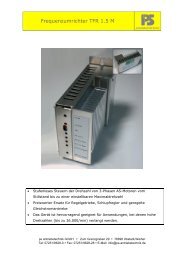
frequency-converter mfr 3 mp / mfr 3mp3 tfr 3 mp / tfr 3mp3 tfr 3 m - s3

Create successful ePaper yourself
Turn your PDF publications into a flip-book with our unique Google optimized e-Paper software.
Assembling - steps:<br />
(MFR only)<br />
1. Drilling and milling of the lower part of the case in accordance to the flange of the motor - terminal - case.<br />
Drilling the holes for the cable - terminations.<br />
Caution! Take care that the capacitors of the drive do not bu<strong>mp</strong> into the terminals of the motor!<br />
2. Assembling of the lower part of the case on the motor.<br />
3. Assembling of the cable - terminations.<br />
4. Assembling and fastening of the cables.<br />
5. Connecting of the plug-in - terminals to the wires of the cables and the motor.<br />
6. Placing the seal.<br />
7. Plug - in the connectors to the <strong>converter</strong>.<br />
9. Fixing of the upper case on the lower case.<br />
6. Start of operation, adjustments:<br />
It is recommanded to make the requ. adjustments within the incoming inspection.<br />
For OEM applications we offer as a special service without additional costs to make the adjustments within the<br />
final inspections in our house.<br />
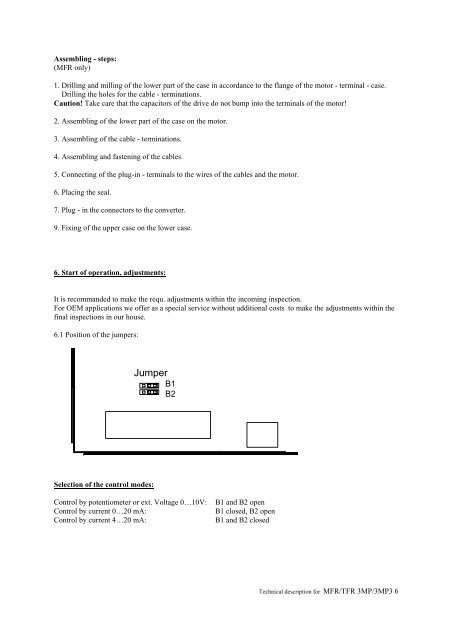
6.1 Position of the ju<strong>mp</strong>ers:<br />
Selection of the control modes:<br />
Ju<strong>mp</strong>er<br />
B1<br />
B2<br />
Control by potentiometer or ext. Voltage 0…10V: B1 and B2 open<br />
Control by current 0…20 mA: B1 closed, B2 open<br />
Control by current 4…20 mA: B1 and B2 closed<br />
Technical description for MFR/TFR 3MP/3MP3 6