Making Cyanotypes - Berkowitz - Educational Pages
Making Cyanotypes - Berkowitz - Educational Pages
Making Cyanotypes - Berkowitz - Educational Pages

You also want an ePaper? Increase the reach of your titles
YUMPU automatically turns print PDFs into web optimized ePapers that Google loves.
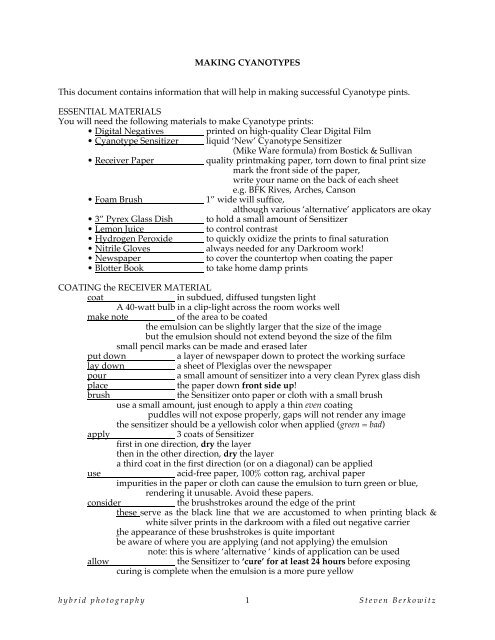
MAKING CYANOTYPES<br />
This document contains information that will help in making successful Cyanotype pints.<br />
ESSENTIAL MATERIALS<br />
You will need the following materials to make Cyanotype prints:<br />
• Digital Negatives printed on high-quality Clear Digital Film<br />
• Cyanotype Sensitizer liquid ‘New’ Cyanotype Sensitizer<br />
(Mike Ware formula) from Bostick & Sullivan<br />
• Receiver Paper quality printmaking paper, torn down to final print size<br />
mark the front side of the paper,<br />
write your name on the back of each sheet<br />
e.g. BFK Rives, Arches, Canson<br />
• Foam Brush 1” wide will suffice,<br />
although various ‘alternative’ applicators are okay<br />
• 3” Pyrex Glass Dish to hold a small amount of Sensitizer<br />
• Lemon Juice to control contrast<br />
• Hydrogen Peroxide to quickly oxidize the prints to final saturation<br />
• Nitrile Gloves always needed for any Darkroom work!<br />
• Newspaper to cover the countertop when coating the paper<br />
• Blotter Book to take home damp prints<br />
COATING the RECEIVER MATERIAL<br />
coat in subdued, diffused tungsten light<br />
A 40-watt bulb in a clip-light across the room works well<br />
make note of the area to be coated<br />
the emulsion can be slightly larger that the size of the image<br />
but the emulsion should not extend beyond the size of the film<br />
small pencil marks can be made and erased later<br />
put down a layer of newspaper down to protect the working surface<br />
lay down a sheet of Plexiglas over the newspaper<br />
pour a small amount of sensitizer into a very clean Pyrex glass dish<br />
place the paper down front side up!<br />
brush the Sensitizer onto paper or cloth with a small brush<br />
use a small amount, just enough to apply a thin even coating<br />
puddles will not expose properly, gaps will not render any image<br />
the sensitizer should be a yellowish color when applied (green = bad)<br />
apply 3 coats of Sensitizer<br />
first in one direction, dry the layer<br />
then in the other direction, dry the layer<br />
a third coat in the first direction (or on a diagonal) can be applied<br />
use acid-free paper, 100% cotton rag, archival paper<br />
impurities in the paper or cloth can cause the emulsion to turn green or blue,<br />
rendering it unusable. Avoid these papers.<br />
consider the brushstrokes around the edge of the print<br />
these serve as the black line that we are accustomed to when printing black &<br />
white silver prints in the darkroom with a filed out negative carrier<br />
the appearance of these brushstrokes is quite important<br />
be aware of where you are applying (and not applying) the emulsion<br />
note: this is where ‘alternative ‘ kinds of application can be used<br />
allow the Sensitizer to ‘cure’ for at least 24 hours before exposing<br />
curing is complete when the emulsion is a more pure yellow<br />
hybrid photography 1<br />
Steven <strong>Berkowitz</strong>
MAKING CYANOTYPES, cont’d.<br />
STORING COATED UNEXPOSED SHEETS<br />
The right side of the Process Darkroom is for coated unexposed sheets only.<br />
The drying screens are under the counter top.<br />
cover the screens with newspaper to prevent staining the screens<br />
placed coated sheets as far back as possible<br />
don’t leave coated sheets for more that 1 day<br />
there are many people using this darkroom<br />
USING the EXPOSURE BOX<br />
The Exposure Boxes have a series of Ultraviolet bulbs in the top that shine down onto a Vacuum<br />
Table that holds the negative tightly against the coated Cyanotype paper.<br />
When ready to make an exposure<br />
pull out the tray of the Exposure Unit<br />
open the top glass (carefully)<br />
clean the glass inside and out<br />
place the sensitized paper down (sensitizer facing up)<br />
place the negative down (emulsion/ink facing down)<br />
close the glass (carefully)<br />
push the tray back into the Exposure Unit<br />
turn on the power on the front right<br />
this turns on the power for the lights<br />
set the timer for the desired exposure time (in minutes)<br />
turn on the timer<br />
this will start the vacuum pump and also<br />
begin the exposure by turning on the lights<br />
EXPOSURE<br />
expose the print until the highlights start to change color<br />
start with an exposure of 7 min. in an Exposure Box in the Process Darkroom<br />
for Hand-Applied Modern Cyanotype Sensitizer from Bostick & Sullivan<br />
Visual inspection before finishing will show that the exposure is correct when the<br />
highlights are just turning a pale green color and the mid-tones are blue.<br />
The shadows will be a pale blue, but are mostly hidden under the densest part of<br />
the negative. When first removed from the vacuum table and separated from the<br />
negative, the print will appear almost ‘solarized’ due to the lighter shadows.<br />
Darker prints are better, especially if they will be bleached & toned later<br />
SINK SETUP<br />
While the exposure box is making an exposure, the trays can be set up in the sink. This can also<br />
be done before you even start exposing.<br />
The trays are set up as follows:<br />
DEVELOP tray filled with water<br />
WASH tray filled with water<br />
INTENSIFIER tray filled with water and lemon juice (1.5 oz : 1 quart)<br />
OXIDIZER tray filled with water with Hydrogen Peroxide (1.5 oz : 1 quart)<br />
HOLDING tray filled with water<br />
FINAL WASH tray filled with water<br />
hybrid photography 2<br />
Steven <strong>Berkowitz</strong>
MAKING CYANOTYPES, cont’d.<br />
DEVELOPER/ WASH<br />
develop prints in running, room temperature water for 20 minutes<br />
wash prints for at least 20 minutes<br />
to totally clear out all traces of unexposed emulsion.<br />
the wash water should be room temperature, between 68 and 72˚ F.<br />
hard water is not the best for this job due to the presence of calcium,<br />
but we have no control at the University.<br />
INTENSIFIER for CONTRAST CONTROL (optional)<br />
Acid will intensify the density of the Prussian Blue. Citric or Acetic acids will work fine and are<br />
commonly available products, e.g. lemon juice, orange juice or vinegar (stinky).<br />
add 3 TB Lemon Juice or Vinegar (supermarket variety)<br />
to 1 qt of water to make a small tray of Intensifier<br />
vary the dilution for more or less effect<br />
bathe prints for 30 seconds only<br />
re-rinse in plain running water<br />
re-mix this solution often as it is becomes exhausted quickly<br />
OXIDIZER for FINAL TONALITY (optional)<br />
Prints will not reach their full density until they are dry (usually overnight). This is because it<br />
takes time for the Sensitizer to oxidize in the air. It is possible to force an immediate<br />
oxidation of the prints by rinsing for about 30 seconds in a bath of dilute Hydrogen<br />
Peroxide. This brings prints to their full intensity. While not necessary, this will provide<br />
‘immediate gratification’.<br />
add 3 TB Hydrogen Peroxide (drugstore variety)<br />
to 1 qt of water to make a small tray of ‘Oxidizer’<br />
bathe prints for 30 seconds only<br />
re-rinse in plain running water<br />
FINAL WASH<br />
wash prints for 20 minutes to totally clear any residual chemistry<br />
DRYING<br />
Prints can be left to dry on the Drying Screens on the left side of the Process Room. Cover the<br />
screens with newspaper to prevent any staining. Toned Cyanotype prints may be of<br />
questionable archival quality until they are completely dry, so be careful to consider the<br />
effect of your actions on other people.<br />
Do not leave any prints on the drying screens for more than 1 day. Take home damp prints in<br />
a Blotter Book. Your prints will be safer and cleaner.<br />
CLEAN-UP PROCEDURE<br />
dump all trays down the drain<br />
wash all tongs and brushes, and store away<br />
wash the Plexiglas<br />
clear all newspapers off the counter tops and discard<br />
wipe down the countertops under where the newspaper was, just to be sure<br />
shut all water ensuring that no water is running anywhere<br />
including the jets at the bottom of the sink<br />
discard any empty chemical bottles<br />
wash 3 times with water and remove the labels (EHRS Requirement)<br />
hybrid photography 3<br />
Steven <strong>Berkowitz</strong>