V50DG "2e" - Vintec
V50DG "2e" - Vintec
V50DG "2e" - Vintec

You also want an ePaper? Increase the reach of your titles
YUMPU automatically turns print PDFs into web optimized ePapers that Google loves.
______________________________________________<br />
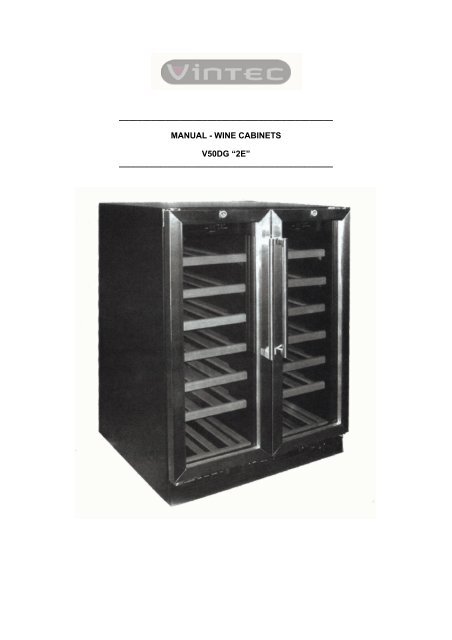
MANUAL - WINE CABINETS<br />
<strong>V50DG</strong> “2E”<br />
______________________________________________
Instruction Manual for <strong>V50DG</strong> “2e”<br />
Safety Instructions<br />
Attention<br />
Do Not Use An Extension Cord<br />
Use an exclusive wall outlet. Do not connect your wine cooler to extension cords or together with<br />
any other appliance in the same wall outlet. Do not splice the cord.<br />
Important Warning<br />
An empty refrigerator is a very dangerous attraction to children. Remove either the gasket, latches,<br />
lids or doors from unused appliances, or take some other action that will guarantee it harmless.<br />
Danger: Risk of child entrapment. Before you throw away your old refrigerator or freezer:<br />
• Take off the doors<br />
• Leave the shelves in place so that children may not easily climb inside.<br />
Don’t wait - Do it now!<br />
Safety Instructions<br />
Grounding Instructions<br />
This wine cooler must be grounded in the event of an electrical short circuit. Grounding reduces<br />
the risk of electrical shock. This wine cooler is equipped with a power cord having a grounding wire<br />
with a grounding plug. The wine cooler plug must be plugged into a properly installed and<br />
grounded electrical outlet.<br />
Warning Improper Use of the Grounding Plug can result in the risk of electric shock.<br />
Consult a qualified electrician or service person if the grounding instructions are not completely<br />
understood.<br />
Caution: Read and follow all safety rules and operating instructions before using this product.<br />
Installation Instructions<br />
Remove the exterior and interior packaging. Use a soft dry cloth to thoroughly wipe the outside of<br />
the wine cooler. Use a wet, lukewarm cloth to wipe the inside of the wine cooler.<br />
Air must circulate freely in front of the wine cooler. Avoid placing the wine cooler near any heat<br />
source, direct sunlight or moisture. Direct sunlight may affect the finish of the wine cooler. Nearby<br />
heat sources will cause higher electricity consumption.<br />
Installation of Shelves<br />
Wooden shelves<br />
To fit or remove the shelf, tilt the shelf as per the diagram and simply pull out, or push in the shelf<br />
until it sits on the support brackets securely.
Attention:<br />
• Store wine in sealed bottles.<br />
• Do not overload the cabinet.<br />
• Do not open the door unless necessary<br />
• Do not cover shelves with aluminium foil or any other shelf material which may prevent air circulation.<br />
• Should the wine cooler be stored without use for long periods it is suggested, after a careful<br />
cleaning, to leave the door ajar to allow air to circulate inside the cabinet in order to avoid possible<br />
formations of condensation, mold or odors.<br />
Operation:<br />
Before starting the wine cooler, ensure that the cabinet is leveled.<br />
Note: The power (RUN) indicator light is located on the LED control panel inside the unit and illuminates<br />
when the compressor (cooling) cycle is operational, turns off when the compressor (cooling)<br />
cycle is finished.
Setting The Temperature Controls:<br />
Each cooling compartment of the wine cooler (upper and lower) is independently controlled. To set<br />
the temperature:<br />
1. Connect the power cord to a properly grounded outlet. In the event of a power interruption,<br />
all previous temperature settings are automatically erased and each compartment will default<br />
to a preset temperature setting of<br />
7 o C (45 o F) Left compartment<br />
12 o C (54 o F) Right compartment<br />
2. Set the desired cooling temperature by pressing the buttons adjacent to the UP/DOWN<br />
program. Each depression of the buttons will scroll through the available temperature<br />
settings (for each compartment) in increments of 1 degree. The temperature selected will<br />
flash in the LED display for approximately 5 seconds, then revert back to display the<br />
temperature of the internal cabinet.<br />
Both compartments: The temperature setting can be adjusted from 4 o C - 18 o C<br />
(39 o F - 64 o F)<br />
3. To view the “set” temperature (anytime) press and hold the corresponding button for<br />
approximately 5 seconds, the “set” temperature will temporarily “flash” in the LED display for<br />
5 seconds<br />
Flashing LED = Set Temperature<br />
Steady LED = Cabinet Temperature<br />
4. This unit has the option to display temperatures in either Celsius or Fahrenheit. To change<br />
the setting press and hold both buttons (UP/DOWN) simultaneously for approximately 5<br />
seconds, a prompt (beep) will sound and the blue pilot light adjacent to the C or F mode<br />
illuminates.<br />
Note: To switch off the wine cooler press or toggle “ON / OFF” button located at the bottom. Please<br />
refer to the following diagram for location of the “ON / OFF” switch. When the wine cooler is not in<br />
use (operation) for a long period of time, leave the door partially open to prevent mold/mildew from<br />
forming inside the cabinet. Note: Always wait 3 to 5 minutes before restarting the unit if operation<br />
has been interrupted.
Defrosting / Condensation<br />
Your wine cooler is designed with an “Auto-Cycle” defrost system. During the “Off Cycle” the refrigerated<br />
surfaces of the wine cooler (interior rear wall) defrost automatically. The defrost water is<br />
channeled into a condensate drain pan which is located at the back of the wine cooler next to the<br />
compressor from where it evaporates.<br />
Care and Maintenance<br />
Upon receiving your wine cooler, leave the door open for 24 hours. When cleaning the inside of the<br />
wine cooler you can use a solution of a tablespoon of baking soda to one (1) quart of water, or a<br />
mild soap suds solution, or some mild detergent. Shelving does not require cleaning. To clean the<br />
exterior cabinet of your wine cooler, use a soft damp cloth with mild detergent or appliance cleaner.<br />
Storing your wine Cooler<br />
If you intend not to use the wine cooler for short periods of time, leave the control panel at its usual<br />
settings.<br />
During longer periods of absences:<br />
1. Remove bottles from wine cooler.<br />
2. Unplug wine cooler from the electrical outlet.<br />
3. Thoroughly clean the inside and outside of the wine cooler.<br />
4. Leave the door open to avoid possible formations of condensation, mold or odors.<br />
What to do regarding power failure<br />
Most power failures are corrected with a short period time. An hour or two loss of power will not<br />
affect your wine cooler temperatures. To protect your wines while the power is off, you should<br />
minimise the number of door openings. For power failures of longer durations, take steps to protect<br />
your wine.<br />
If you have to move your wine cooler<br />
Remove all bottles from the wine cooler and securely fasten down all loose items inside the wine<br />
cooler. To avoid damaging the leveling legs, turn them all the way into the base of the unit.<br />
Humidity Maintenance System<br />
The wine cooler is equipped with a system for maintaining the correct level of humidity. If humidity<br />
is too low, snap the small plastic reservoir on to the tope rack of the wine cooler. Fill this reservoir<br />
3/4 full with water.<br />
Check water level occasionally to refill.<br />
How to Replace LED light<br />
Step 1: Remove the electrical box from cabinet (note cut off the power firstly when removing<br />
LED light)<br />
Step 2: Remove the LED light from control board (Fig.1)<br />
Step 3: Accord to (Fig. 2, 3, 4) press the four buckle of the LED light bracket to the sides, then<br />
take out the LED light.<br />
Step 4: When removing the LED light, remember to remove all three pieces LED light at one<br />
time.