TREX® FENCING
TREX® FENCING
TREX® FENCING

Create successful ePaper yourself
Turn your PDF publications into a flip-book with our unique Google optimized e-Paper software.
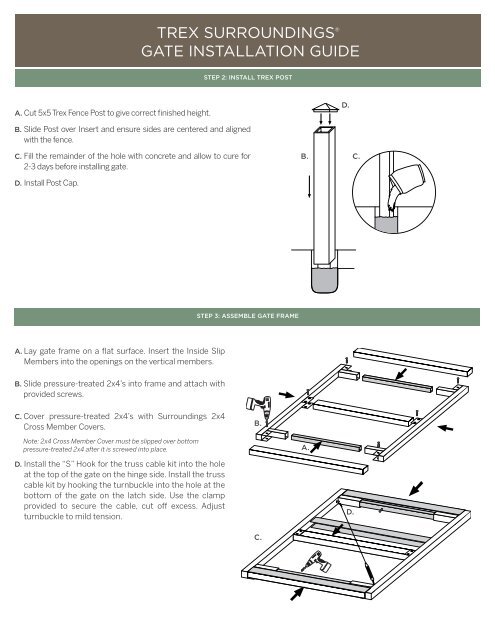
a. Cut 5x5 Trex Fence Post to give correct finished height.<br />
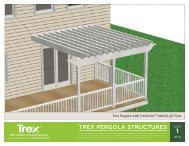
Trex sUrroUnDings ®<br />
gATe insTAllATion gUiDe<br />
steP 2: install trex Post<br />
b. slide Post over Insert and ensure sides are centered and aligned<br />
with the fence.<br />
c. Fill the remainder of the hole with concrete and allow to cure for<br />
2-3 days before installing gate.<br />
D. Install Post Cap.<br />
a. Lay gate frame on a flat surface. Insert the Inside slip<br />
members into the openings on the vertical members.<br />
b. slide pressure-treated 2x4’s into frame and attach with<br />
provided screws.<br />
c. Cover pressure-treated 2x4’s with surroundings 2x4<br />
Cross member Covers.<br />
Note: 2x4 Cross Member Cover must be slipped over bottom<br />
pressure-treated 2x4 after it is screwed into place.<br />
D. Install the “s” Hook for the truss cable kit into the hole<br />
at the top of the gate on the hinge side. Install the truss<br />
cable kit by hooking the turnbuckle into the hole at the<br />
bottom of the gate on the latch side. Use the clamp<br />
provided to secure the cable, cut off excess. Adjust<br />
turnbuckle to mild tension.<br />
steP 3: assemble gate frame<br />
b.<br />
c.<br />
b. c.<br />
a.<br />
D.<br />
D.<br />
Trex sUrroUnDings ®<br />
gATe insTAllATion gUiDe<br />
tools neeDeD surrounDings steP 4: attacH gate PicKets comPonents<br />
a. Attach surroundings Pickets to frame and pressure-treated<br />
2x4’s as described in surroundings Installation Instructions.<br />
b. Install the first and last pickets flush with the edge of the<br />
frame. Leave a 1 /16” gap between the central pickets.<br />
a. Attach hinges to gate. screws must attach to the<br />
metal frame through the surroundings Pickets.<br />
b. set gate on blocks to level. Allow 1” on either side<br />
of gate opening. Attach hinges to gate post.<br />
1/16”<br />
steP 5: attacH Hinges<br />
steP 6: install latcH<br />
a. Install latch with screws into metal or wood of gate frame.<br />
Two-sided latch shown.<br />
Looking for a unique gate? The flexibility of Trex makes<br />
creating a custom gate achievable, limited only by one’s<br />
imagination. For a customized gate, please consult your<br />
local installer.<br />
a.<br />
x2<br />
x2<br />
b.<br />
x4<br />
x4<br />
21