Oneway Wolverine Dressing Jig Instructions - Rockler.com
Oneway Wolverine Dressing Jig Instructions - Rockler.com
Oneway Wolverine Dressing Jig Instructions - Rockler.com

You also want an ePaper? Increase the reach of your titles
YUMPU automatically turns print PDFs into web optimized ePapers that Google loves.
For all your woodturning needs!<br />
241 Monteith Ave, Stratford, ON, N5A 2P6, Canada<br />
Phone: 1-519-271-7611<br />
Fax: 1-519-271-8892<br />
E-Mail: postbox@oneway.ca<br />
<strong>Wolverine</strong> <strong>Dressing</strong> <strong>Jig</strong><br />
<strong>Instructions</strong><br />
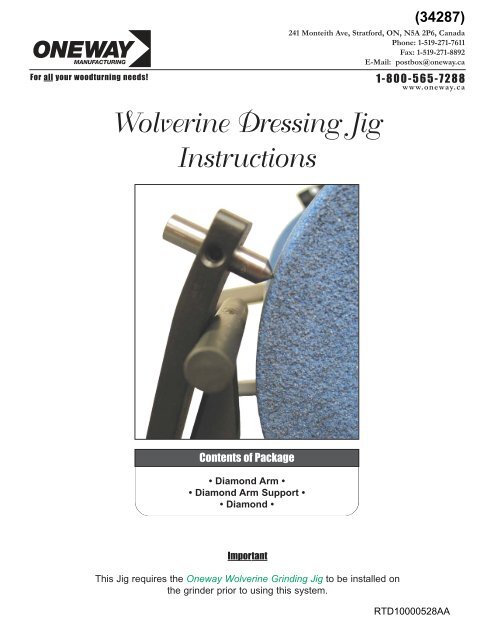
Contents of Package<br />
• Diamond Arm •<br />
• Diamond Arm Support •<br />
• Diamond •<br />
Important<br />
This <strong>Jig</strong> requires the <strong>Oneway</strong> <strong>Wolverine</strong> Grinding <strong>Jig</strong> to be installed on<br />
the grinder prior to using this system.<br />
(34287)<br />
1-800-565-7288<br />
www.oneway.ca<br />
RTD10000528AA
Mounting the Diamond<br />
Please read the supplied sheet “How to use Diamond <strong>Dressing</strong><br />
Tools”. These instructions explain the importance of having a<br />
negative lead angle on the diamond.<br />
Set the diamond in the hole of the dressing arm.<br />
Setting up the Dresser<br />
1. Mount the base as described in the Grinding <strong>Jig</strong> <strong>Instructions</strong>.<br />
Please note that if you are using a 6” grinder, it may be necessary<br />
to mount the grinder on a board approx. 1” thick.<br />
2. With your grinder turned off, put the support arm into the<br />
base (see Fig. 1). Put the adjusting screw into the hole in the<br />
dressing arm support and lay the body of the dressing arm on<br />
the round bar of the support arm (see Fig. 1). Move the support<br />
arm in or out until the diamond is just clear of the<br />
wheel.<br />
3. Clamp the support arm in place and spin the wheel to make<br />
sure that the diamond does not touch the wheel. Use the fine<br />
adjust knob to move the diamond in or out until the diamond<br />
just clears the wheel.<br />
Important: Be sure to continue rotating the wheel by hand to be<br />
sure there are no high spots on the wheel, and to move the diamond<br />
back and forth across the wheel to avoid possible high<br />
spots on the edges.<br />
<strong>Dressing</strong> your Grinding Wheels<br />
Once you are certain the diamond will not touch your wheel,<br />
turn on the grinder. Hold the dressing arm down firmly and turn<br />
the adjusting knob to move the diamond into the wheel. After<br />
turning the knob 1/4 turn, move the diamond back and forth<br />
across the wheel.<br />
Manufacturers Warranty<br />
This <strong>Oneway</strong> product is backed by a warranty period of 5 years from the<br />
date of purchase.<br />
<strong>Oneway</strong> hereby agrees to repair or replace, any defects due to faulty material<br />
or workmanship, provided that:<br />
1. The warranty period has not elapsed. Proof of purchase date (sales<br />
receipt etc.) is required prior to any repair taking place.<br />
2. The product has not been altered or modified in any way.<br />
3. The product has not been subjected to misuse, abuse, negligence, or<br />
was not used strictly in accordance with these instructions.<br />
4. Transportation costs incurred in returning the product to <strong>Oneway</strong><br />
Manufacturing is pre-paid by the customer.<br />
This warranty does not cover any costs or damages arising directly or indirectly<br />
from the operation of this product.<br />
No other guarantee, written or verbal, is authorized by <strong>Oneway</strong><br />
Manufacturing.<br />
Our policy is one of continuous improvement. We therefore reserve the right to<br />
change the specification and/or design without notice.<br />
Warning: Never turn the adjusting knob more than 1/4 turn<br />
without making a dressing pass across the wheel. This will<br />
ensure that you do not damage your diamond by trying to<br />
remove too much material from your wheel at once.<br />
Be sure to feed off the wheel on both sides. It should take<br />
between 1 to 5 seconds to dress across the face of your wheel.<br />
Continue dressing until the wheel is clean, round, free of glaze,<br />
and a uniform color.<br />
Points to Remember<br />
1. The diamond is fragile and can be knocked out of the mounted<br />
point.<br />
2. Use constant, but not excessive, pressure to hold the dressing<br />
arm down against the support arm.<br />
3. Never turn the adjusting knob more than 1/4 turn between<br />
dressing passes.<br />
4. Grinding wheels are designed for specific applications. If<br />
you follow the instructions here, you should get good results<br />
from your wheel. If you don’t, here are some suggestions:<br />
• Dress across the face a little faster and your wheel will<br />
cut a little more freely.<br />
• Dress across the face a little slower and your wheel will<br />
give a better finish.<br />
• Consider buying a wheel suited to your grinding requirements.<br />
The ONEWAY dresser will allow you to keep you<br />
wheel a lot longer and makes an expensive wheel a much<br />
better investment.<br />
Figure 1.<br />
Diamond<br />
<strong>Dressing</strong> Arm<br />
Support Arm<br />
Adjusting<br />
Knob