

Light Modifiers

Create successful ePaper yourself
Turn your PDF publications into a flip-book with our unique Google optimized e-Paper software.
ferent levels of brightness and provides an appropriate shutter speed/aperture<br />
combination to record these “averaged” tones at a value of 18 percent gray. Unfortunately,<br />
unless your subject or scene actually consists of tones that average out<br />
to 18 percent gray (and few do), using your camera’s meter will not provide an<br />
accurate brightness rendition.<br />
For example, if you are photographing a bride in a white dress, the reflectedlight<br />
meter will see all the light tones from that dress and try to average it down<br />
to 18 percent gray—producing an underexposure (the dress will record as gray).<br />
Conversely, if you are photographing a groom in a black tuxedo, the reflectedlight<br />
meter will see almost no light bouncing back from the fabric and try to average<br />
it up to 18 percent gray—producing an overexposure (the tuxedo will<br />
record as gray). This becomes tricky at best when both extremes (black tuxedo and<br />
white dress) appear side by side in an image. To record accurate tones, you will<br />
have to compensate via your exposure settings—using settings other than those<br />
suggested by the meter.<br />
Incident-<strong>Light</strong> Meters. A more accurate method is to measure the brightness of<br />
a scene using an incident-light meter. Incident-light meters measure the light<br />
falling on the subject—the actual light values in the scene, regardless of the subject<br />
being photographed. In the bride and groom example, recording the light “falling<br />
on” the subjects will ensure that you record the white dress as white and the black<br />
tuxedo as black.<br />
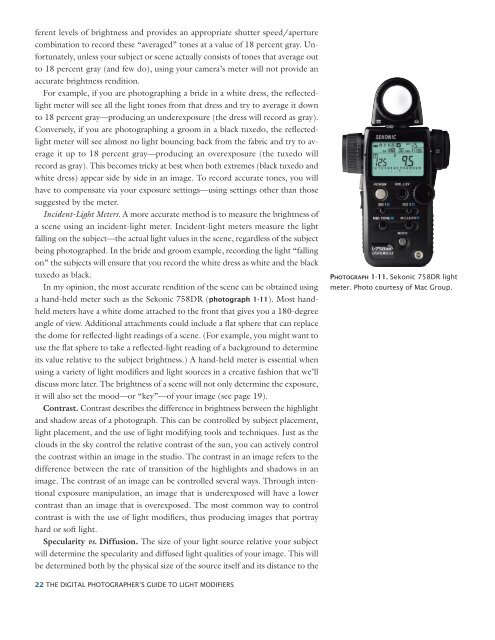
In my opinion, the most accurate rendition of the scene can be obtained using<br />
a hand-held meter such as the Sekonic 758DR (photograph 1-11). Most handheld<br />
meters have a white dome attached to the front that gives you a 180-degree<br />
angle of view. Additional attachments could include a flat sphere that can replace<br />
the dome for reflected-light readings of a scene. (For example, you might want to<br />
use the flat sphere to take a reflected-light reading of a background to determine<br />
its value relative to the subject brightness.) A hand-held meter is essential when<br />
using a variety of light modifiers and light sources in a creative fashion that we’ll<br />
discuss more later. The brightness of a scene will not only determine the exposure,<br />
it will also set the mood—or “key”—of your image (see page 19).<br />
Contrast. Contrast describes the difference in brightness between the highlight<br />
and shadow areas of a photograph. This can be controlled by subject placement,<br />
light placement, and the use of light modifying tools and techniques. Just as the<br />
clouds in the sky control the relative contrast of the sun, you can actively control<br />
the contrast within an image in the studio. The contrast in an image refers to the<br />
difference between the rate of transition of the highlights and shadows in an<br />
image. The contrast of an image can be controlled several ways. Through intentional<br />
exposure manipulation, an image that is underexposed will have a lower<br />
contrast than an image that is overexposed. The most common way to control<br />
contrast is with the use of light modifiers, thus producing images that portray<br />
hard or soft light.<br />
Specularity vs. Diffusion. The size of your light source relative your subject<br />
will determine the specularity and diffused light qualities of your image. This will<br />
be determined both by the physical size of the source itself and its distance to the<br />
22 THE DIGITAL PHOTOGRAPHER’S GUIDE TO LIGHT MODIFIERS<br />
PHOTOGRAPH 1-11. Sekonic 758DR light<br />
meter. Photo courtesy of Mac Group.