

Download Installation Guidelines - Iplex Pipelines
Download Installation Guidelines - Iplex Pipelines
Download Installation Guidelines - Iplex Pipelines

You also want an ePaper? Increase the reach of your titles
YUMPU automatically turns print PDFs into web optimized ePapers that Google loves.
8.5 <strong>Installation</strong> <strong>Guidelines</strong> – Slip Lining<br />
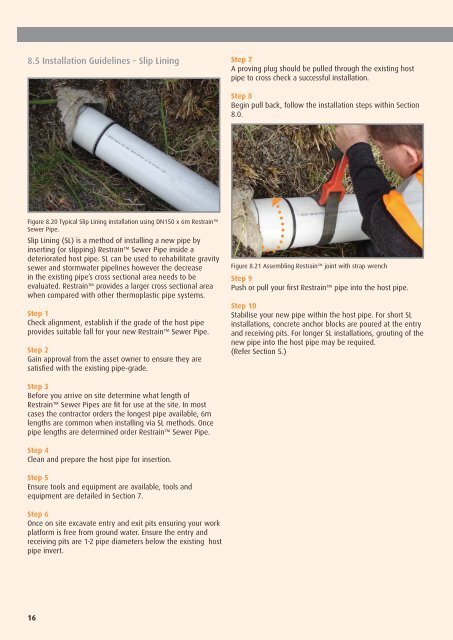
Figure 8.20 Typical Slip Lining installation using DN150 x 6m Restrain<br />
Sewer Pipe.<br />
Slip Lining (SL) is a method of installing a new pipe by<br />
inserting (or slipping) Restrain Sewer Pipe inside a<br />
deteriorated host pipe. SL can be used to rehabilitate gravity<br />
sewer and stormwater pipelines however the decrease<br />
in the existing pipe’s cross sectional area needs to be<br />
evaluated. Restrain provides a larger cross sectional area<br />
when compared with other thermoplastic pipe systems.<br />
Step 1<br />
Check alignment, establish if the grade of the host pipe<br />
provides suitable fall for your new Restrain Sewer Pipe.<br />
Step 2<br />
Gain approval from the asset owner to ensure they are<br />
satisfi ed with the existing pipe-grade.<br />
Step 3<br />
Before you arrive on site determine what length of<br />
Restrain Sewer Pipes are fi t for use at the site. In most<br />
cases the contractor orders the longest pipe available, 6m<br />
lengths are common when installing via SL methods. Once<br />
pipe lengths are determined order Restrain Sewer Pipe.<br />
Step 4<br />
Clean and prepare the host pipe for insertion.<br />
Step 5<br />
Ensure tools and equipment are available, tools and<br />
equipment are detailed in Section 7.<br />
Step 6<br />
Once on site excavate entry and exit pits ensuring your work<br />
platform is free from ground water. Ensure the entry and<br />
receiving pits are 1-2 pipe diameters below the existing host<br />
pipe invert.<br />
16<br />
Step 7<br />
A proving plug should be pulled through the existing host<br />
pipe to cross check a successful installation.<br />
Step 8<br />
Begin pull back, follow the installation steps within Section<br />
8.0.<br />
Figure 8.21 Assembling Restrain joint with strap wrench<br />
Step 9<br />
Push or pull your fi rst Restrain pipe into the host pipe.<br />
Step 10<br />
Stabilise your new pipe within the host pipe. For short SL<br />
installations, concrete anchor blocks are poured at the entry<br />
and receiving pits. For longer SL installations, grouting of the<br />
new pipe into the host pipe may be required.<br />
(Refer Section 5.)