Service Manual Analyzer for Combi Screen® 11 SYS urine ... - Alere
Service Manual Analyzer for Combi Screen® 11 SYS urine ... - Alere
Service Manual Analyzer for Combi Screen® 11 SYS urine ... - Alere

You also want an ePaper? Increase the reach of your titles
YUMPU automatically turns print PDFs into web optimized ePapers that Google loves.
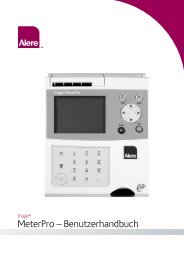
<strong>Service</strong> <strong>Manual</strong> <strong>Combi</strong>Scan 100<br />
22<br />
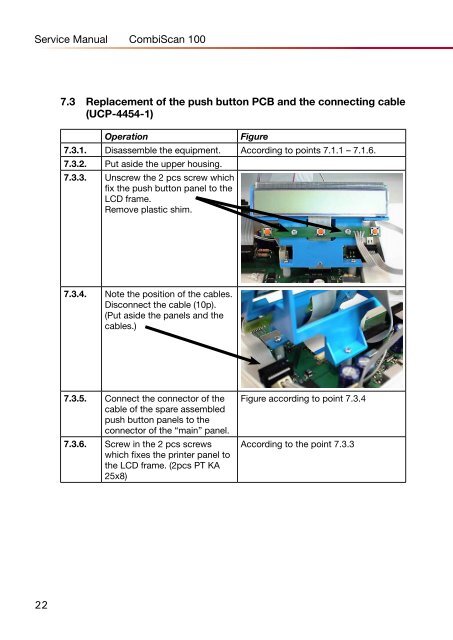
7.3 Replacement of the push button PCB and the connecting cable<br />
(UCP-4454-1)<br />
Operation Figure<br />
7.3.1. Disassemble the equipment. According to points 7.1.1 – 7.1.6.<br />
7.3.2. Put aside the upper housing.<br />
7.3.3. Unscrew the 2 pcs screw which<br />
fix the push button panel to the<br />
LCD frame.<br />
Remove plastic shim.<br />
7.3.4. Note the position of the cables.<br />
Disconnect the cable (10p).<br />
(Put aside the panels and the<br />
cables.)<br />
7.3.5. Connect the connector of the<br />
cable of the spare assembled<br />
push button panels to the<br />
connector of the “main” panel.<br />
7.3.6. Screw in the 2 pcs screws<br />
which fixes the printer panel to<br />
the LCD frame. (2pcs PT KA<br />
25x8)<br />
Figure according to point 7.3.4<br />
According to the point 7.3.3