Audio Buddy User Guide - M-Audio
Audio Buddy User Guide - M-Audio
Audio Buddy User Guide - M-Audio
You also want an ePaper? Increase the reach of your titles
YUMPU automatically turns print PDFs into web optimized ePapers that Google loves.
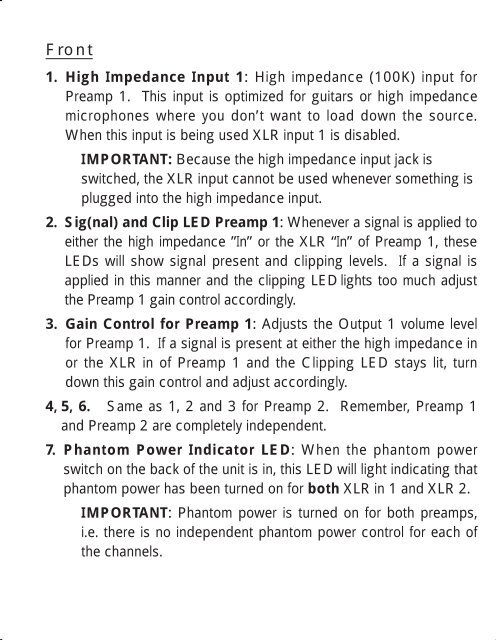
Front<br />
1. High Impedance Input 1: High impedance (100K) input for<br />
Preamp 1. This input is optimized for guitars or high impedance<br />
microphones where you don’t want to load down the source.<br />
When this input is being used XLR input 1 is disabled.<br />
IMPORTANT: Because the high impedance input jack is<br />
switched, the XLR input cannot be used whenever something is<br />
plugged into the high impedance input.<br />
2. Sig(nal) and Clip LED Preamp 1: Whenever a signal is applied to<br />
either the high impedance ”In” or the XLR “In” of Preamp 1, these<br />
LEDs will show signal present and clipping levels. If a signal is<br />
applied in this manner and the clipping LED lights too much adjust<br />
the Preamp 1 gain control accordingly.<br />
3. Gain Control for Preamp 1: Adjusts the Output 1 volume level<br />
for Preamp 1. If a signal is present at either the high impedance in<br />
or the XLR in of Preamp 1 and the Clipping LED stays lit, turn<br />
down this gain control and adjust accordingly.<br />
4, 5, 6. Same as 1, 2 and 3 for Preamp 2. Remember, Preamp 1<br />
and Preamp 2 are completely independent.<br />
7. Phantom Power Indicator LED: When the phantom power<br />
switch on the back of the unit is in, this LED will light indicating that<br />
phantom power has been turned on for both XLR in 1 and XLR 2.<br />
IMPORTANT: Phantom power is turned on for both preamps,<br />
i.e. there is no independent phantom power control for each of<br />
the channels.


