Documentary Video Boot Camp : Syllabus
Documentary Video Boot Camp : Syllabus
Documentary Video Boot Camp : Syllabus

Create successful ePaper yourself
Turn your PDF publications into a flip-book with our unique Google optimized e-Paper software.
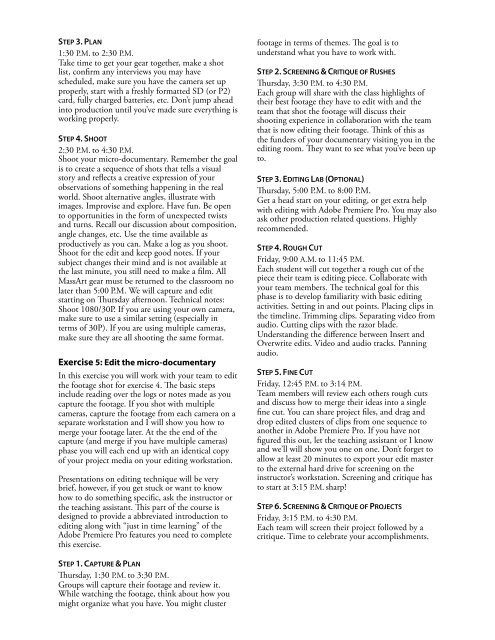
STEP 3. PLAN<br />
1:30 P.M. to 2:30 P.M.<br />
Take time to get your gear together, make a shot<br />
list, conrm any interviews you may have<br />
scheduled, make sure you have the camera set up<br />
properly, start with a freshly formatted SD (or P2)<br />
card, fully charged batteries, etc. Don’t jump ahead<br />
into production until you’ve made sure everything is<br />
working properly.<br />
STEP 4. SHOOT<br />
2:30 P.M. to 4:30 P.M.<br />
Shoot your micro-documentary. Remember the goal<br />
is to create a sequence of shots that tells a visual<br />
story and reects a creative expression of your<br />
observations of something happening in the real<br />
world. Shoot alternative angles, illustrate with<br />
images. Improvise and explore. Have fun. Be open<br />
to opportunities in the form of unexpected twists<br />
and turns. Recall our discussion about composition,<br />
angle changes, etc. Use the time available as<br />
productively as you can. Make a log as you shoot.<br />
Shoot for the edit and keep good notes. If your<br />
subject changes their mind and is not available at<br />
the last minute, you still need to make a lm. All<br />
MassArt gear must be returned to the classroom no<br />
later than 5:00 P.M. We will capture and edit<br />
starting on ursday afternoon. Technical notes:<br />
Shoot 1080/30P. If you are using your own camera,<br />
make sure to use a similar setting (especially in<br />
terms of 30P). If you are using multiple cameras,<br />
make sure they are all shooting the same format.<br />
Exercise 5: Edit the micro-documentary<br />
In this exercise you will work with your team to edit<br />
the footage shot for exercise 4. e basic steps<br />
include reading over the logs or notes made as you<br />
capture the footage. If you shot with multiple<br />
cameras, capture the footage from each camera on a<br />
separate workstation and I will show you how to<br />
merge your footage later. At the the end of the<br />
capture (and merge if you have multiple cameras)<br />
phase you will each end up with an identical copy<br />
of your project media on your editing workstation.<br />
Presentations on editing technique will be very<br />
brief, however, if you get stuck or want to know<br />
how to do something specic, ask the instructor or<br />
the teaching assistant. is part of the course is<br />
designed to provide a abbreviated introduction to<br />
editing along with “just in time learning” of the<br />
Adobe Premiere Pro features you need to complete<br />
this exercise.<br />
STEP 1. CAPTURE & PLAN<br />
ursday, 1:30 P.M. to 3:30 P.M.<br />
Groups will capture their footage and review it.<br />
While watching the footage, think about how you<br />
might organize what you have. You might cluster<br />
footage in terms of themes. e goal is to<br />
understand what you have to work with.<br />
STEP 2. SCREENING & CRITIQUE OF RUSHES<br />
ursday, 3:30 P.M. to 4:30 P.M.<br />
Each group will share with the class highlights of<br />
their best footage they have to edit with and the<br />
team that shot the footage will discuss their<br />
shooting experience in collaboration with the team<br />
that is now editing their footage. ink of this as<br />
the funders of your documentary visiting you in the<br />
editing room. ey want to see what you’ve been up<br />
to.<br />
STEP 3. EDITING LAB (OPTIONAL)<br />
ursday, 5:00 P.M. to 8:00 P.M.<br />
Get a head start on your editing, or get extra help<br />
with editing with Adobe Premiere Pro. You may also<br />
ask other production related questions. Highly<br />
recommended.<br />
STEP 4. ROUGH CUT<br />
Friday, 9:00 A.M. to 11:45 P.M.<br />
Each student will cut together a rough cut of the<br />
piece their team is editing piece. Collaborate with<br />
your team members. e technical goal for this<br />
phase is to develop familiarity with basic editing<br />
activities. Setting in and out points. Placing clips in<br />
the timeline. Trimming clips. Separating video from<br />
audio. Cutting clips with the razor blade.<br />
Understanding the difference between Insert and<br />
Overwrite edits. <strong>Video</strong> and audio tracks. Panning<br />
audio.<br />
STEP 5. FINE CUT<br />
Friday, 12:45 P.M. to 3:14 P.M.<br />
Team members will review each others rough cuts<br />
and discuss how to merge their ideas into a single<br />
ne cut. You can share project les, and drag and<br />
drop edited clusters of clips from one sequence to<br />
another in Adobe Premiere Pro. If you have not<br />
gured this out, let the teaching assistant or I know<br />
and we’ll will show you one on one. Don’t forget to<br />
allow at least 20 minutes to export your edit master<br />
to the external hard drive for screening on the<br />
instructor’s workstation. Screening and critique has<br />
to start at 3:15 P.M. sharp!<br />
STEP 6. SCREENING & CRITIQUE OF PROJECTS<br />
Friday, 3:15 P.M. to 4:30 P.M.<br />
Each team will screen their project followed by a<br />
critique. Time to celebrate your accomplishments.