US-122L & US-144 Windows Drivers v. 1.10 Release - Tascam
US-122L & US-144 Windows Drivers v. 1.10 Release - Tascam
US-122L & US-144 Windows Drivers v. 1.10 Release - Tascam
Create successful ePaper yourself
Turn your PDF publications into a flip-book with our unique Google optimized e-Paper software.
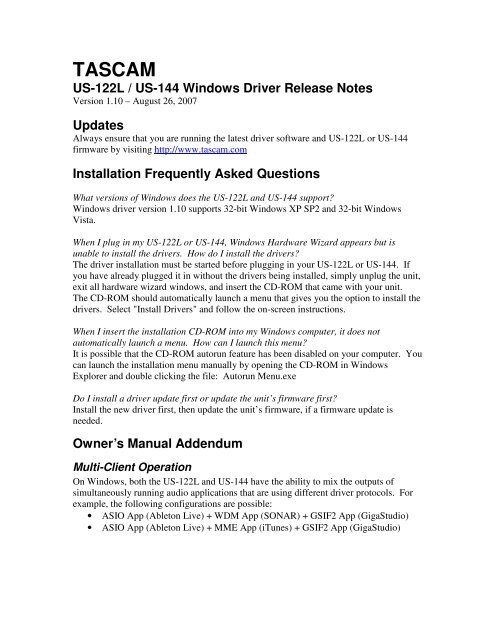
TASCAM<br />
<strong>US</strong>-<strong>122L</strong> / <strong>US</strong>-<strong>144</strong> <strong>Windows</strong> Driver <strong>Release</strong> Notes<br />
Version <strong>1.10</strong> – August 26, 2007<br />
Updates<br />
Always ensure that you are running the latest driver software and <strong>US</strong>-<strong>122L</strong> or <strong>US</strong>-<strong>144</strong><br />
firmware by visiting http://www.tascam.com<br />
Installation Frequently Asked Questions<br />
What versions of <strong>Windows</strong> does the <strong>US</strong>-<strong>122L</strong> and <strong>US</strong>-<strong>144</strong> support?<br />
<strong>Windows</strong> driver version <strong>1.10</strong> supports 32-bit <strong>Windows</strong> XP SP2 and 32-bit <strong>Windows</strong><br />
Vista.<br />
When I plug in my <strong>US</strong>-<strong>122L</strong> or <strong>US</strong>-<strong>144</strong>, <strong>Windows</strong> Hardware Wizard appears but is<br />
unable to install the drivers. How do I install the drivers?<br />
The driver installation must be started before plugging in your <strong>US</strong>-<strong>122L</strong> or <strong>US</strong>-<strong>144</strong>. If<br />
you have already plugged it in without the drivers being installed, simply unplug the unit,<br />
exit all hardware wizard windows, and insert the CD-ROM that came with your unit.<br />
The CD-ROM should automatically launch a menu that gives you the option to install the<br />
drivers. Select "Install <strong>Drivers</strong>" and follow the on-screen instructions.<br />
When I insert the installation CD-ROM into my <strong>Windows</strong> computer, it does not<br />
automatically launch a menu. How can I launch this menu?<br />
It is possible that the CD-ROM autorun feature has been disabled on your computer. You<br />
can launch the installation menu manually by opening the CD-ROM in <strong>Windows</strong><br />
Explorer and double clicking the file: Autorun Menu.exe<br />
Do I install a driver update first or update the unit’s firmware first?<br />
Install the new driver first, then update the unit’s firmware, if a firmware update is<br />
needed.<br />
Owner’s Manual Addendum<br />
Multi-Client Operation<br />
On <strong>Windows</strong>, both the <strong>US</strong>-<strong>122L</strong> and <strong>US</strong>-<strong>144</strong> have the ability to mix the outputs of<br />
simultaneously running audio applications that are using different driver protocols. For<br />
example, the following configurations are possible:<br />
• ASIO App (Ableton Live) + WDM App (SONAR) + GSIF2 App (GigaStudio)<br />
• ASIO App (Ableton Live) + MME App (iTunes) + GSIF2 App (GigaStudio)
<strong>Windows</strong> Driver Version <strong>1.10</strong> <strong>Release</strong> Notes<br />
New Features in <strong>1.10</strong><br />
• Support for 32-bit <strong>Windows</strong> Vista has been added.<br />
Known Issues in <strong>1.10</strong><br />
• PCs with nVIDIA <strong>US</strong>B controller chips may not offer optimum performance for<br />
audio streaming over <strong>US</strong>B 2.0, resulting in audio artifacts. A higher latency<br />
setting or the addition of a non-nVIDIA <strong>US</strong>B 2.0 card is required.<br />
o To find out what controller chip your PC uses:<br />
Go to START > Control Panel > System<br />
Click on the Hardware tab, then the Device Manager button<br />
Click the “+” (plus) sign next to Universal Serial Bus Controllers<br />
You will see the chip manufacturer of all installed <strong>US</strong>B controllers<br />
• If a WDM audio app (iTunes / <strong>Windows</strong> Media Player) is running and a <strong>US</strong>-<strong>122L</strong><br />
/ <strong>US</strong>-<strong>144</strong> unit changes its sample rate, the audio will play at the wrong pitch. The<br />
workaround is to quit the WDM audio app and launch it again. The app should<br />
now play audio at the correct pitch.<br />
• In order to use a <strong>US</strong>-<strong>122L</strong> or <strong>US</strong>-<strong>144</strong> reliably with <strong>Windows</strong> Media Player, select<br />
the <strong>US</strong>-<strong>122L</strong> or <strong>US</strong>-<strong>144</strong> as the Sound playback Default Device in the Audio tab of<br />
the Sounds and Audio Devices control panel. Do not configure the audio<br />
interface from within <strong>Windows</strong> Media Player.<br />
• The <strong>US</strong>-<strong>122L</strong> and <strong>US</strong>-<strong>144</strong> drivers are not currently compatible with 64-bit<br />
<strong>Windows</strong>.<br />
Miscellaneous<br />
• The MIDI Activity and <strong>US</strong>B LEDs may continue to illuminate after a connected<br />
computer is powered off.<br />
• The <strong>US</strong>-<strong>144</strong>'s digital input will not be available if the clock mode in the control<br />
panel is set to "Internal". To use the digital input, set the clock mode to<br />
“Automatic” so the <strong>US</strong>-<strong>144</strong> will clock to the external device.<br />
• The MIDI IN indicator lights when any MIDI data is being received at the MIDI<br />
IN connector.<br />
o NOTE: A device that transmits the MIDI Active Sense message will<br />
cause this indicator to flash. To avoid this, disable the use of MIDI Active<br />
Sense on the sending device.<br />
• Cubase and Nuendo allow their ASIO ports to be renamed. In the event it<br />
becomes necessary to reset the port names (as would be the case when switching<br />
between a <strong>US</strong>-<strong>122L</strong> and a <strong>US</strong>-<strong>144</strong>), perform the following steps:<br />
o From the Devices menu, select Device Setup<br />
o Click on VST Inputs, then click the Reset button<br />
o Click on VST Outputs, then click the Reset button


