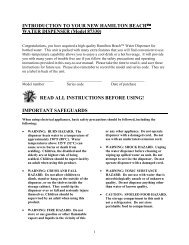
Water Dispenser Use & Care Manual - Hamilton Beach
Water Dispenser Use & Care Manual - Hamilton Beach
Water Dispenser Use & Care Manual - Hamilton Beach

Create successful ePaper yourself
Turn your PDF publications into a flip-book with our unique Google optimized e-Paper software.
PREPARING, LOADING & OPERATING YOUR DISPENSER<br />
1) Make sure that the dispenser is not plugged into the electrical outlet and that both the<br />
hot and cold power switches (on the back of the dispenser) are set to the OFF position.<br />
2) Sanitize the dispenser water tanks prior to installing a full bottle of water for the first<br />
time (see “Proper <strong>Care</strong> and Cleaning of <strong>Dispenser</strong>”).<br />
3) The water bottle will have a cap. The cap may have a stopper that is intended to be<br />
pushed into the bottle. (Sometimes these stoppers are covered by a removable<br />
paper/foil seal.) If your bottle has a cap with a stopper, simply hold the water bottle<br />
vertically straight upside down and place the water bottle into the support collar on<br />
top of the water dispenser. The post in the collar will push the stopper into the bottle.<br />
If the water bottle cap does not have a stopper that is intended to be pushed into the<br />
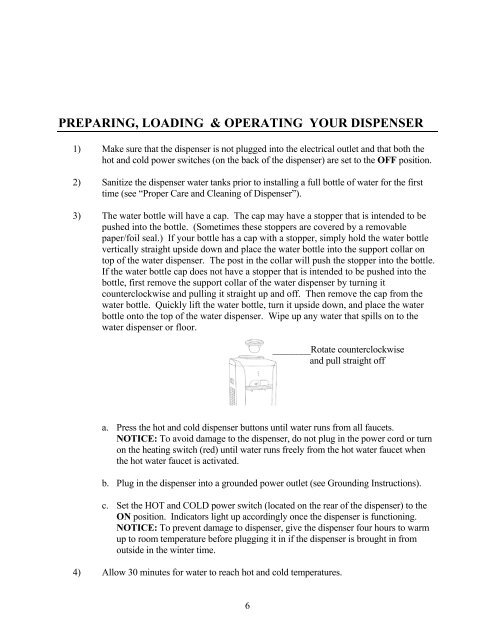
bottle, first remove the support collar of the water dispenser by turning it<br />
counterclockwise and pulling it straight up and off. Then remove the cap from the<br />
water bottle. Quickly lift the water bottle, turn it upside down, and place the water<br />
bottle onto the top of the water dispenser. Wipe up any water that spills on to the<br />
water dispenser or floor.<br />
________Rotate counterclockwise<br />
and pull straight off<br />
a. Press the hot and cold dispenser buttons until water runs from all faucets.<br />
NOTICE: To avoid damage to the dispenser, do not plug in the power cord or turn<br />
on the heating switch (red) until water runs freely from the hot water faucet when<br />
the hot water faucet is activated.<br />
b. Plug in the dispenser into a grounded power outlet (see Grounding Instructions).<br />
c. Set the HOT and COLD power switch (located on the rear of the dispenser) to the<br />
ON position. Indicators light up accordingly once the dispenser is functioning.<br />
NOTICE: To prevent damage to dispenser, give the dispenser four hours to warm<br />
up to room temperature before plugging it in if the dispenser is brought in from<br />
outside in the winter time.<br />
4) Allow 30 minutes for water to reach hot and cold temperatures.<br />
6