Manual Jura incalzitor de cesti
Manual Jura incalzitor de cesti
Manual Jura incalzitor de cesti

Create successful ePaper yourself
Turn your PDF publications into a flip-book with our unique Google optimized e-Paper software.
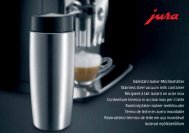
JURA Cup Warmer<br />
1 Preparation<br />
Supplied as standard<br />
The following items are supplied as standard:<br />
Z JURA Cup Warmer<br />
Z Instructions for use<br />
Z Mains cable<br />
Set-up and connection<br />
When setting up your cup warmer, observe the<br />
following:<br />
Z<br />
Z<br />
J<br />
14<br />
Set the machine down on a horizontal surface.<br />
Choose a spot for the machine which is<br />
protected against overheating.<br />
WARNING<br />
If the machine is operated with a <strong>de</strong>fective mains<br />
cable, there is a danger of electric shock.<br />
T Never use a machine which has a <strong>de</strong>fective<br />
mains cable.<br />
E<br />
T<br />
T<br />
T<br />
T<br />
Carefully turn the machine upsi<strong>de</strong> down and<br />
set it down.<br />
Connect the mains cable to the machine.<br />
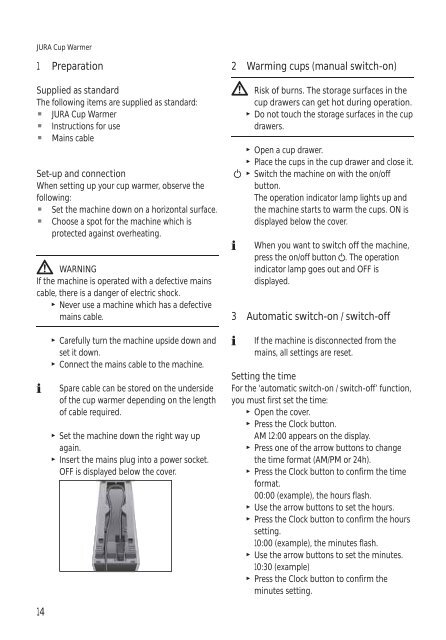
Spare cable can be stored on the un<strong>de</strong>rsi<strong>de</strong><br />
of the cup warmer <strong>de</strong>pending on the length<br />
of cable required.<br />
Set the machine down the right way up<br />
again.<br />
Insert the mains plug into a power socket.<br />
OFF is displayed below the cover.<br />
2 Warming cups (manual switch-on)<br />
J<br />
Risk of burns. The storage surfaces in the<br />
cup drawers can get hot during operation.<br />
Do not touch the storage surfaces in the cup<br />
drawers.<br />
T Open a cup drawer.<br />
T Place the cups in the cup drawer and close it.<br />
Q T Switch the machine on with the on/off<br />
button.<br />
The operation indicator lamp lights up and<br />
the machine starts to warm the cups. ON is<br />
displayed below the cover.<br />
E<br />
T<br />
When you want to switch off the machine,<br />
press the on/off button Q. The operation<br />
indicator lamp goes out and OFF is<br />
displayed.<br />
3 Automatic switch-on / switch-off<br />
E<br />
If the machine is disconnected from the<br />
mains, all settings are reset.<br />
Setting the time<br />
For the ‘automatic switch-on / switch-off’ function,<br />
you must first set the time:<br />
T<br />
T<br />
T<br />
T<br />
T<br />
T<br />
T<br />
T<br />
Open the cover.<br />
Press the Clock button.<br />
AM 12:00 appears on the display.<br />
Press one of the arrow buttons to change<br />
the time format (AM/PM or 24h).<br />
Press the Clock button to confirm the time<br />
format.<br />
00:00 (example), the hours flash.<br />
Use the arrow buttons to set the hours.<br />
Press the Clock button to confirm the hours<br />
setting.<br />
10:00 (example), the minutes flash.<br />
Use the arrow buttons to set the minutes.<br />
10:30 (example)<br />
Press the Clock button to confirm the<br />
minutes setting.