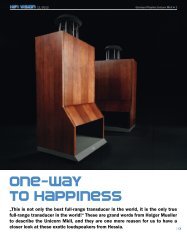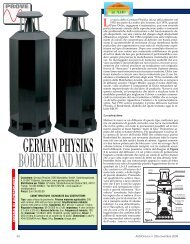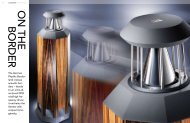
Carbon Mk IV User Manual - German Physiks
Carbon Mk IV User Manual - German Physiks
Carbon Mk IV User Manual - German Physiks

You also want an ePaper? Increase the reach of your titles
YUMPU automatically turns print PDFs into web optimized ePapers that Google loves.
4. LOUDSPEAKER PLACEMENT AND SET-UP<br />
NOTE:<br />
DO NOT place the loudspeakers close to cathode ray type<br />
monitors or projectors, as the very powerful magnets used<br />
in the drivers may affect the picture. We recommend a<br />
minimum separation of 2m.<br />
Adjusting the Spikes<br />
NOTE:<br />
We strongly recommend having an assistant help to hold<br />
the loudspeakers while the spikes are being adjusted.<br />
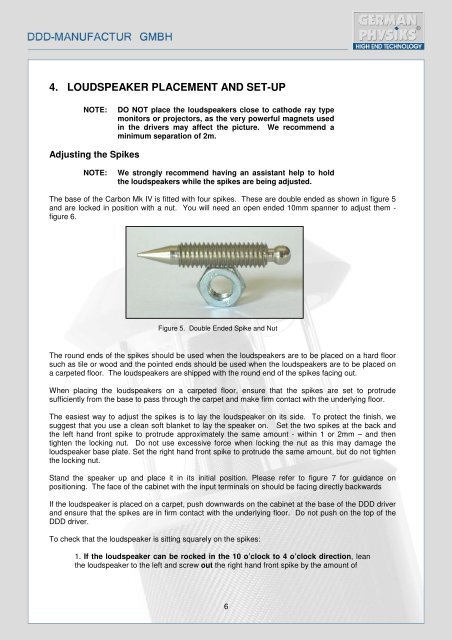
The base of the <strong>Carbon</strong> <strong>Mk</strong> <strong>IV</strong> is fitted with four spikes. These are double ended as shown in figure 5<br />
and are locked in position with a nut. You will need an open ended 10mm spanner to adjust them -<br />
figure 6.<br />
Figure 5. Double Ended Spike and Nut<br />
The round ends of the spikes should be used when the loudspeakers are to be placed on a hard floor<br />
such as tile or wood and the pointed ends should be used when the loudspeakers are to be placed on<br />
a carpeted floor. The loudspeakers are shipped with the round end of the spikes facing out.<br />
When placing the loudspeakers on a carpeted floor, ensure that the spikes are set to protrude<br />
sufficiently from the base to pass through the carpet and make firm contact with the underlying floor.<br />
The easiest way to adjust the spikes is to lay the loudspeaker on its side. To protect the finish, we<br />
suggest that you use a clean soft blanket to lay the speaker on. Set the two spikes at the back and<br />
the left hand front spike to protrude approximately the same amount - within 1 or 2mm – and then<br />
tighten the locking nut. Do not use excessive force when locking the nut as this may damage the<br />
loudspeaker base plate. Set the right hand front spike to protrude the same amount, but do not tighten<br />
the locking nut.<br />
Stand the speaker up and place it in its initial position. Please refer to figure 7 for guidance on<br />
positioning. The face of the cabinet with the input terminals on should be facing directly backwards<br />
If the loudspeaker is placed on a carpet, push downwards on the cabinet at the base of the DDD driver<br />
and ensure that the spikes are in firm contact with the underlying floor. Do not push on the top of the<br />
DDD driver.<br />
To check that the loudspeaker is sitting squarely on the spikes:<br />
1. If the loudspeaker can be rocked in the 10 o’clock to 4 o’clock direction, lean<br />
the loudspeaker to the left and screw out the right hand front spike by the amount of<br />
6