SECTION 09 30 00 - TILING PART 1 - GENERAL 1.1 RELATED ...
SECTION 09 30 00 - TILING PART 1 - GENERAL 1.1 RELATED ...
SECTION 09 30 00 - TILING PART 1 - GENERAL 1.1 RELATED ...

You also want an ePaper? Increase the reach of your titles
YUMPU automatically turns print PDFs into web optimized ePapers that Google loves.
University of Houston Master Construction Specifications<br />
Insert Project Name<br />
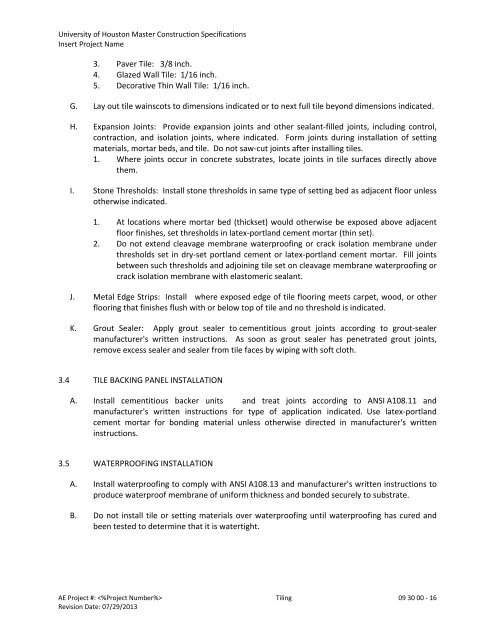
3. Paver Tile: 3/8 inch.<br />
4. Glazed Wall Tile: 1/16 inch.<br />
5. Decorative Thin Wall Tile: 1/16 inch.<br />
G. Lay out tile wainscots to dimensions indicated or to next full tile beyond dimensions indicated.<br />
H. Expansion Joints: Provide expansion joints and other sealant‐filled joints, including control,<br />
contraction, and isolation joints, where indicated. Form joints during installation of setting<br />
materials, mortar beds, and tile. Do not saw‐cut joints after installing tiles.<br />
1. Where joints occur in concrete substrates, locate joints in tile surfaces directly above<br />
them.<br />
I. Stone Thresholds: Install stone thresholds in same type of setting bed as adjacent floor unless<br />
otherwise indicated.<br />
1. At locations where mortar bed (thickset) would otherwise be exposed above adjacent<br />
floor finishes, set thresholds in latex‐portland cement mortar (thin set).<br />
2. Do not extend cleavage membrane waterproofing or crack isolation membrane under<br />
thresholds set in dry‐set portland cement or latex‐portland cement mortar. Fill joints<br />
between such thresholds and adjoining tile set on cleavage membrane waterproofing or<br />
crack isolation membrane with elastomeric sealant.<br />
J. Metal Edge Strips: Install where exposed edge of tile flooring meets carpet, wood, or other<br />
flooring that finishes flush with or below top of tile and no threshold is indicated.<br />
K. Grout Sealer: Apply grout sealer to cementitious grout joints according to grout‐sealer<br />
manufacturer's written instructions. As soon as grout sealer has penetrated grout joints,<br />
remove excess sealer and sealer from tile faces by wiping with soft cloth.<br />
3.4 TILE BACKING PANEL INSTALLATION<br />
A. Install cementitious backer units and treat joints according to ANSI A108.11 and<br />
manufacturer's written instructions for type of application indicated. Use latex‐portland<br />
cement mortar for bonding material unless otherwise directed in manufacturer's written<br />
instructions.<br />
3.5 WATERPROOFING INSTALLATION<br />
A. Install waterproofing to comply with ANSI A108.13 and manufacturer's written instructions to<br />
produce waterproof membrane of uniform thickness and bonded securely to substrate.<br />
B. Do not install tile or setting materials over waterproofing until waterproofing has cured and<br />
been tested to determine that it is watertight.<br />
AE Project #: Tiling <strong>09</strong> <strong>30</strong> <strong>00</strong> ‐ 16<br />
Revision Date: 07/29/2013