wiHUBB⢠Quick Start Guide - Hubbell Building Automation
wiHUBB⢠Quick Start Guide - Hubbell Building Automation
wiHUBB⢠Quick Start Guide - Hubbell Building Automation

Create successful ePaper yourself
Turn your PDF publications into a flip-book with our unique Google optimized e-Paper software.
E<br />
To physically locate a device, wink the device<br />
by pressing the Wink <strong>Start</strong> button. For devices<br />
controlling lighting fixtures, the device will<br />
turn the lights on and off. Winking a switch will<br />
cause the switch to blink its LED.<br />
B<br />
Type in<br />
a group<br />
number from<br />
1 to 16.<br />
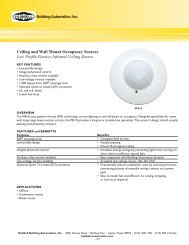
C On the Schedule page, select the schedule type, schedule time and days and the<br />
action that should occur.<br />
F<br />
G<br />
Change the name and location of the device so<br />
that it can be easily identified.<br />
Repeat steps C - F for each device to be<br />
commissioned.<br />
C<br />
On the Group page in the Group Membership section, select the ‘yes’ button for each<br />
device that should be in the group. Select ‘no’ to remove a device from the group.<br />
NOTE: You can also add and remove devices to and from groups from the device page<br />
by selecting or deselecting the group check boxes.<br />
D<br />
E<br />
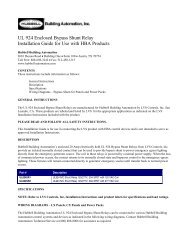
figure 5<br />
To test the preset, press the Test Preset button.<br />
To record the preset and update the devices,<br />
press the Record Preset button.<br />
A<br />
5<br />
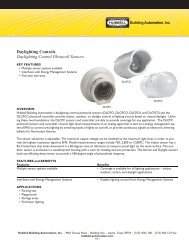
Manage<br />
Devices<br />
Select a device to display its device page. The<br />
current status and settings of the device will be<br />
displayed.<br />
F<br />
To clear the preset, press the Clear Preset button. After clearing the preset, make any<br />
new changes and press Record Preset to update the devices.<br />
B<br />
Change the settings as appropriate. You can name the device, manually turn relays on<br />
and off, adjust dimming levels, wink a device, assign the device to one or more groups,<br />
and configure device power up settings.<br />
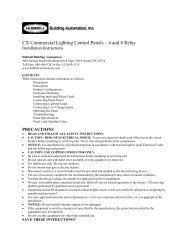
7<br />
Create a Preset<br />
A<br />
A preset is predefined settings for lighting<br />
control. Each zone can have up to 16 presets.<br />
To create a preset, right-click on the container<br />
labeled ‘Presets’ and select Add Preset from the<br />
menu.<br />
D To save the schedule, press the Save button.<br />
B<br />
Type in<br />
a preset<br />
number from<br />
1 to 16.<br />
8<br />
Create a Schedule<br />
A A schedule is an event that occurs at a specified<br />
time. Each zone can have up to 99 schedules. To<br />
create a schedule, right-click on the container<br />
labeled ‘Schedules’ and select Add Schedule from<br />
the menu.<br />
C<br />
On the Preset page, for each device included in the preset, deselect “No Action” and<br />
set relay and dimmer settings. Devices that have the “No Action” checkbox selected<br />
will not be included in the preset operation. (see fig 4 and 5, top of next column)<br />
B Type in a schedule number from 1 to 99.<br />
A<br />
6<br />
Create a Group<br />
A group is a collection of one or more devices.<br />
Each zone can have up to 16 groups. To create<br />
a group, right-click on the container labeled<br />
‘Groups’ and select Add Group from the menu.<br />
figure 4<br />
FOR ADDITIONAL INFORMATION<br />
www.hubbell-automation.com | HBA Technical Services | Toll Free 888.698.3242<br />
9601 Dessau Rd, <strong>Building</strong> One, Austin, TX 78754<br />
<strong>Hubbell</strong> <strong>Building</strong> <strong>Automation</strong><br />
72-00460