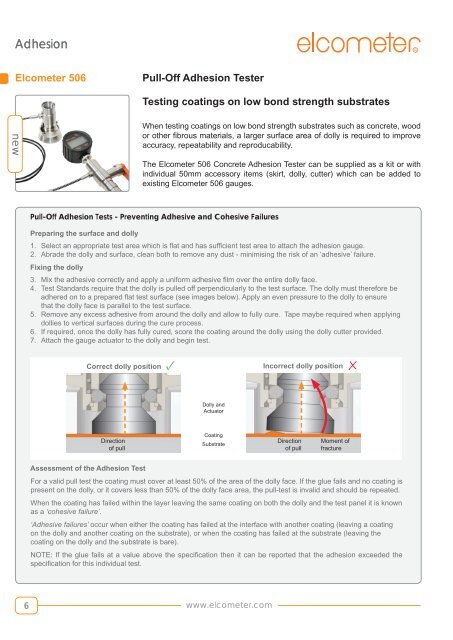
Elcometer 506 Pull Off Adhesion Tester
Elcometer 506 Pull Off Adhesion Tester
Elcometer 506 Pull Off Adhesion Tester

You also want an ePaper? Increase the reach of your titles
YUMPU automatically turns print PDFs into web optimized ePapers that Google loves.
<strong>Adhesion</strong><br />
<strong>Elcometer</strong> <strong>506</strong><br />
<strong>Pull</strong>-<strong>Off</strong> <strong>Adhesion</strong> <strong>Tester</strong><br />
Testing coatings on low bond strength substrates<br />
new<br />
When testing coatings on low bond strength substrates such as concrete, wood<br />
or other fibrous materials, a larger surface area of dolly is required to improve<br />
accuracy, repeatability and reproducability.<br />
The <strong>Elcometer</strong> <strong>506</strong> Concrete <strong>Adhesion</strong> <strong>Tester</strong> can be supplied as a kit or with<br />
individual 50mm accessory items (skirt, dolly, cutter) which can be added to<br />
existing <strong>Elcometer</strong> <strong>506</strong> gauges.<br />
<strong>Pull</strong>-<strong>Off</strong> <strong>Adhesion</strong> Tests - Preventing Adhesive and Cohesive Failures<br />
Preparing the surface and dolly<br />
1. Select an appropriate test area which is flat and has sufficient test area to attach the adhesion gauge.<br />
2. Abrade the dolly and surface, clean both to remove any dust - minimising the risk of an ‘adhesive’ failure.<br />
Fixing the dolly<br />
3. Mix the adhesive correctly and apply a uniform adhesive film over the entire dolly face.<br />
4. Test Standards require that the dolly is pulled off perpendicularly to the test surface. The dolly must therefore be<br />
adhered on to a prepared flat test surface (see images below). Apply an even pressure to the dolly to ensure<br />
that the dolly face is parallel to the test surface.<br />
5. Remove any excess adhesive from around the dolly and allow to fully cure. Tape maybe required when applying<br />
dollies to vertical surfaces during the cure process.<br />
6. If required, once the dolly has fully cured, score the coating around the dolly using the dolly cutter provided.<br />
7. Attach the gauge actuator to the dolly and begin test.<br />
Correct dolly position<br />
✓<br />
Incorrect dolly position<br />
X<br />
Dolly and<br />
Actuator<br />
Direction<br />
of pull<br />
Coating<br />
Substrate<br />
Direction<br />
of pull<br />
Moment of<br />
fracture<br />
Assessment of the <strong>Adhesion</strong> Test<br />
For a valid pull test the coating must cover at least 50% of the area of the dolly face. If the glue fails and no coating is<br />
present on the dolly, or it covers less than 50% of the dolly face area, the pull-test is invalid and should be repeated.<br />
When the coating has failed within the layer leaving the same coating on both the dolly and the test panel it is known<br />
as a ‘cohesive failure’.<br />
‘Adhesive failures’ occur when either the coating has failed at the interface with another coating (leaving a coating<br />
on the dolly and another coating on the substrate), or when the coating has failed at the substrate (leaving the<br />
coating on the dolly and the substrate is bare).<br />
NOTE: If the glue fails at a value above the specification then it can be reported that the adhesion exceeded the<br />
specification for this individual test.<br />
6<br />
www.elcometer.com