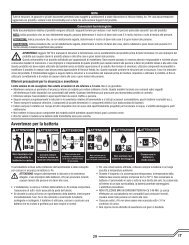
30681 Spitfire MK IX Multi Manual.indb - Horizon Hobby
30681 Spitfire MK IX Multi Manual.indb - Horizon Hobby
30681 Spitfire MK IX Multi Manual.indb - Horizon Hobby

Create successful ePaper yourself
Turn your PDF publications into a flip-book with our unique Google optimized e-Paper software.
EN<br />
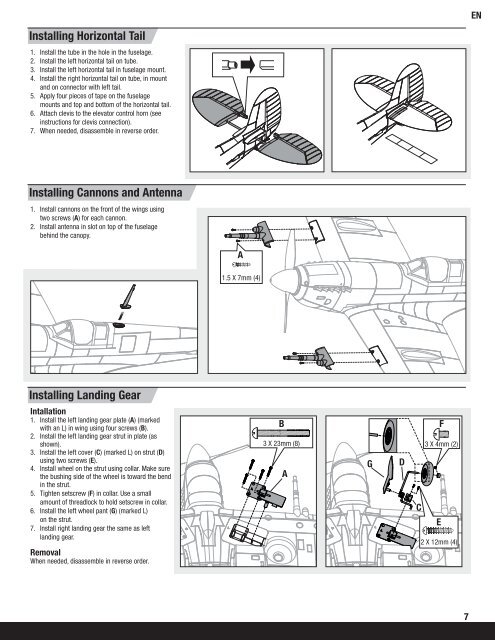
Installing <strong>Horizon</strong>tal Tail<br />
1. Install the tube in the hole in the fuselage.<br />
2. Install the left horizontal tail on tube.<br />
3. Install the left horizontal tail in fuselage mount.<br />
4. Install the right horizontal tail on tube, in mount<br />
and on connector with left tail.<br />
5. Apply four pieces of tape on the fuselage<br />
mounts and top and bottom of the horizontal tail.<br />
6. Attach clevis to the elevator control horn (see<br />
instructions for clevis connection).<br />
7. When needed, disassemble in reverse order.<br />
Installing Cannons and Antenna<br />
1. Install cannons on the front of the wings using<br />
two screws (A) for each cannon.<br />
2. Install antenna in slot on top of the fuselage<br />
behind the canopy.<br />
A<br />
1.5 X 7mm (4)<br />
Installing Landing Gear<br />
Intallation<br />
1. Install the left landing gear plate (A) (marked<br />
with an L) in wing using four screws (B).<br />
2. Install the left landing gear strut in plate (as<br />
shown).<br />
3. Install the left cover (C) (marked L) on strut (D)<br />
using two screws (E).<br />
4. Install wheel on the strut using collar. Make sure<br />
the bushing side of the wheel is toward the bend<br />
in the strut.<br />
5. Tighten setscrew (F) in collar. Use a small<br />
amount of threadlock to hold setscrew in collar.<br />
6. Install the left wheel pant (G) (marked L)<br />
on the strut.<br />
7. Install right landing gear the same as left<br />
landing gear.<br />
Removal<br />
When needed, disassemble in reverse order.<br />
B<br />
3 X 23mm (8)<br />
A<br />
G<br />
D<br />
F<br />
3 X 4mm (2)<br />
C<br />
E<br />
2 X 12mm (4)<br />
7