Download: Capillary Film Instructions
Download: Capillary Film Instructions
Download: Capillary Film Instructions
Create successful ePaper yourself
Turn your PDF publications into a flip-book with our unique Google optimized e-Paper software.
TM<br />
▼<br />
Work<br />
under<br />
yellow<br />
lights<br />
Pro/Cap<br />
The Roll-down Method<br />
of Applying Pro/Cap ® <strong>Capillary</strong> <strong>Film</strong><br />
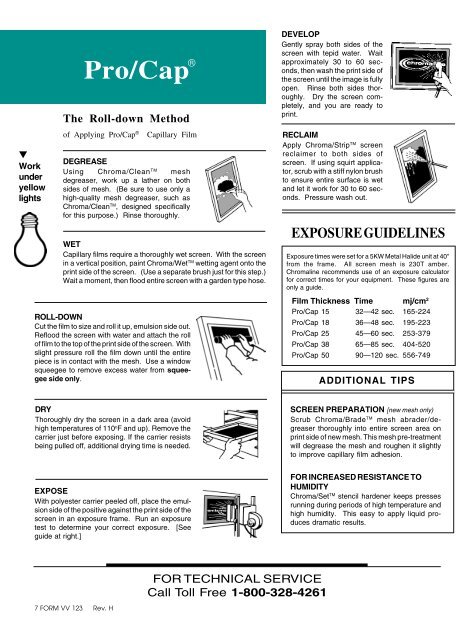
DEGREASE<br />
Using Chroma/Clean TM mesh<br />
degreaser, work up a lather on both<br />
sides of mesh. (Be sure to use only a<br />
high-quality mesh degreaser, such as<br />
Chroma/Clean TM , designed specifically<br />
for this purpose.) Rinse thoroughly.<br />
®<br />
WET<br />
<strong>Capillary</strong> films require a thoroughly wet screen. With the screen<br />
in a vertical position, paint Chroma/Wet TM wetting agent onto the<br />
print side of the screen. (Use a separate brush just for this step.)<br />
Wait a moment, then flood entire screen with a garden type hose.<br />
DEVELOP<br />
Gently spray both sides of the<br />
screen with tepid water. Wait<br />
approximately 30 to 60 seconds,<br />
then wash the print side of<br />
the screen until the image is fully<br />
open. Rinse both sides thoroughly.<br />
Dry the screen completely,<br />
and you are ready to<br />
print.<br />
RECLAIM<br />
Apply Chroma/Strip TM screen<br />
reclaimer to both sides of<br />
screen. If using squirt applicator,<br />
scrub with a stiff nylon brush<br />
to ensure entire surface is wet<br />
and let it work for 30 to 60 seconds.<br />
Pressure wash out.<br />
EXPOSURE GUIDELINES<br />
Exposure times were set for a 5KW Metal Halide unit at 40"<br />
from the frame. All screen mesh is 230T amber.<br />
Chromaline recommends use of an exposure calculator<br />
for correct times for your equipment. These figures are<br />
only a guide.<br />
ROLL-DOWN<br />
Cut the film to size and roll it up, emulsion side out.<br />
Reflood the screen with water and attach the roll<br />
of film to the top of the print side of the screen. With<br />
slight pressure roll the film down until the entire<br />
piece is in contact with the mesh. Use a window<br />
squeegee to remove excess water from squeegee<br />
side only.<br />
<strong>Film</strong> Thickness Time mj/cm 2<br />
Pro/Cap 15 32—42 sec. 165-224<br />
Pro/Cap 18 36—48 sec. 195-223<br />
Pro/Cap 25 45—60 sec. 253-379<br />
Pro/Cap 38 65—85 sec. 404-520<br />
Pro/Cap 50 90—120 sec. 556-749<br />
ADDITIONAL TIPS<br />
DRY<br />
Thoroughly dry the screen in a dark area (avoid<br />
high temperatures of 110 o F and up). Remove the<br />
carrier just before exposing. If the carrier resists<br />
being pulled off, additional drying time is needed.<br />
SCREEN PREPARATION [new mesh only)<br />
Scrub Chroma/Brade TM mesh abrader/degreaser<br />
thoroughly into entire screen area on<br />
print side of new mesh. This mesh pre-treatment<br />
will degrease the mesh and roughen it slightly<br />
to improve capillary film adhesion.<br />
EXPOSE<br />
With polyester carrier peeled off, place the emulsion<br />
side of the positive against the print side of the<br />
screen in an exposure frame. Run an exposure<br />
test to determine your correct exposure. [See<br />
guide at right.]<br />
FOR INCREASED RESISTANCE TO<br />
HUMIDITY<br />
Chroma/Set TM stencil hardener keeps presses<br />
running during periods of high temperature and<br />
high humidity. This easy to apply liquid produces<br />
dramatic results.<br />
FOR TECHNICAL SERVICE<br />
Call Toll Free 1-800-328-4261<br />
7 FORM VV 123 Rev. H


