Millikan writeup - Physics
Millikan writeup - Physics
Millikan writeup - Physics
You also want an ePaper? Increase the reach of your titles
YUMPU automatically turns print PDFs into web optimized ePapers that Google loves.
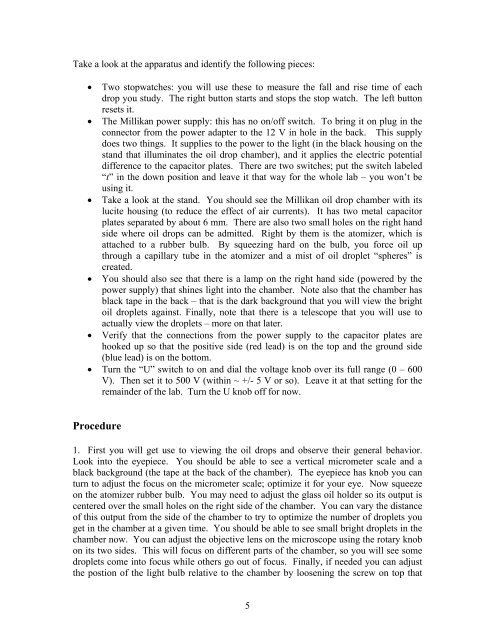
Take a look at the apparatus and identify the following pieces:<br />
<br />
<br />
<br />
<br />
<br />
Two stopwatches: you will use these to measure the fall and rise time of each<br />
drop you study. The right button starts and stops the stop watch. The left button<br />
resets it.<br />
The <strong>Millikan</strong> power supply: this has no on/off switch. To bring it on plug in the<br />
connector from the power adapter to the 12 V in hole in the back. This supply<br />
does two things. It supplies to the power to the light (in the black housing on the<br />
stand that illuminates the oil drop chamber), and it applies the electric potential<br />
difference to the capacitor plates. There are two switches; put the switch labeled<br />
“t” in the down position and leave it that way for the whole lab – you won’t be<br />
using it.<br />
Take a look at the stand. You should see the <strong>Millikan</strong> oil drop chamber with its<br />
lucite housing (to reduce the effect of air currents). It has two metal capacitor<br />
plates separated by about 6 mm. There are also two small holes on the right hand<br />
side where oil drops can be admitted. Right by them is the atomizer, which is<br />
attached to a rubber bulb. By squeezing hard on the bulb, you force oil up<br />
through a capillary tube in the atomizer and a mist of oil droplet “spheres” is<br />
created.<br />
You should also see that there is a lamp on the right hand side (powered by the<br />
power supply) that shines light into the chamber. Note also that the chamber has<br />
black tape in the back – that is the dark background that you will view the bright<br />
oil droplets against. Finally, note that there is a telescope that you will use to<br />
actually view the droplets – more on that later.<br />
Verify that the connections from the power supply to the capacitor plates are<br />
hooked up so that the positive side (red lead) is on the top and the ground side<br />
(blue lead) is on the bottom.<br />
Turn the “U” switch to on and dial the voltage knob over its full range (0 – 600<br />
V). Then set it to 500 V (within ~ +/- 5 V or so). Leave it at that setting for the<br />
remainder of the lab. Turn the U knob off for now.<br />
Procedure<br />
1. First you will get use to viewing the oil drops and observe their general behavior.<br />
Look into the eyepiece. You should be able to see a vertical micrometer scale and a<br />
black background (the tape at the back of the chamber). The eyepiece has knob you can<br />
turn to adjust the focus on the micrometer scale; optimize it for your eye. Now squeeze<br />
on the atomizer rubber bulb. You may need to adjust the glass oil holder so its output is<br />
centered over the small holes on the right side of the chamber. You can vary the distance<br />
of this output from the side of the chamber to try to optimize the number of droplets you<br />
get in the chamber at a given time. You should be able to see small bright droplets in the<br />
chamber now. You can adjust the objective lens on the microscope using the rotary knob<br />
on its two sides. This will focus on different parts of the chamber, so you will see some<br />
droplets come into focus while others go out of focus. Finally, if needed you can adjust<br />
the postion of the light bulb relative to the chamber by loosening the screw on top that<br />
5


