
Create successful ePaper yourself
Turn your PDF publications into a flip-book with our unique Google optimized e-Paper software.
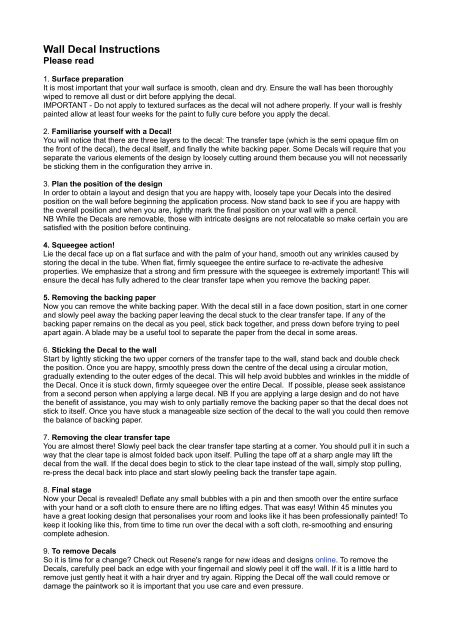
<strong>Wall</strong> <strong>Decal</strong> <strong>Instructions</strong><br />
Please read<br />
1. Surface preparation<br />
It is most important that your wall surface is smooth, clean and dry. Ensure the wall has been thoroughly<br />
wiped to remove all dust or dirt before applying the decal.<br />
IMPORTANT - Do not apply to textured surfaces as the decal will not adhere properly. If your wall is freshly<br />
painted allow at least four weeks for the paint to fully cure before you apply the decal.<br />
2. Familiarise yourself with a <strong>Decal</strong>!<br />
You will notice that there are three layers to the decal: The transfer tape (which is the semi opaque film on<br />
the front of the decal), the decal itself, and finally the white backing paper. Some <strong>Decal</strong>s will require that you<br />
separate the various elements of the design by loosely cutting around them because you will not necessarily<br />
be sticking them in the configuration they arrive in.<br />
3. Plan the position of the design<br />
In order to obtain a layout and design that you are happy with, loosely tape your <strong>Decal</strong>s into the desired<br />
position on the wall before beginning the application process. Now stand back to see if you are happy with<br />
the overall position and when you are, lightly mark the final position on your wall with a pencil.<br />
NB While the <strong>Decal</strong>s are removable, those with intricate designs are not relocatable so make certain you are<br />
satisfied with the position before continuing.<br />
4. Squeegee action!<br />
Lie the decal face up on a flat surface and with the palm of your hand, smooth out any wrinkles caused by<br />
storing the decal in the tube. When flat, firmly squeegee the entire surface to re-activate the adhesive<br />
properties. We emphasize that a strong and firm pressure with the squeegee is extremely important! This will<br />
ensure the decal has fully adhered to the clear transfer tape when you remove the backing paper.<br />
5. Removing the backing paper<br />
Now you can remove the white backing paper. With the decal still in a face down position, start in one corner<br />
and slowly peel away the backing paper leaving the decal stuck to the clear transfer tape. If any of the<br />
backing paper remains on the decal as you peel, stick back together, and press down before trying to peel<br />
apart again. A blade may be a useful tool to separate the paper from the decal in some areas.<br />
6. Sticking the <strong>Decal</strong> to the wall<br />
Start by lightly sticking the two upper corners of the transfer tape to the wall, stand back and double check<br />
the position. Once you are happy, smoothly press down the centre of the decal using a circular motion,<br />
gradually extending to the outer edges of the decal. This will help avoid bubbles and wrinkles in the middle of<br />
the <strong>Decal</strong>. Once it is stuck down, firmly squeegee over the entire <strong>Decal</strong>. If possible, please seek assistance<br />
from a second person when applying a large decal. NB If you are applying a large design and do not have<br />
the benefit of assistance, you may wish to only partially remove the backing paper so that the decal does not<br />
stick to itself. Once you have stuck a manageable size section of the decal to the wall you could then remove<br />
the balance of backing paper.<br />
7. Removing the clear transfer tape<br />
You are almost there! Slowly peel back the clear transfer tape starting at a corner. You should pull it in such a<br />
way that the clear tape is almost folded back upon itself. Pulling the tape off at a sharp angle may lift the<br />
decal from the wall. If the decal does begin to stick to the clear tape instead of the wall, simply stop pulling,<br />
re-press the decal back into place and start slowly peeling back the transfer tape again.<br />
8. Final stage<br />
Now your <strong>Decal</strong> is revealed! Deflate any small bubbles with a pin and then smooth over the entire surface<br />
with your hand or a soft cloth to ensure there are no lifting edges. That was easy! Within 45 minutes you<br />
have a great looking design that personalises your room and looks like it has been professionally painted! To<br />
keep it looking like this, from time to time run over the decal with a soft cloth, re-smoothing and ensuring<br />
complete adhesion.<br />
9. To remove <strong>Decal</strong>s<br />
So it is time for a change? Check out <strong>Resene</strong>'s range for new ideas and designs online. To remove the<br />
<strong>Decal</strong>s, carefully peel back an edge with your fingernail and slowly peel it off the wall. If it is a little hard to<br />
remove just gently heat it with a hair dryer and try again. Ripping the <strong>Decal</strong> off the wall could remove or<br />
damage the paintwork so it is important that you use care and even pressure.
Once the <strong>Decal</strong> has been removed your wall should be in the same condition as it was prior to application.<br />
Due to a variation in wall surfaces and environmental extremes (like direct light or heat), Image Vault cannot<br />
be responsible for any damage caused to your wall. Image Vault has scrupulously tested the products on<br />
their own walls with great results and has every confidence that if you follow the instructions carefully, that<br />
you will never have bare walls again.<br />
Have fun!<br />
If you have ANY questions or concerns, please do not hesitate to phone or email for advice or clarification<br />
Image Vault<br />
ph 03 366 0734<br />
sales@imagevault.co.nz