Download - Gear Technology magazine
Download - Gear Technology magazine
Download - Gear Technology magazine
You also want an ePaper? Increase the reach of your titles
YUMPU automatically turns print PDFs into web optimized ePapers that Google loves.
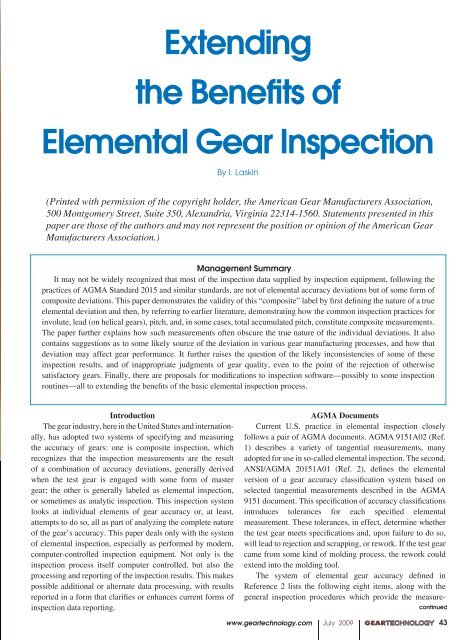
Extending<br />
the Benefits of<br />
Elemental <strong>Gear</strong> Inspection<br />
By I. Laskin<br />
(Printed with permission of the copyright holder, the American <strong>Gear</strong> Manufacturers Association,<br />
500 Montgomery Street, Suite 350, Alexandria, Virginia 22314-1560. Statements presented in this<br />
paper are those of the authors and may not represent the position or opinion of the American <strong>Gear</strong><br />
Manufacturers Association.)<br />
Management Summary<br />
It may not be widely recognized that most of the inspection data supplied by inspection equipment, following the<br />
practices of AGMA Standard 2015 and similar standards, are not of elemental accuracy deviations but of some form of<br />
composite deviations. This paper demonstrates the validity of this “composite” label by first defining the nature of a true<br />
elemental deviation and then, by referring to earlier literature, demonstrating how the common inspection practices for<br />
involute, lead (on helical gears), pitch, and, in some cases, total accumulated pitch, constitute composite measurements.<br />
The paper further explains how such measurements often obscure the true nature of the individual deviations. It also<br />
contains suggestions as to some likely source of the deviation in various gear manufacturing processes, and how that<br />
deviation may affect gear performance. It further raises the question of the likely inconsistencies of some of these<br />
inspection results, and of inappropriate judgments of gear quality, even to the point of the rejection of otherwise<br />
satisfactory gears. Finally, there are proposals for modifications to inspection software—possibly to some inspection<br />
routines—all to extending the benefits of the basic elemental inspection process.<br />
Introduction<br />
The gear industry, here in the United States and internationally,<br />
has adopted two systems of specifying and measuring<br />
the accuracy of gears: one is composite inspection, which<br />
recognizes that the inspection measurements are the result<br />
of a combination of accuracy deviations, generally derived<br />
when the test gear is engaged with some form of master<br />
gear; the other is generally labeled as elemental inspec tion,<br />
or sometimes as analytic inspection. This inspection system<br />
looks at individual elements of gear accuracy or, at least,<br />
attempts to do so, all as part of analyzing the complete nature<br />
of the gear’s accuracy. This paper deals only with the system<br />
of elemental inspection, especially as performed by modern,<br />
computer-controlled inspection equip ment. Not only is the<br />
inspection process itself computer controlled, but also the<br />
processing and reporting of the inspection results. This makes<br />
possible additional or alternate data processing, with results<br />
reported in a form that clarifies or enhances current forms of<br />
inspection data reporting.<br />
AGMA Documents<br />
Current U.S. practice in elemental inspection closely<br />
follows a pair of AGMA documents. AGMA 9151A02 (Ref.<br />
1) describes a variety of tangential measurements, many<br />
adopted for use in so-called elemental inspection. The second,<br />
ANSI/AGMA 20151A01 (Ref. 2), defines the elemental<br />
version of a gear accuracy classification system based on<br />
selected tangential measurements described in the AGMA<br />
9151 document. This specification of accuracy classifications<br />
introduces tolerances for each specified elemental<br />
measurement. These tolerances, in effect, determine whether<br />
the test gear meets specifications and, upon failure to do so,<br />
will lead to rejection and scrapping, or rework. If the test gear<br />
came from some kind of molding process, the rework could<br />
extend into the molding tool.<br />
The system of elemental gear accuracy defined in<br />
Reference 2 lists the following eight items, along with the<br />
general inspection procedures which provide the measure-<br />
continued<br />
www.geartechnology.com July 2009 GEARTECHNOLOGY 00 43


