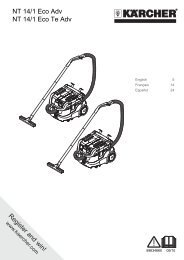
G 2600 VC G 2600 VC Plus
G 2600 VC G 2600 VC Plus
G 2600 VC G 2600 VC Plus

You also want an ePaper? Increase the reach of your titles
YUMPU automatically turns print PDFs into web optimized ePapers that Google loves.
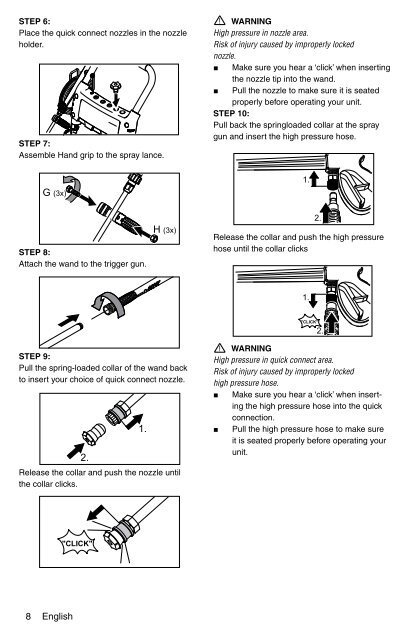
STEP 6:<br />
Place the quick connect nozzles in the nozzle<br />
holder.<br />
STEP 7:<br />
Assemble Hand grip to the spray lance.<br />
WARNING<br />
High pressure in nozzle area.<br />
Risk of injury caused by improperly locked<br />
nozzle.<br />
■ Make sure you hear a ‘click’ when inserting<br />
the nozzle tip into the wand.<br />
■ Pull the nozzle to make sure it is seated<br />
properly before operating your unit.<br />
STEP 10:<br />
Pull back the springloaded collar at the spray<br />
gun and insert the high pressure hose.<br />
STEP 8:<br />
Attach the wand to the trigger gun.<br />
Release the collar and push the high pressure<br />
hose until the collar clicks<br />
STEP 9:<br />
Pull the spring-loaded collar of the wand back<br />
to insert your choice of quick connect nozzle.<br />
WARNING<br />
High pressure in quick connect area.<br />
Risk of injury caused by improperly locked<br />
high pressure hose.<br />
■ Make sure you hear a ‘click’ when inserting<br />
the high pressure hose into the quick<br />
connection.<br />
■ Pull the high pressure hose to make sure<br />
it is seated properly before operating your<br />
unit.<br />
Release the collar and push the nozzle until<br />
the collar clicks.<br />
8 English