N O W B O A R D IN G - Special Olympics
N O W B O A R D IN G - Special Olympics
N O W B O A R D IN G - Special Olympics

Create successful ePaper yourself
Turn your PDF publications into a flip-book with our unique Google optimized e-Paper software.
<strong>Special</strong> <strong>Olympics</strong> Snowboarding<br />
Coaches Quick Start Guide<br />
Assisted Garlands<br />
Important! The garland should first be taught with some assistance from the instructor. This can be done similar to the<br />
falling leaf, with the instructor standing slightly in front of and down the hill from the athlete, with hands outstretched<br />
toward the athlete for the heelside turn and slightly in front of and uphill from the athlete for the toeside turn. The<br />
athlete should have the hands outstretched in front, reaching for and/or touching your hands.<br />
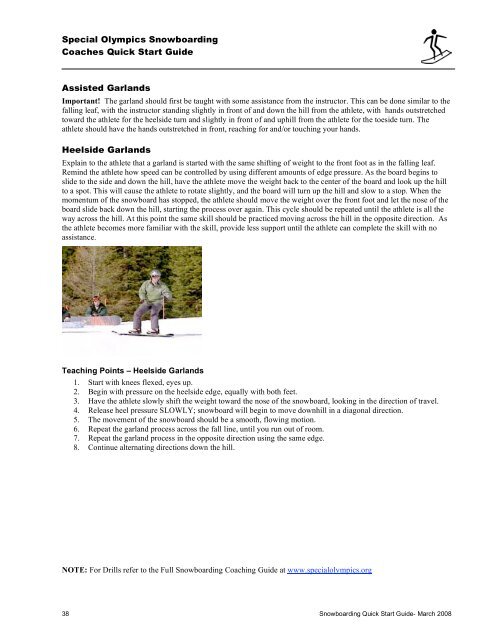
Heelside Garlands<br />
Explain to the athlete that a garland is started with the same shifting of weight to the front foot as in the falling leaf.<br />
Remind the athlete how speed can be controlled by using different amounts of edge pressure. As the board begins to<br />
slide to the side and down the hill, have the athlete move the weight back to the center of the board and look up the hill<br />
to a spot. This will cause the athlete to rotate slightly, and the board will turn up the hill and slow to a stop. When the<br />
momentum of the snowboard has stopped, the athlete should move the weight over the front foot and let the nose of the<br />
board slide back down the hill, starting the process over again. This cycle should be repeated until the athlete is all the<br />
way across the hill. At this point the same skill should be practiced moving across the hill in the opposite direction. As<br />
the athlete becomes more familiar with the skill, provide less support until the athlete can complete the skill with no<br />
assistance.<br />
Teaching Points – Heelside Garlands<br />
1. Start with knees flexed, eyes up.<br />
2. Begin with pressure on the heelside edge, equally with both feet.<br />
3. Have the athlete slowly shift the weight toward the nose of the snowboard, looking in the direction of travel.<br />
4. Release heel pressure SLOWLY; snowboard will begin to move downhill in a diagonal direction.<br />
5. The movement of the snowboard should be a smooth, flowing motion.<br />
6. Repeat the garland process across the fall line, until you run out of room.<br />
7. Repeat the garland process in the opposite direction using the same edge.<br />
8. Continue alternating directions down the hill.<br />
NOTE: For Drills refer to the Full Snowboarding Coaching Guide at www.specialolympics.org<br />
38 Snowboarding Quick Start Guide- March 2008