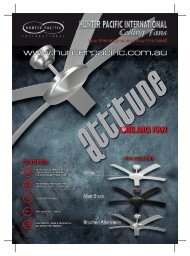
Majestic Magnum - Hunter Pacific
Majestic Magnum - Hunter Pacific
Majestic Magnum - Hunter Pacific

You also want an ePaper? Increase the reach of your titles
YUMPU automatically turns print PDFs into web optimized ePapers that Google loves.
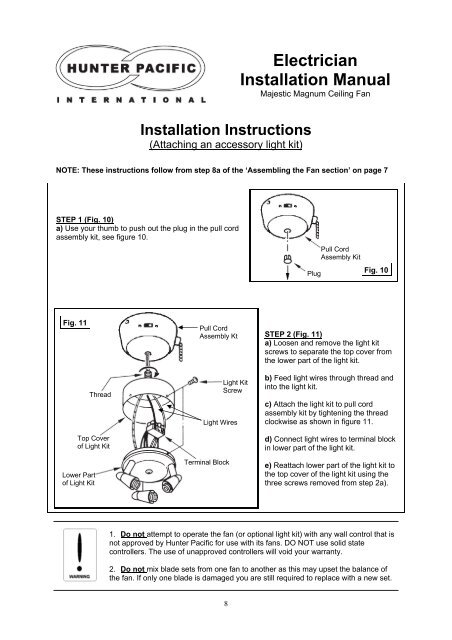
Installation Instructions<br />
(Attaching an accessory light kit)<br />
Electrician<br />
Installation Manual<br />
<strong>Majestic</strong> <strong>Magnum</strong> Ceiling Fan<br />
NOTE: These instructions follow from step 8a of the ‘Assembling the Fan section’ on page 7<br />
STEP 1 (Fig. 10)<br />
a) Use your thumb to push out the plug in the pull cord<br />
assembly kit, see figure 10.<br />
Plug<br />
Pull Cord<br />
Assembly Kit<br />
Fig. 10<br />
Fig. 11<br />
Pull Cord<br />
Assembly Kt<br />
STEP 2 (Fig. 11)<br />
a) Loosen and remove the light kit<br />
screws to separate the top cover from<br />
the lower part of the light kit.<br />
Thread<br />
Top Cover<br />
of Light Kit<br />
Lower Part<br />
of Light Kit<br />
Light Kit<br />
Screw<br />
Light Wires<br />
Terminal Block<br />
b) Feed light wires through thread and<br />
into the light kit.<br />
c) Attach the light kit to pull cord<br />
assembly kit by tightening the thread<br />
clockwise as shown in figure 11.<br />
d) Connect light wires to terminal block<br />
in lower part of the light kit.<br />
e) Reattach lower part of the light kit to<br />
the top cover of the light kit using the<br />
three screws removed from step 2a).<br />
1. Do not attempt to operate the fan (or optional light kit) with any wall control that is<br />
not approved by <strong>Hunter</strong> <strong>Pacific</strong> for use with its fans. DO NOT use solid state<br />
controllers. The use of unapproved controllers will void your warranty.<br />
2. Do not mix blade sets from one fan to another as this may upset the balance of<br />
the fan. If only one blade is damaged you are still required to replace with a new set.<br />
8