Download the PDF file (1.29 mb) - Usg-me.com
Download the PDF file (1.29 mb) - Usg-me.com
Download the PDF file (1.29 mb) - Usg-me.com

You also want an ePaper? Increase the reach of your titles
YUMPU automatically turns print PDFs into web optimized ePapers that Google loves.
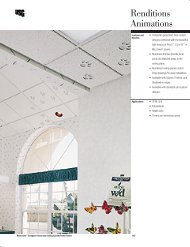
Installation<br />
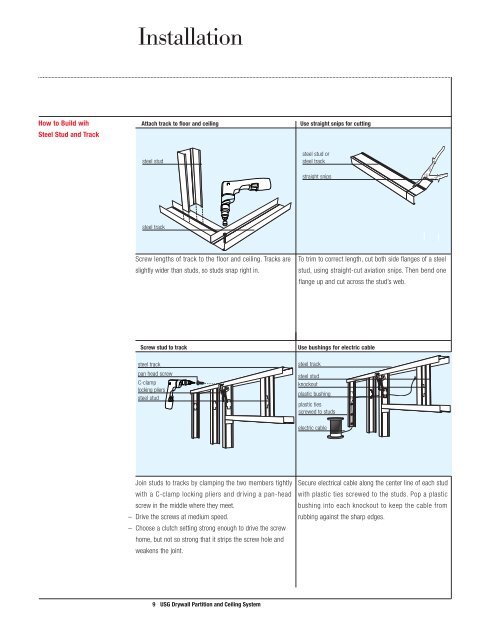
How to Build wih Attach track to floor and ceiling Use straight snips for cutting<br />
Steel Stud and Track<br />
steel stud<br />
steel stud or<br />
steel track<br />
straight snips<br />
steel track<br />
Screw lengths of track to <strong>the</strong> floor and ceiling. Tracks are<br />
slightly wider than studs, so studs snap right in.<br />
To trim to correct length, cut both side flanges of a steel<br />
stud, using straight-cut aviation snips. Then bend one<br />
flange up and cut across <strong>the</strong> stud’s web.<br />
Screw stud to track<br />
steel track<br />
pan head screw<br />
C-clamp<br />
locking pliers<br />
steel stud<br />
Use bushings for electric cable<br />
steel track<br />
steel stud<br />
knockout<br />
plastic bushing<br />
plastic ties<br />
screwed to studs<br />
electric cable<br />
Join studs to tracks by clamping <strong>the</strong> two <strong>me</strong>mbers tightly Secure electrical cable along <strong>the</strong> center line of each stud<br />
with a C-clamp locking pliers and driving a pan-head with plastic ties screwed to <strong>the</strong> studs. Pop a plastic<br />
screw in <strong>the</strong> middle where <strong>the</strong>y <strong>me</strong>et.<br />
bushing into each knockout to keep <strong>the</strong> cable from<br />
– Drive <strong>the</strong> screws at <strong>me</strong>dium speed. rubbing against <strong>the</strong> sharp edges.<br />
– Choose a clutch setting strong enough to drive <strong>the</strong> screw<br />
ho<strong>me</strong>, but not so strong that it strips <strong>the</strong> screw hole and<br />
weakens <strong>the</strong> joint.<br />
9 USG Drywall Partition and Ceiling System