Inventor Rendering Tutorial
Inventor Rendering Tutorial
Inventor Rendering Tutorial

Create successful ePaper yourself
Turn your PDF publications into a flip-book with our unique Google optimized e-Paper software.
Easily Render any Model in Autodesk <strong>Inventor</strong> LT<br />
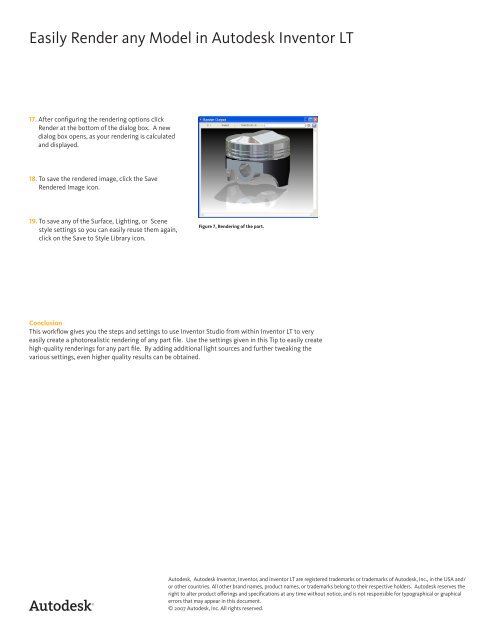
17. After configuring the rendering options click<br />
Render at the bottom of the dialog box. A new<br />
dialog box opens, as your rendering is calculated<br />
and displayed.<br />
18. To save the rendered image, click the Save<br />
Rendered Image icon.<br />
19. To save any of the Surface, Lighting, or Scene<br />
style settings so you can easily reuse them again,<br />
click on the Save to Style Library icon.<br />
Figure 7, <strong>Rendering</strong> of the part.<br />
Conclusion<br />
This workflow gives you the steps and settings to use <strong>Inventor</strong> Studio from within <strong>Inventor</strong> LT to very<br />
easily create a photorealistic rendering of any part file. Use the settings given in this Tip to easily create<br />
high-quality renderings for any part file. By adding additional light sources and further tweaking the<br />
various settings, even higher quality results can be obtained.<br />
Autodesk, Autodesk <strong>Inventor</strong>, <strong>Inventor</strong>, and <strong>Inventor</strong> LT are registered trademarks or trademarks of Autodesk, Inc., in the USA and/<br />
or other countries. All other brand names, product names, or trademarks belong to their respective holders. Autodesk reserves the<br />
right to alter product offerings and specifications at any time without notice, and is not responsible for typographical or graphical<br />
errors that may appear in this document.<br />
© 2007 Autodesk, Inc. All rights reserved.