Tilite® Troubleshooting Guide - Talladium UK
Tilite® Troubleshooting Guide - Talladium UK
Tilite® Troubleshooting Guide - Talladium UK

Create successful ePaper yourself
Turn your PDF publications into a flip-book with our unique Google optimized e-Paper software.
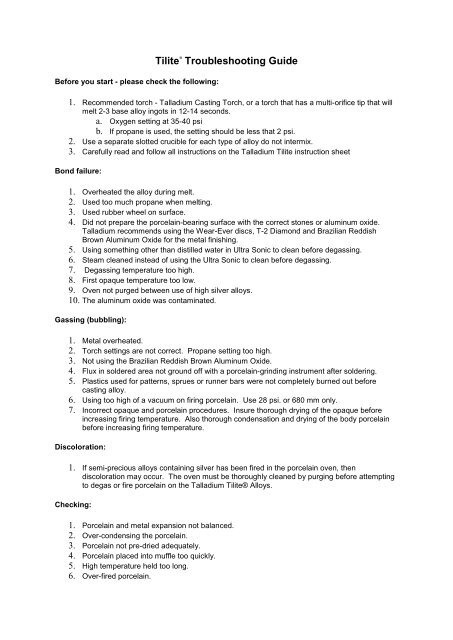
Before you start - please check the following:<br />
Tilite ® <strong>Troubleshooting</strong> <strong>Guide</strong><br />
1. Recommended torch - <strong>Talladium</strong> Casting Torch, or a torch that has a multi-orifice tip that will<br />
melt 2-3 base alloy ingots in 12-14 seconds.<br />
a. Oxygen setting at 35-40 psi<br />
b. If propane is used, the setting should be less that 2 psi.<br />
2. Use a separate slotted crucible for each type of alloy do not intermix.<br />
3. Carefully read and follow all instructions on the <strong>Talladium</strong> Tilite instruction sheet<br />
Bond failure:<br />
1. Overheated the alloy during melt.<br />
2. Used too much propane when melting.<br />
3. Used rubber wheel on surface.<br />
4. Did not prepare the porcelain-bearing surface with the correct stones or aluminum oxide.<br />
<strong>Talladium</strong> recommends using the Wear-Ever discs, T-2 Diamond and Brazilian Reddish<br />
Brown Aluminum Oxide for the metal finishing.<br />
5. Using something other than distilled water in Ultra Sonic to clean before degassing.<br />
6. Steam cleaned instead of using the Ultra Sonic to clean before degassing.<br />
7. Degassing temperature too high.<br />
8. First opaque temperature too low.<br />
9. Oven not purged between use of high silver alloys.<br />
10. The aluminum oxide was contaminated.<br />
Gassing (bubbling):<br />
1. Metal overheated.<br />
2. Torch settings are not correct. Propane setting too high.<br />
3. Not using the Brazilian Reddish Brown Aluminum Oxide.<br />
4. Flux in soldered area not ground off with a porcelain-grinding instrument after soldering.<br />
5. Plastics used for patterns, sprues or runner bars were not completely burned out before<br />
casting alloy.<br />
6. Using too high of a vacuum on firing porcelain. Use 28 psi. or 680 mm only.<br />
7. Incorrect opaque and porcelain procedures. Insure thorough drying of the opaque before<br />
increasing firing temperature. Also thorough condensation and drying of the body porcelain<br />
before increasing firing temperature.<br />
Discoloration:<br />
1. If semi-precious alloys containing silver has been fired in the porcelain oven, then<br />
discoloration may occur. The oven must be thoroughly cleaned by purging before attempting<br />
to degas or fire porcelain on the <strong>Talladium</strong> Tilite® Alloys.<br />
Checking:<br />
1. Porcelain and metal expansion not balanced.<br />
2. Over-condensing the porcelain.<br />
3. Porcelain not pre-dried adequately.<br />
4. Porcelain placed into muffle too quickly.<br />
5. High temperature held too long.<br />
6. Over-fired porcelain.
7. Running porcelain bake too fast.<br />
8. Cooling too rapidly.<br />
Suck Backs:<br />
1. Sprues used were too small of a gauge.<br />
2. Sprues cool before the pontic or unit.<br />
3. Button was too small because of insufficient amount of alloy was melted.<br />
Solder failure:<br />
1. The metal that is to be soldered has not been sufficiently heated. The metal itself must reach<br />
the flow temperature of the solder before the pre-solder is applied. Look for a bright orangered<br />
hue in the metal, orange is too cool. Remember the heat from the metal joint melts the<br />
solder not the torch.<br />
2. Solder was overheated and became crystallize.<br />
3. Joint was sandblasted before soldering. Never sandblast before soldering, prepare the joint<br />
with a diamond like the T-2 Diamond. Do not use a sintered diamond it will contaminate the<br />
alloy.<br />
4. Joint areas not fluxed correctly.<br />
5. Insufficient joint space for solder to flow. Leave a space that is the same thickness of two<br />
business cards.<br />
6. Porcelain firing rate too rapid.