Manual Billy Sheehan.cdr - EBS
Manual Billy Sheehan.cdr - EBS
Manual Billy Sheehan.cdr - EBS

Create successful ePaper yourself
Turn your PDF publications into a flip-book with our unique Google optimized e-Paper software.
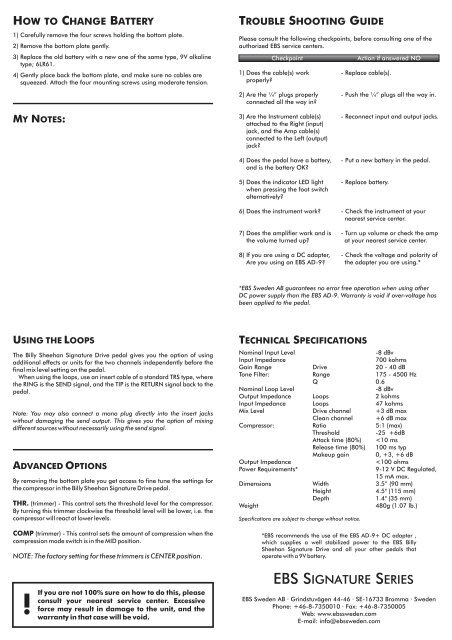
HOW TO CHANGE BATTERY<br />
1) Carefully remove the four screws holding the bottom plate.<br />
2) Remove the bottom plate gently.<br />
3) Replace the old battery with a new one of the same type, 9V alkaline<br />
type; 6LR61.<br />
4) Gently place back the bottom plate, and make sure no cables are<br />
squeezed. Attach the four mounting screws using moderate tension.<br />
TROUBLE SHOOTING GUIDE<br />
Please consult the following checkpoints, before consulting one of the<br />
authorized <strong>EBS</strong> service centers.<br />
Checkpoint<br />
1) Does the cable(s) work<br />
properly?<br />
Action if answered NO<br />
- Replace cable(s).<br />
MY NOTES:<br />
2) Are the ¼” plugs properly<br />
connected all the way in?<br />
3) Are the Instrument cable(s)<br />
attached to the Right (input)<br />
jack, and the Amp cable(s)<br />
connected to the Left (output)<br />
jack?<br />
4) Does the pedal have a battery,<br />
and is the battery OK?<br />
5) Does the indicator LED light<br />
when pressing the foot switch<br />
alternatively?<br />
6) Does the instrument work?<br />
7) Does the amplifier work and is<br />
the volume turned up?<br />
8) If you are using a DC adapter,<br />
Are you using an <strong>EBS</strong> AD-9?<br />
- Push the ¼” plugs all the way in.<br />
- Reconnect input and output jacks.<br />
- Put a new battery in the pedal.<br />
- Replace battery.<br />
- Check the instrument at your<br />
nearest service center.<br />
- Turn up volume or check the amp<br />
at your nearest service center.<br />
- Check the voltage and polarity of<br />
the adapter you are using.*<br />
*<strong>EBS</strong> Sweden AB guarantees no error free operation when using other<br />
DC power supply than the <strong>EBS</strong> AD-9. Warranty is void if over-voltage has<br />
been applied to the pedal.<br />
USING THE LOOPS<br />
The <strong>Billy</strong> <strong>Sheehan</strong> Signature Drive pedal gives you the option of using<br />
additional effects or units for the two channels independently before the<br />
final mix level setting on the pedal.<br />
When using the loops, use an insert cable of a standard TRS type, where<br />
the RING is the SEND signal, and the TIP is the RETURN signal back to the<br />
pedal.<br />
Note: You may also connect a mono plug directly into the insert jacks<br />
without damaging the send output. This gives you the option of mixing<br />
different sources without necessarily using the send signal.<br />
ADVANCED OPTIONS<br />
By removing the bottom plate you get access to fine tune the settings for<br />
the compressor in the <strong>Billy</strong> <strong>Sheehan</strong> Signature Drive pedal.<br />
THR. (trimmer) - This control sets the threshold level for the compressor.<br />
By turning this trimmer clockwise the threshold level will be lower, i.e. the<br />
compressor will react at lower levels.<br />
COMP (trimmer) - This control sets the amount of compression when the<br />
compression mode switch is in the MID position.<br />
NOTE: The factory setting for these trimmers is CENTER position.<br />
TECHNICAL SPECIFICATIONS<br />
Nominal Input Level<br />
-8 dBv<br />
Input Impedance<br />
700 kohms<br />
Gain Range Drive 20 - 40 dB<br />
Tone Filter: Range 175 - 4500 Hz<br />
Q 0.6<br />
Nominal Loop Level<br />
-8 dBv<br />
Output Impedance Loops 2 kohms<br />
Input Impedance Loops 47 kohms<br />
Mix Level Drive channel +3 dB max<br />
Clean channel +6 dB max<br />
Compressor: Ratio 5:1 (max)<br />
Threshold<br />
-25 +6dB<br />
Attack time (80%)