Edition One - February - Australian University Sport
Edition One - February - Australian University Sport
Edition One - February - Australian University Sport

You also want an ePaper? Increase the reach of your titles
YUMPU automatically turns print PDFs into web optimized ePapers that Google loves.
Money Saving Tips<br />
PAGE<br />
041<br />
Nathan E Watts<br />
23 litres of beer for $15!<br />
Would you like 23 litres of beer for $15<br />
Of course, if you like beer. So how can you get the equivalent of<br />
2½ cartons for less than the cost of a six pack Simple, make it<br />
yourself. No alcohol tax or trips to the bottle shop.<br />
All you need is a kilo of sugar, a tin of brew mixture, bottles and a<br />
brew kit will simplify your task from there. Follow the instructions<br />
and you’re done. And there is the rub; the instructions specify a<br />
wait of at least a month. Not an issue once you get organised and<br />
have several brews going at once and other beers maturing in<br />
storage. But, do not drink home brew without first maturing it for<br />
at least a month, unless you like drinking warm beer, and not like<br />
XXXX beer or Very Bad or Tooheys urine, something altogether<br />
worse. 3 months maturing is better.<br />
Fortunately there is a simpler method for those of you that are<br />
reluctant to commit to the start-up cost and effort of brewing<br />
lagers, draughts and imitations of main stream beers. Ginger<br />
Beer.<br />
Ginger beer is too sweet for some people, however it is much<br />
easier to brew, and a lot quicker. The process follows.<br />
1.Collect enough plastic bottles to hold 23 litres. I prefer 15<br />
bottles of 1.5litres.<br />
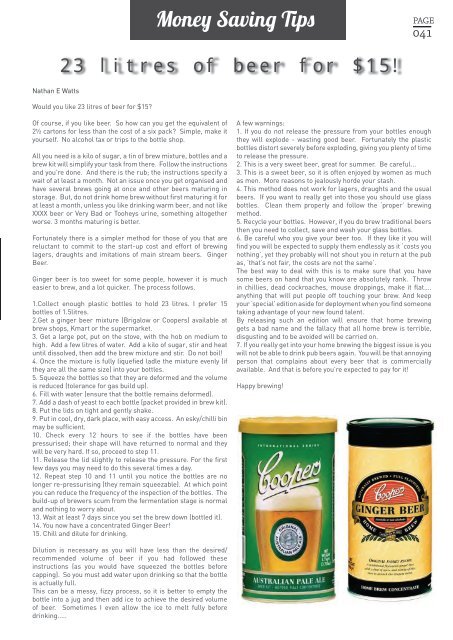
2.Get a ginger beer mixture (Brigalow or Coopers) available at<br />
brew shops, Kmart or the supermarket.<br />
3. Get a large pot, put on the stove, with the hob on medium to<br />
high. Add a few litres of water. Add a kilo of sugar, stir and heat<br />
until dissolved, then add the brew mixture and stir. Do not boil!<br />
4. Once the mixture is fully liquefied ladle the mixture evenly (if<br />
they are all the same size) into your bottles.<br />
5. Squeeze the bottles so that they are deformed and the volume<br />
is reduced (tolerance for gas build up).<br />
6. Fill with water (ensure that the bottle remains deformed).<br />
7. Add a dash of yeast to each bottle (packet provided in brew kit).<br />
8. Put the lids on tight and gently shake.<br />
9. Put in cool, dry, dark place, with easy access. An esky/chilli bin<br />
may be sufficient.<br />
10. Check every 12 hours to see if the bottles have been<br />
pressurised; their shape will have returned to normal and they<br />
will be very hard. If so, proceed to step 11.<br />
11. Release the lid slightly to release the pressure. For the first<br />
few days you may need to do this several times a day.<br />
12. Repeat step 10 and 11 until you notice the bottles are no<br />
longer re-pressurising (they remain squeezable). At which point<br />
you can reduce the frequency of the inspection of the bottles. The<br />
build-up of brewers scum from the fermentation stage is normal<br />
and nothing to worry about.<br />
13. Wait at least 7 days since you set the brew down (bottled it).<br />
14. You now have a concentrated Ginger Beer!<br />
15. Chill and dilute for drinking.<br />
A few warnings:<br />
1. If you do not release the pressure from your bottles enough<br />
they will explode - wasting good beer. Fortunately the plastic<br />
bottles distort severely before exploding, giving you plenty of time<br />
to release the pressure.<br />
2. This is a very sweet beer, great for summer. Be careful...<br />
3. This is a sweet beer, so it is often enjoyed by women as much<br />
as men. More reasons to jealously horde your stash.<br />
4. This method does not work for lagers, draughts and the usual<br />
beers. If you want to really get into those you should use glass<br />
bottles. Clean them properly and follow the ‘proper’ brewing<br />
method.<br />
5. Recycle your bottles. However, if you do brew traditional beers<br />
then you need to collect, save and wash your glass bottles.<br />
6. Be careful who you give your beer too. If they like it you will<br />
find you will be expected to supply them endlessly as it ‘costs you<br />
nothing’, yet they probably will not shout you in return at the pub<br />
as, ‘that’s not fair, the costs are not the same’.<br />
The best way to deal with this is to make sure that you have<br />
some beers on hand that you know are absolutely rank. Throw<br />
in chillies, dead cockroaches, mouse droppings, make it flat....<br />
anything that will put people off touching your brew. And keep<br />
your ‘special’ edition aside for deployment when you find someone<br />
taking advantage of your new found talent.<br />
By releasing such an edition will ensure that home brewing<br />
gets a bad name and the fallacy that all home brew is terrible,<br />
disgusting and to be avoided will be carried on.<br />
7. If you really get into your home brewing the biggest issue is you<br />
will not be able to drink pub beers again. You will be that annoying<br />
person that complains about every beer that is commercially<br />
available. And that is before you’re expected to pay for it!<br />
Happy brewing!<br />
Dilution is necessary as you will have less than the desired/<br />
recommended volume of beer if you had followed these<br />
instructions (as you would have squeezed the bottles before<br />
capping). So you must add water upon drinking so that the bottle<br />
is actually full.<br />
This can be a messy, fizzy process, so it is better to empty the<br />
bottle into a jug and then add ice to achieve the desired volume<br />
of beer. Sometimes I even allow the ice to melt fully before<br />
drinking.....