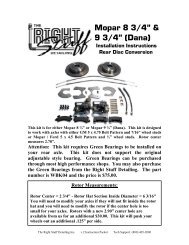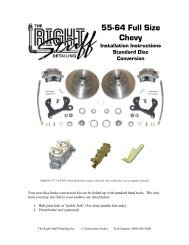
Installation Instructions - Right Stuff Detailing
Installation Instructions - Right Stuff Detailing
Installation Instructions - Right Stuff Detailing

Create successful ePaper yourself
Turn your PDF publications into a flip-book with our unique Google optimized e-Paper software.
3. Install Dust Shields (Optional)<br />
****Please Disregard the “L” and “R” markings on the backing plates.<br />
Just be sure that the opening for the caliper faces the rear on both sides<br />
for non-staggered shocks. For staggered shocks, the caliper opening<br />
should face the rear on the passenger side and toward the front on<br />
driver side****<br />
Before you re-install your rear axles you need to install the included dust shields if you<br />
have decided that you want to use them. Place the dust shield on the front of the axle<br />
flange with the opening for the caliper at the 2 o’clock position on the driver’s side and<br />
the 10 o’clock position on the passenger’s side.* After this is completed you can<br />
reinstall your axles. You will actually bolt the shields in place when you bolt the caliper<br />
bracket onto the rear end in step 5.<br />
*Attention Staggered Shock Owners:<br />
Staggered shock rear ends require you to mount the driver’s side dust shield towards the<br />
front of the car. The passenger’s side dust shield still mounts towards the rear of the car.<br />
Make sure you have the correct kit for staggered shocks (AFXRD05, AFXRD06,<br />
AFXRD07)<br />
4. Re-install the axles<br />
”C” Clip Axles<br />
Push the axles back in the tube and install the “C” clips. Replace the housing gasket and<br />
re-install the cover. The flange spacer pictured to the bottom right is not required on “C”<br />
clip installations. Do not bolt the axle flange in place at this time.<br />
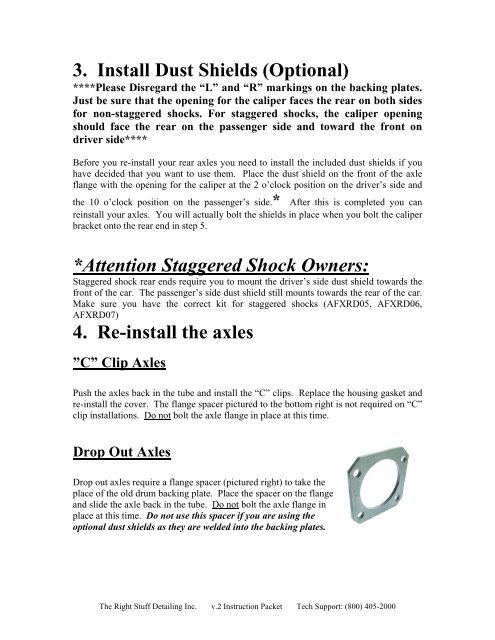
Drop Out Axles<br />
Drop out axles require a flange spacer (pictured right) to take the<br />
place of the old drum backing plate. Place the spacer on the flange<br />
and slide the axle back in the tube. Do not bolt the axle flange in<br />
place at this time. Do not use this spacer if you are using the<br />
optional dust shields as they are welded into the backing plates.<br />
The <strong>Right</strong> <strong>Stuff</strong> <strong>Detailing</strong> Inc. v.2 Instruction Packet Tech Support: (800) 405-2000