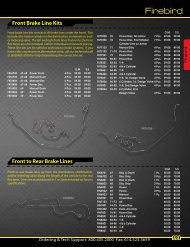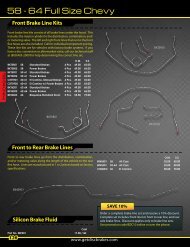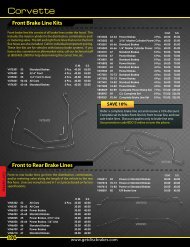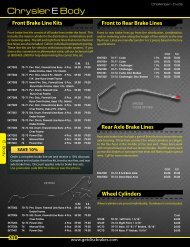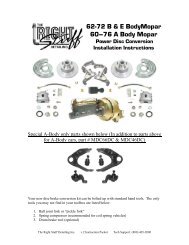
Installation Instructions - Right Stuff Detailing
Installation Instructions - Right Stuff Detailing
Installation Instructions - Right Stuff Detailing

Create successful ePaper yourself
Turn your PDF publications into a flip-book with our unique Google optimized e-Paper software.
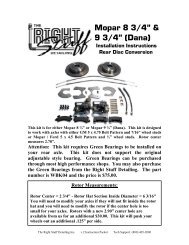
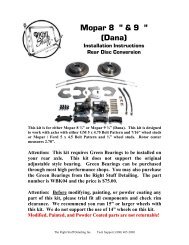
6. Install the rotors<br />
Before installing the rotor, dress the center hub with steel wool or a wire brush. Slide the<br />
rotor over the studs and tighten it down with two or three lug nuts. Occasionally, the<br />
center opening in the rotor is too small to slide over the hub. You’ll need to enlarge it<br />
slightly with a die grinder, file or have it machined by a machine shop. If the center hole<br />
of your rotor is too small for your axle hub we can have a set of rotors machined for you<br />
for an additional $30.00 fee, shipping charges will apply. Rotors with a new 2.915”<br />
center hole are available from us for an additional $30.00 (with exchange of nonmachined<br />
rotors) as well, shipping charges will apply.<br />
7. Install and center the calipers<br />
Position the caliper in the bracket and install the caliper mounting pins. Be sure the<br />
mounting ears are on the backside of the caliper brackets. The parking brake assembly<br />
should be on top with the bleeder pointing towards the front of the<br />
car.* If the pads do not clear the rotor, you’ll need to adjust the<br />
caliper position with the included spacers.<br />
If the inside pad hits the rotor, you’ll need to add spacers between the<br />
flange and caliper bracket. If the outside pad hits the rotor, you’ll<br />
need to use one of the smaller spacers or remove the spacers<br />
completely. Spacers can be stacked to achieve the required thickness.<br />
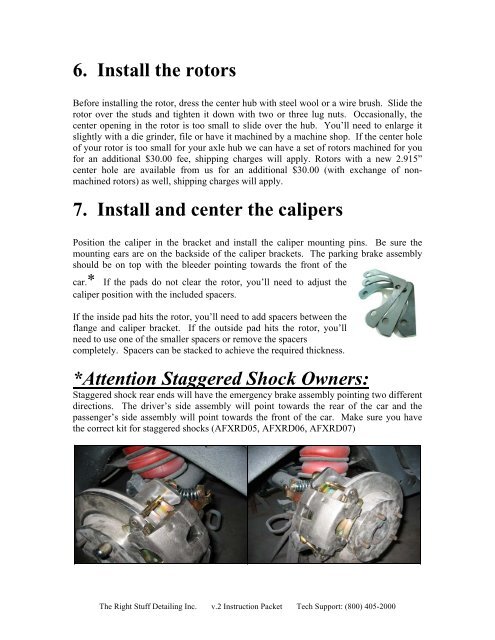
*Attention Staggered Shock Owners:<br />
Staggered shock rear ends will have the emergency brake assembly pointing two different<br />
directions. The driver’s side assembly will point towards the rear of the car and the<br />
passenger’s side assembly will point towards the front of the car. Make sure you have<br />
the correct kit for staggered shocks (AFXRD05, AFXRD06, AFXRD07)<br />
The <strong>Right</strong> <strong>Stuff</strong> <strong>Detailing</strong> Inc. v.2 Instruction Packet Tech Support: (800) 405-2000