17680 Torqueflite 727, 904, 998 & 999 Manual SP ... - Turbo Action
17680 Torqueflite 727, 904, 998 & 999 Manual SP ... - Turbo Action
17680 Torqueflite 727, 904, 998 & 999 Manual SP ... - Turbo Action

You also want an ePaper? Increase the reach of your titles
YUMPU automatically turns print PDFs into web optimized ePapers that Google loves.
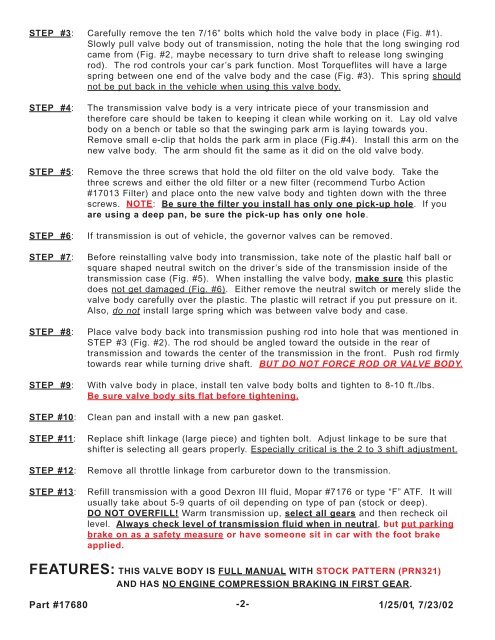
STEP #3: Carefully remove the ten 7/16” bolts which hold the valve body in place (Fig. #1).<br />
Slowly pull valve body out of transmission, noting the hole that the long swinging rod<br />
came from (Fig. #2, maybe necessary to turn drive shaft to release long swinging<br />
rod). The rod controls your car’s park function. Most <strong>Torqueflite</strong>s will have a large<br />
spring between one end of the valve body and the case (Fig. #3). This spring should<br />
not be put back in the vehicle when using this valve body.<br />
STEP #4:<br />
STEP #5:<br />
STEP #6:<br />
STEP #7:<br />
STEP #8:<br />
STEP #9:<br />
STEP #10:<br />
STEP #11:<br />
STEP #12:<br />
STEP #13:<br />
The transmission valve body is a very intricate piece of your transmission and<br />
therefore care should be taken to keeping it clean while working on it. Lay old valve<br />
body on a bench or table so that the swinging park arm is laying towards you.<br />
Remove small e-clip that holds the park arm in place (Fig.#4). Install this arm on the<br />
new valve body. The arm should fit the same as it did on the old valve body.<br />
Remove the three screws that hold the old filter on the old valve body. Take the<br />
three screws and either the old filter or a new filter (recommend <strong>Turbo</strong> <strong>Action</strong><br />
#17013 Filter) and place onto the new valve body and tighten down with the three<br />
screws. NOTE: Be sure the filter you install has only one pick-up hole. If you<br />
are using a deep pan, be sure the pick-up has only one hole.<br />
If transmission is out of vehicle, the governor valves can be removed.<br />
Before reinstalling valve body into transmission, take note of the plastic half ball or<br />
square shaped neutral switch on the driver’s side of the transmission inside of the<br />
transmission case (Fig. #5). When installing the valve body, make sure this plastic<br />
does not get damaged (Fig. #6). Either remove the neutral switch or merely slide the<br />
valve body carefully over the plastic. The plastic will retract if you put pressure on it.<br />
Also, do not install large spring which was between valve body and case.<br />
Place valve body back into transmission pushing rod into hole that was mentioned in<br />
STEP #3 (Fig. #2). The rod should be angled toward the outside in the rear of<br />
transmission and towards the center of the transmission in the front. Push rod firmly<br />
towards rear while turning drive shaft. BUT DO NOT FORCE ROD OR VALVE BODY.<br />
With valve body in place, install ten valve body bolts and tighten to 8-10 ft./lbs.<br />
Be sure valve body sits flat before tightening.<br />
Clean pan and install with a new pan gasket.<br />
Replace shift linkage (large piece) and tighten bolt. Adjust linkage to be sure that<br />
shifter is selecting all gears properly. Especially critical is the 2 to 3 shift adjustment.<br />
Remove all throttle linkage from carburetor down to the transmission.<br />
Refill transmission with a good Dexron III fluid, Mopar #7176 or type “F” ATF. It will<br />
usually take about 5-9 quarts of oil depending on type of pan (stock or deep).<br />
DO NOT OVERFILL! Warm transmission up, select all gears and then recheck oil<br />
level. Always check level of transmission fluid when in neutral, but put parking<br />
brake on as a safety measure or have someone sit in car with the foot brake<br />
applied.<br />
FEATURES: THIS VALVE BODY IS FULL MANUAL WITH STOCK PATTERN (PRN321)<br />
AND HAS NO ENGINE COMPRESSION BRAKING IN FIRST GEAR.<br />
Part #<strong>17680</strong> -2- 1/25/01, 7/23/02